
This tutorial shows how to install and carry out a scan using vuls script. The Vuls results show a long list of possible vulnerabilities, and one per script will run against each service detected in the target.
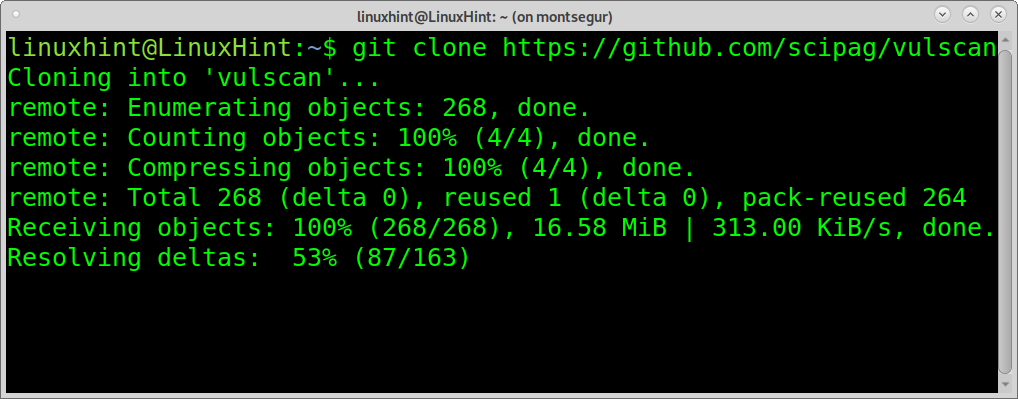
To begin installing Vulscan using git, run the following:
Note: You can install git by running sudo apt install git.
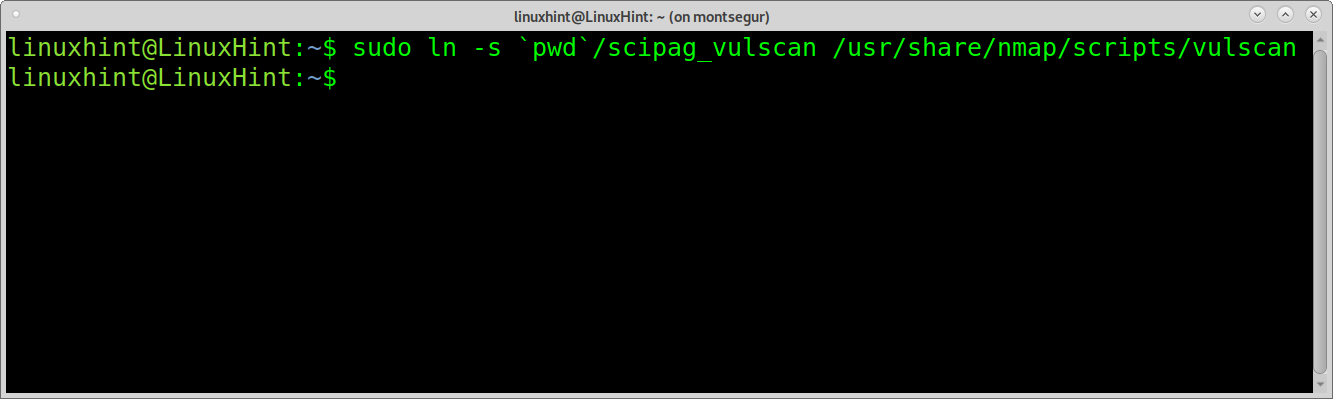
Then run:
To begin with a minimal scan, run:

Analyze the Vulscan output:
The first line will show the characteristics of the scan, such as the Nmap version, timing, and previous info on the target such as its state.
Nmap scan report for linuxhint.com (172.67.209.252)
Host is up (0.043s latency).
Other addresses for linuxhint.com (not scanned): 104.21.58.234 2606:4700:3033::ac43:d1fc 2606:4700:3033::6815:3aea
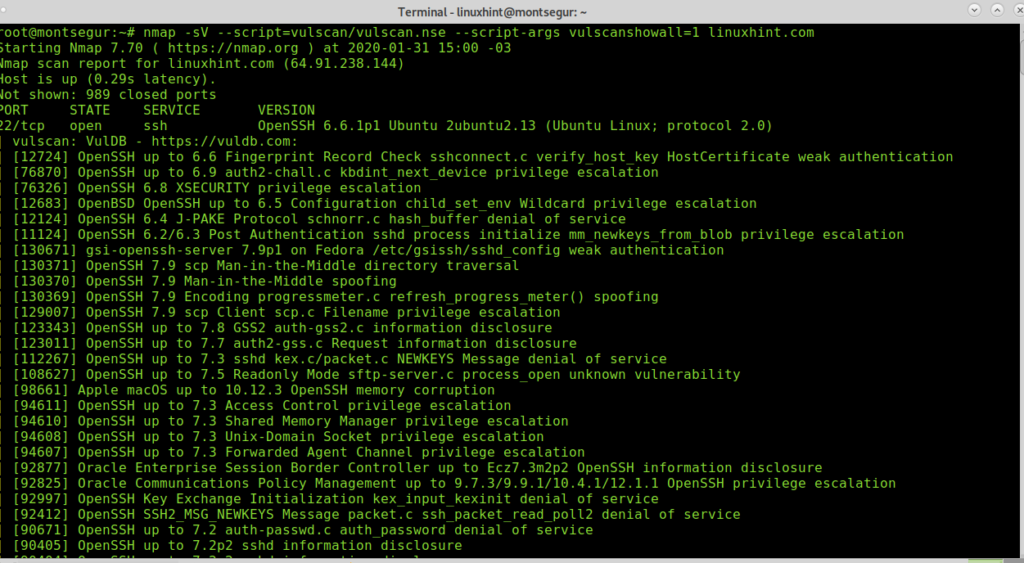
Then it will start reporting on available services, contrasting them with the vulnerabilities of the Vulscan database. As you can see below, after detecting that the SSH port is available, the Vulscan starts running scripts to check for vulnerabilities for this specific service:
IMPORTANT NOTE: To keep this tutorial readable, 90% of the executed scripts for each service were removed. Rest assured, all possible vulnerabilities for a specific service existing in the database will be checked.
PORT STATE SERVICE VERSION
22/tcp open ssh OpenSSH 6.6.1p1 Ubuntu 2ubuntu2.13 (Ubuntu Linux; protocol 2.0)
| vulscan: VulDB - https://vuldb.com:
| [12724] OpenSSH up to 6.6 Fingerprint Record Check sshconnect.c verify_host_key HostCertificate
weak authentication
|
| MITRE CVE - https://cve.mitre.org:
| [CVE-2012-5975] The SSH USERAUTH CHANGE REQUEST feature in SSH Tectia Server 6.0.4 through 6.0.20,
6.1.0 through 6.1.12, 6.2.0 through 6.2.5, and 6.3.0 through 6.3.2 on UNIX and Linux,
when old-style password authentication is enabled, allows remote attackers to bypass authentication
via a crafted session involving entry of blank passwords, as demonstrated by a root login session
from a modified OpenSSH client with an added input_userauth_passwd_changereq call in sshconnect2.c.
| [CVE-2012-5536] A certain Red Hat build of the pam_ssh_agent_auth module on Red Hat Enterprise
Linux (RHEL) 6 and Fedora Rawhide calls the glibc error function instead of the error function
in the OpenSSH codebase, which allows local users to obtain sensitive information from process
memory or possibly gain privileges via crafted use of an application that relies on this module,
as demonstrated by su and sudo.
| [CVE-2010-5107] The default configuration of OpenSSH through 6.1 enforces a fixed time limit
between establishing a TCP connection and completing a login, which makes it easier for remote
attackers to cause a denial of service (connection-slot exhaustion) by periodically making many
new TCP connections.
| [CVE-2008-1483] OpenSSH 4.3p2, and probably other versions, allows local users to hijack
forwarded X connections by causing ssh to set DISPLAY to :10, even when another process is
listening on the associated port, as demonstrated by opening TCP port 6010 (IPv4) and
sniffing a cookie sent by Emacs.
Below you see the port 25 is filtered, probably by a firewall or Vuls is unable to determine its state with security. It then checks for the port 80, finding it open and detecting Nginx behind it and again. Like with OpenSSH detected previously, Vuls will run tests to confirm or discard all vulnerabilities contained in the database.
IMPORTANT NOTE: To keep this tutorial readable, 90% of executed scripts for each service were removed. Rest assured, all possible vulnerabilities for a specific service existing in the database will be checked.
80/tcp open http nginx
|_http-server-header: nginx
| vulscan: VulDB - https://vuldb.com:
| [133852] Sangfor Sundray WLAN Controller up to 3.7.4.2 Cookie Header nginx_webconsole.php
Code Execution
| [132132] SoftNAS Cloud 4.2.0/4.2.1 Nginx privilege escalation
| [131858] Puppet Discovery up to 1.3.x Nginx Container weak authentication
| [130644] Nginx Unit up to 1.7.0 Router Process Request Heap-based memory corruption
| [127759] VeryNginx 0.3.3 Web Application Firewall privilege escalation
| [126525] nginx up to 1.14.0/1.15.5 ngx_http_mp4_module Loop denial of service
| [126524] nginx up to 1.14.0/1.15.5 HTTP2 CPU Exhaustion denial of service
| [126523] nginx up to 1.14.0/1.15.5 HTTP2 Memory Consumption denial of service
| [119845] Pivotal Operations Manager up to 2.0.13/2.1.5 Nginx privilege escalation
| [114368] SuSE Portus 2.3 Nginx Certificate weak authentication
| [103517] nginx up to 1.13.2 Range Filter Request Integer Overflow memory corruption
Finally, Nmap will show all the filtered ports found:
1666/tcp filtered netview-aix-6
2000/tcp filtered cisco-sccp
2001/tcp filtered dc
2002/tcp filtered globe
2003/tcp filtered finger
2004/tcp filtered mailbox
2005/tcp filtered deslogin
2006/tcp filtered invokator
2007/tcp filtered dectalk
2008/tcp filtered conf
2009/tcp filtered news
2010/tcp filtered search
6666/tcp filtered irc
6667/tcp filtered irc
6668/tcp filtered irc
6669/tcp filtered irc
9100/tcp filtered jetdirect
Service Info: OS: Linux; CPE: cpe:/o:linux:linux_kernel
Service detection performed. Please report any incorrect results at https://nmap.org/submit/ .
Nmap done: 1 IP address (1 host up) scanned in 632.44 seconds
From the scan above, we understand the process is to find available services to run tests for all known vulnerabilities for the service detected and contained in the Vuls vulnerabilities database.
You can allow Nmap version detection while omitting Vuls version detection by adding the flag –script-args vulscanversiondetection=0.
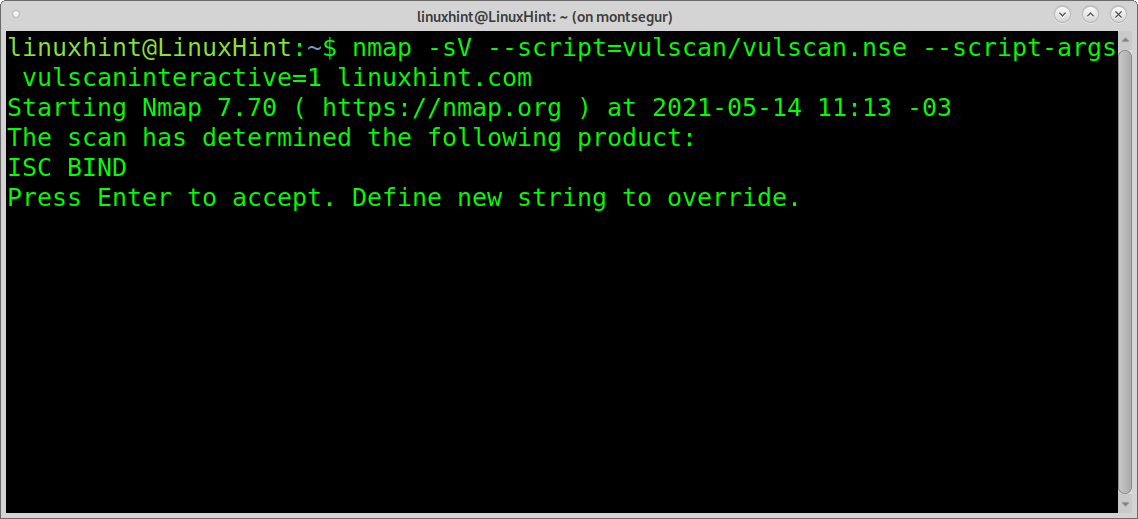
Vulscan allows you to launch interactive scans in which you are allowed to determine if a specific service must be scanned for vulnerabilities. In order to achieve it, you need to apply the option –script-args vulscaninteractive=1.
On the console, run:
The scan will halt to ask you if it should proceed to check vulnerabilities for Nginx:
The argument vulscanshowall allows printing results according to accuracy. The lower value will print all results while increasing the value, results will get reduced to better matches.
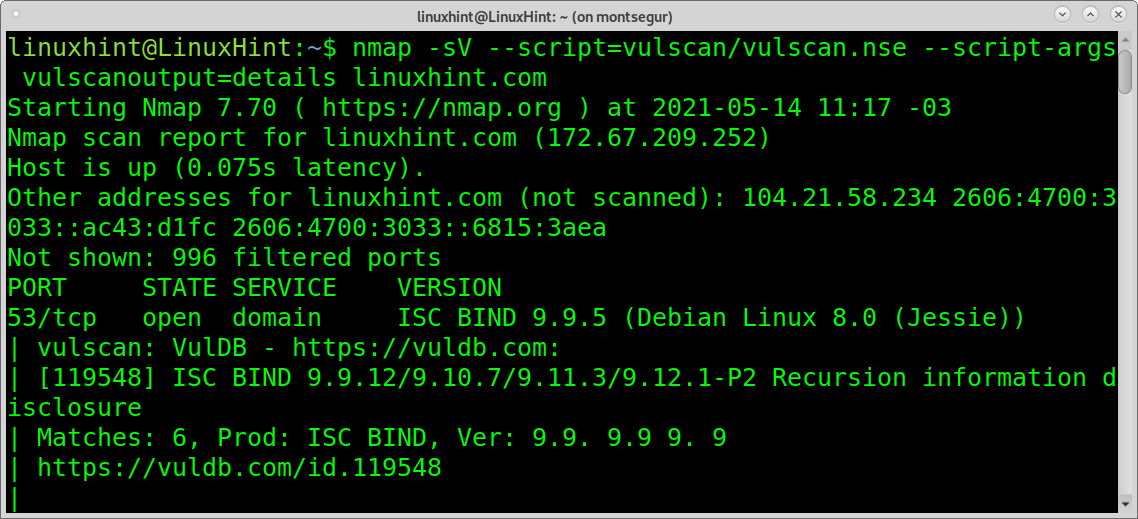
The following options allow us to determine the format in which Nmap will show the output. The option vulscanoutput=details enables the most descriptive output by running it. Nmap will show additional information for each script.
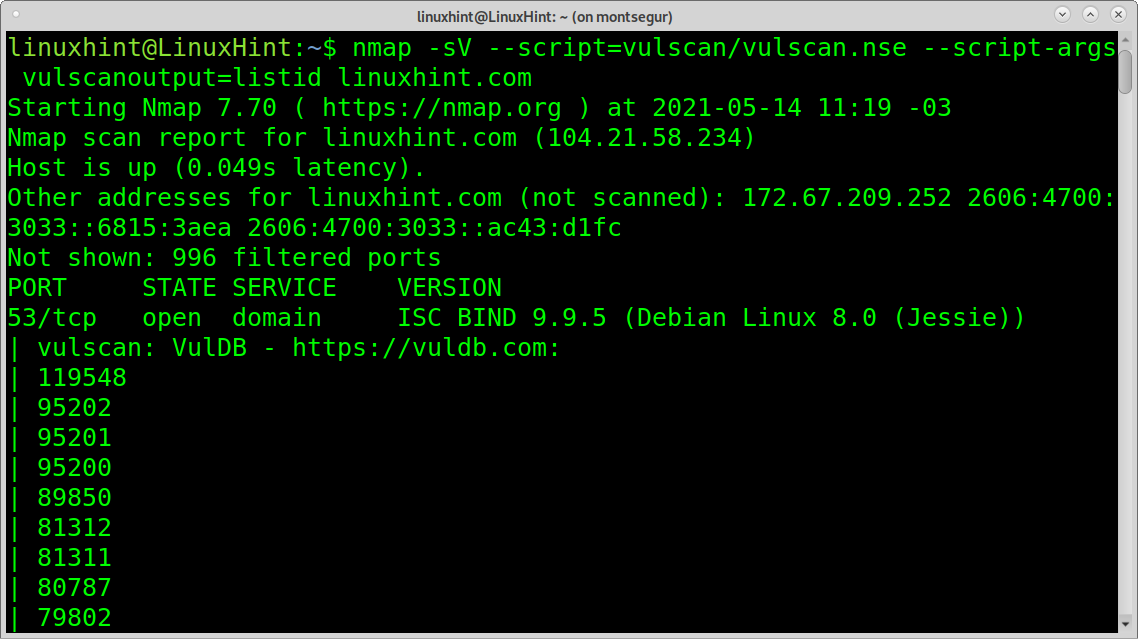
The listid option will print the results as a list of vulnerabilities identified by their ID.
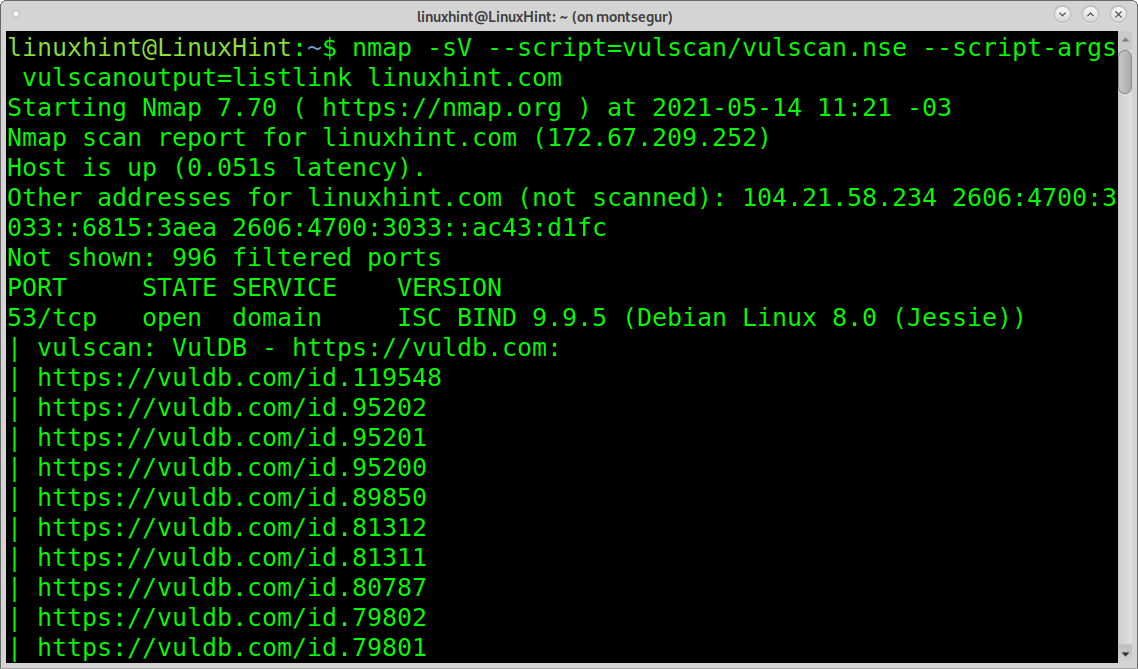
The option listlink prints a list of links to the vulnerabilities database with additional information on each one.
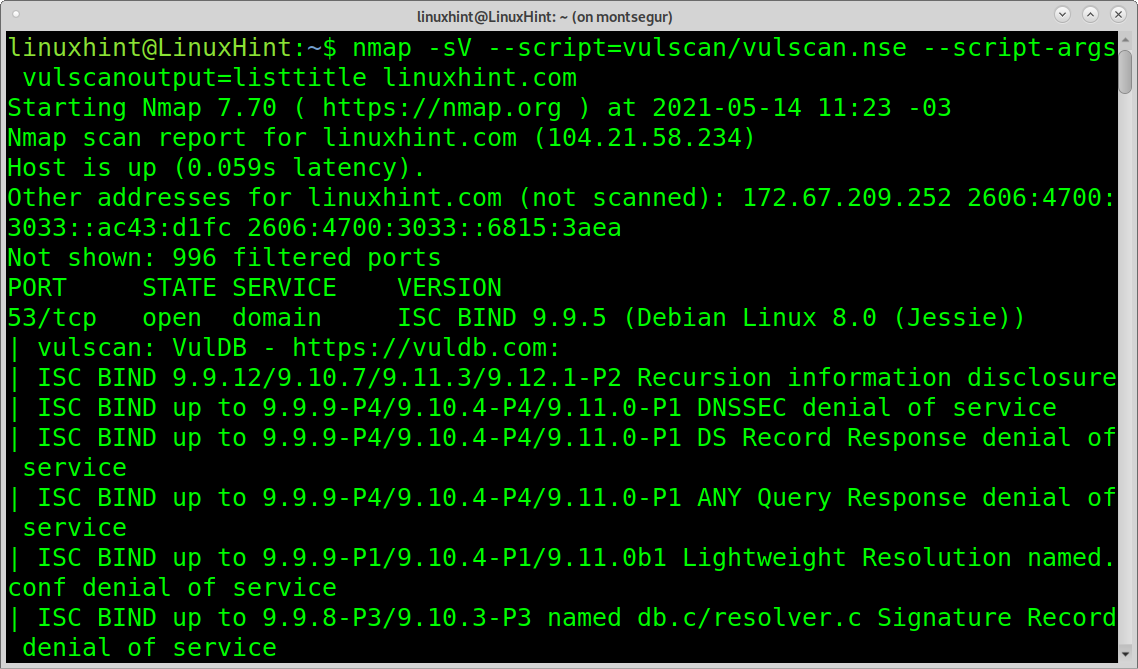
Finishing with output formats, the option listtitle will print a list of vulnerabilities by name.
Conclusion:
Finally, keep in mind for Vuls to give the best you must ensure the databases remain up to date. To update Vuls databases, always download the last version of the files in the following urls and keep them saved on Vuls main directory, where databases with same names are already stored in:
- https://www.computec.ch/projekte/vulscan/download/cve.csv
- https://www.computec.ch/projekte/vulscan/download/exploitdb.csv
- https://www.computec.ch/projekte/vulscan/download/openvas.csv
- https://www.computec.ch/projekte/vulscan/download/osvdb.csv
- https://www.computec.ch/projekte/vulscan/download/scipvuldb.csv
- https://www.computec.ch/projekte/vulscan/download/securityfocus.csv
- https://www.computec.ch/projekte/vulscan/download/securitytracker.csv
- https://www.computec.ch/projekte/vulscan/download/xforce.csv
I hope you found this tutorial on how to use Nmap Vulscan helpful. Keep following LinuxHint for more Linux tips and tutorials.