- Nmap alternatives: Installing Masscan on Debian 10 Buster
- Nmap alternatives: Installing Zmap on Debian 10 Buster
- Nmap alternatives: Installing Angry IP Scanner on Debian 10 Buster
- Nmap alternatives: Installing Vuls on Debian 10 Buster
Nmap alternatives: Masscan
According to its creator Masscan “…can scan the entire Internet in under 6 minutes, transmitting 10 million packets per second, from a single machine.” [source]. Masscan aims to imitate Nmap syntax but it has limitations, its advantage over Nmap and other scanners is it’s speed.
Installing Masscan on Debian and Ubuntu:
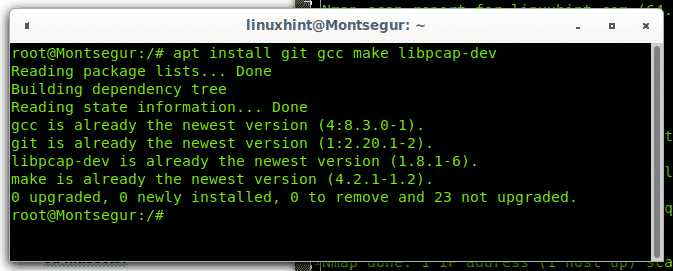
First install dependencies by running:
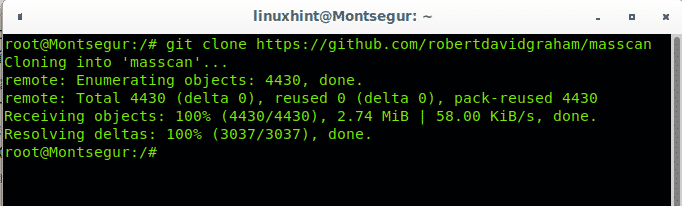
Then get Masscan running the following command:
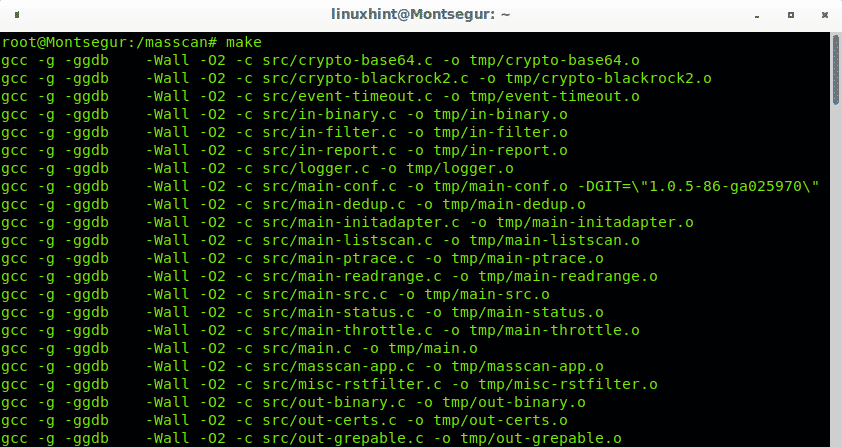
Enter the cloned directory with cd:

Compile masscan by running:
In order to run Masscan globally, copy the executable by running the following command form the installation directory:

Despite Masscan is limited compared to Nmap some of Masscan options are very similar to Nmap, you can check the following commands by running:
- -iL filename: Read inputs from a file.
- –exclude filename: Exclude a network on the command line.
- –excludefile: Exclude networks from a file.
- -S: Spoof source IP.
- -v interface: Verbose output.
- -vv interface: Very verbose output.
- -e interface: Use specified interface.
- -e interface: Use specified interface.
Msscan doesnt allow to scan domain names, you need to set the target’s IP address as in the following example:
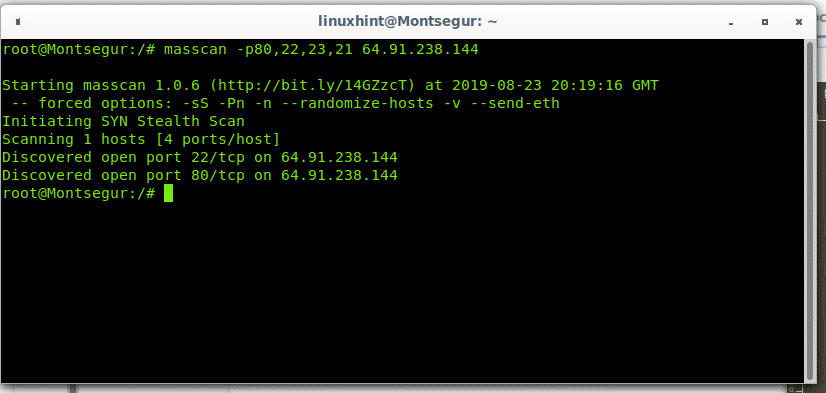
For additional instructions on how to use Masscan visit
https://github.com/robertdavidgraham/masscan
Nmap alternatives: Zmap
Zmap is also a fast scanner to scan the internet. Like Nmap and Masscan it works from the terminal and like Masscan it can scan the whole internet in minutes.
Installing Zmap on Debian and Ubuntu:
Before installing Zmap get all dependencies by running:
libpcap-dev flex byacc libjson-c-dev pkg-config libunistring-dev -y

Then from Debian or Ubuntu run:

Installing Zmap from sources (almost all Linux distributions):
Clone Zmap using git:
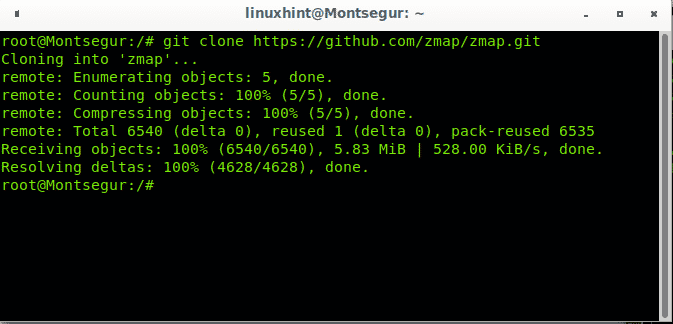
Enter the cloned directory:

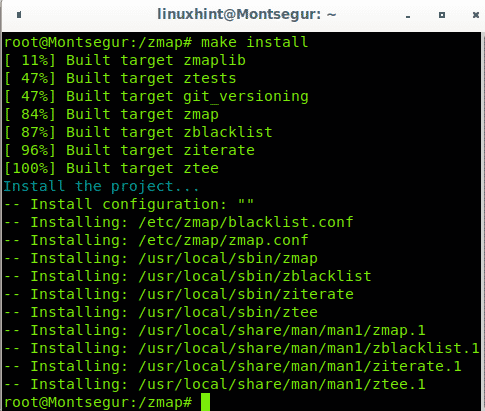
Compile Zmap by running:
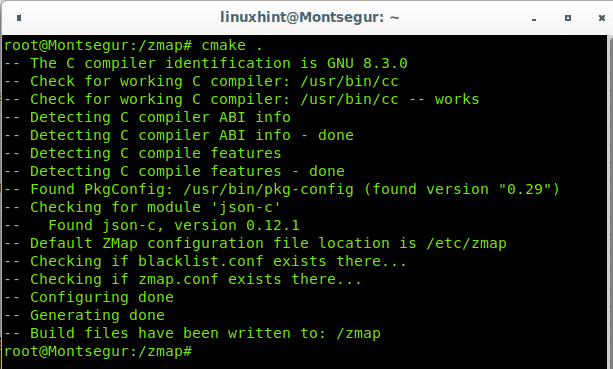
To build Zmap also run:
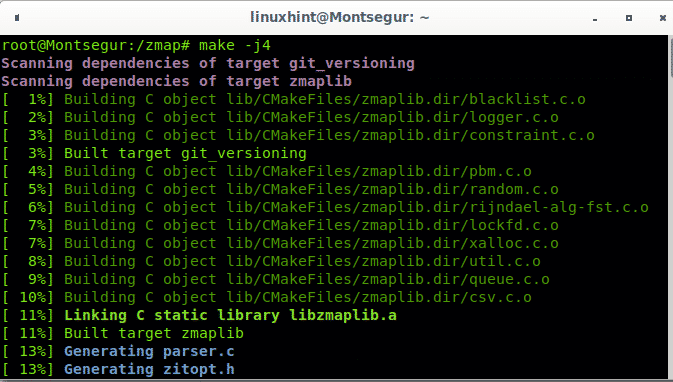
To finish the installation run:
Nmap alternatives: Angry IP Scanner
Contrary to previous Nmap alternatives listed, Angry IP Scanner is a graphical tool which allows IP ranges scan, Random Scan and IP lists scan.
Installing Angry Scanner on Debian 10 Buster:
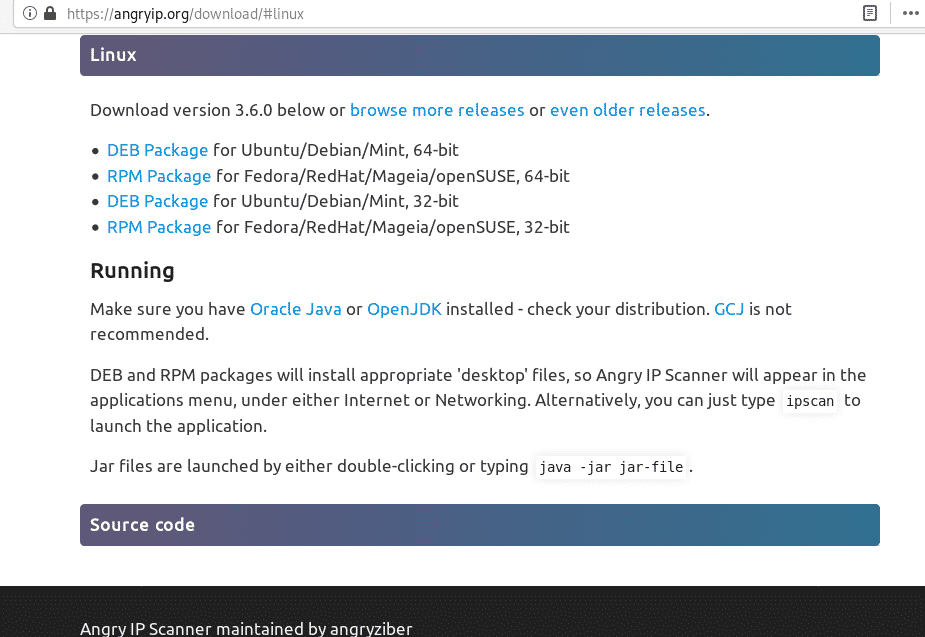
Additionally to the graphical interface Angry IP Scanner can be installed from a Debian package, which makes it more attractive for unexperienced Linux users. You can download this scanner from the link, click on the proper distribution, in my case it is Debian 64-bit.
Save the .deb file locally.

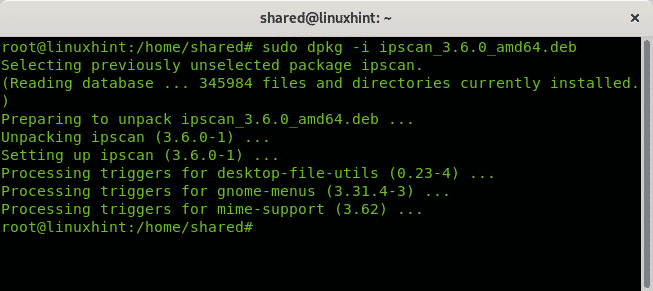
To get it installed just run:
You can launch Angry IP Scanner both from your console or your Desktop Interface main menu as shown in the following image:

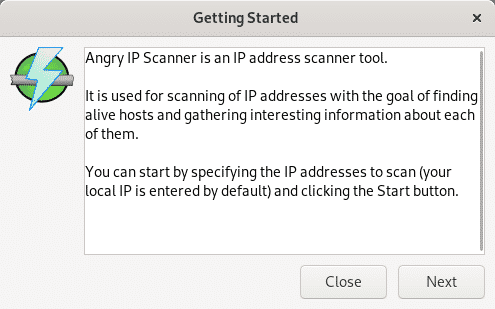
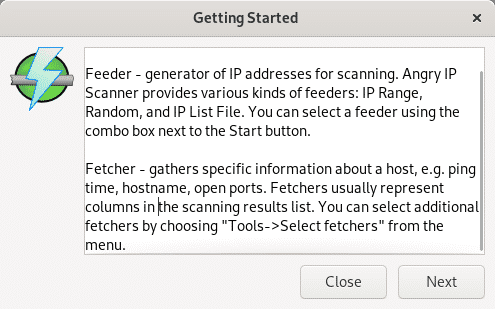
On its first execution Angry IP Scanner will show some tips or information related to it such as utility, despite you can press “Close” to launch the program, if its your first time using it read it and press Next to continue.
On the second information informative message it describes some of its features just like IP range scan, random scan, scanning addresses imported from a file or combined possibilities. It also allows to use different information fetcher from the Tools menu. Press “Next” to continue.
Read the terminology, which is the same for all network scanners and press Next to continue.
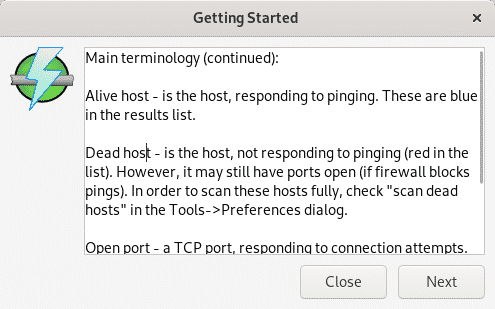
More information applicable to all scanners is displayed, press Next.
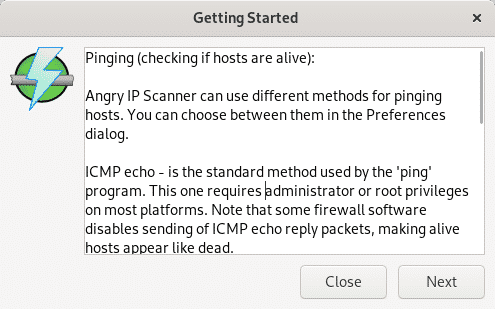
Finally it explains the displayed results, press Close to access the scanner.

Set an IP range, in my case I set from 192.168.0.1 to 192.168.0.20, then press Start.
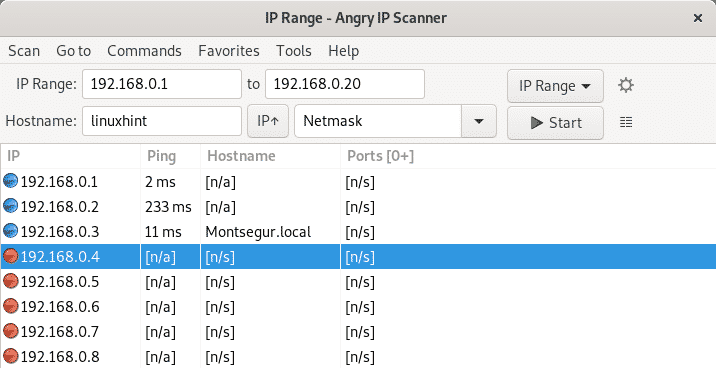
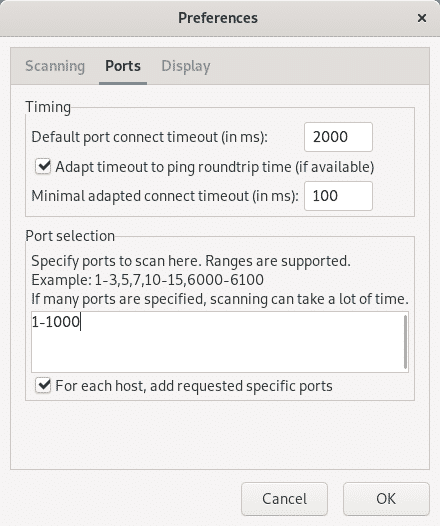
By default, Angry IP Scanner doesn’t scan services. To scan ports click on the Gear icon to access the Preferences menu.

In the opening menu click on Ports and on the Ports Selection section type the ports you want to be scanned separated by commas, or the range separated by a hyphen, then press OK.
Run the scanner again and this time you’ll get information on targets’ ports.

Nmap alternatives: Vuls
Vuls isn’t really comparable to Nmap, it is a vulnerability scanner rather than a network scanner, and the hardest to setup and configure in this list. The following tutorial is an adaptation to Debian of official website instructions to install it on CentOS. Vuls is useful to detect vulnerable software installed on a system. The tutorial shows how to install Vuls on Debian to scan Debian and Red Hat based systems despite it is recommendable to follow its official website instructions to use it through Docker, a simpler way. The reason why I don’t describe Docker instructions is they are available on their website while there is not online documentation to run Vuls on Debian, therefore at LinuxHint we chose to explain this way.
At the end of this article you can find instructions to install and use alternatives to Vuls on the Related Articles section.
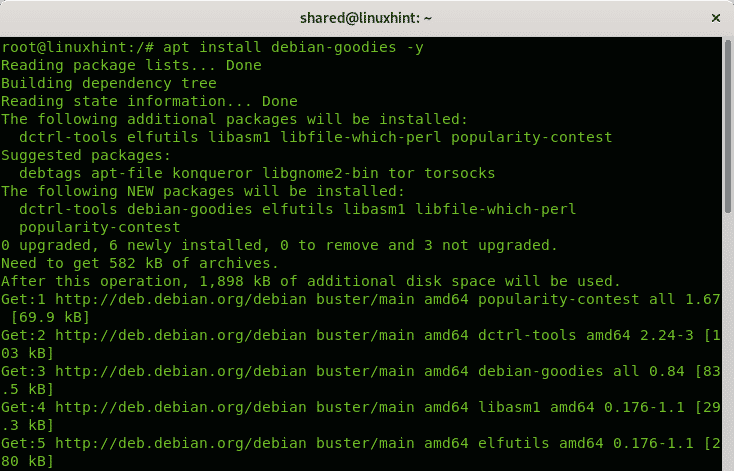
First install some dependencies by running:

Also run:
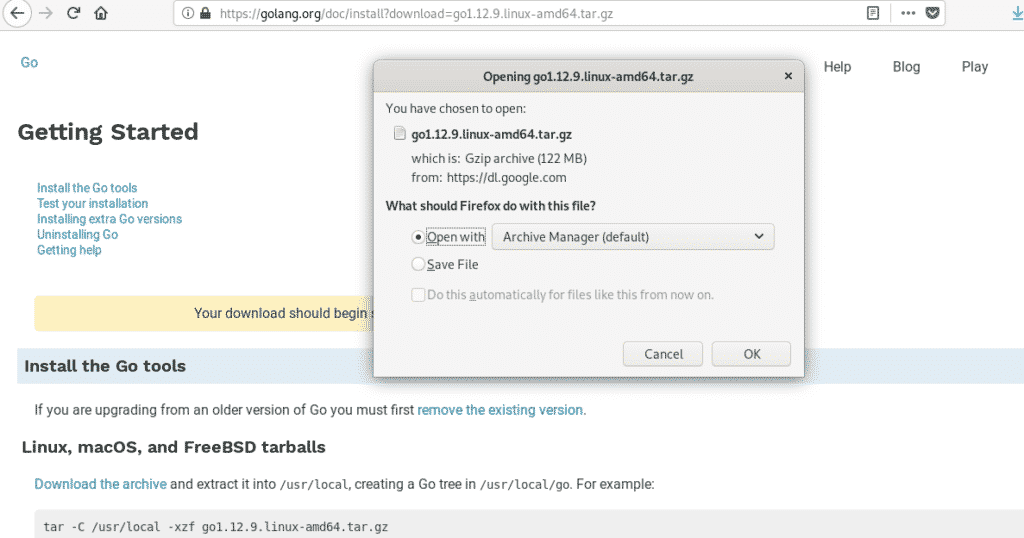
Download GO language last version from https://golang.org/dl/
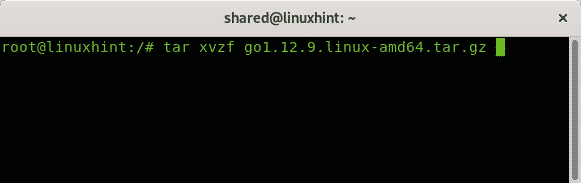
Extract the downloaded file by running:
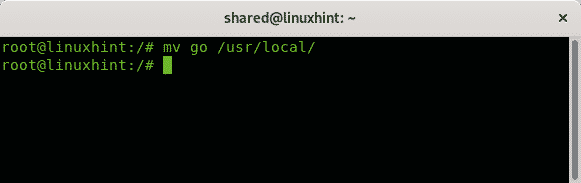
Then move the exracted directory to /usr/local by running:
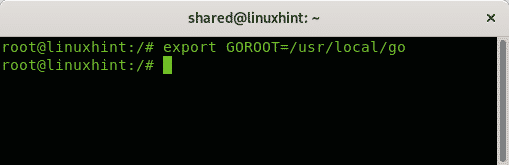
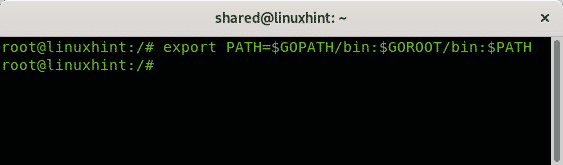
Export the path by running:
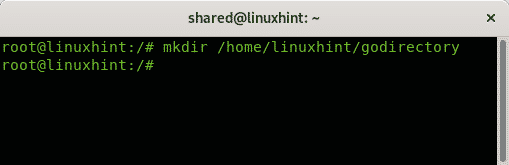
Create a directory for go software by running the following command, the directory name is arbitrary:
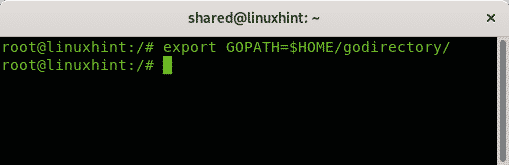
Export the path by running:
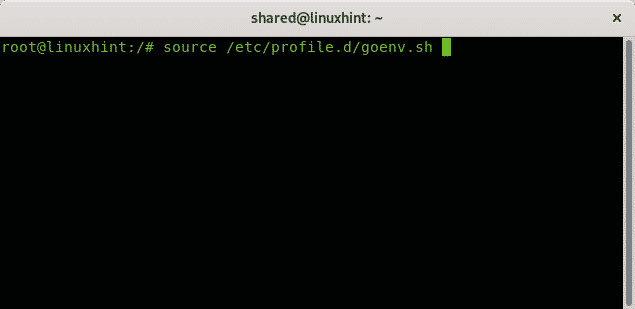
Then run:
Create the following file:

Copy the following content inside the file you just created:
export GOPATH=$HOME/go
export PATH=$PATH:$GOROOT/bin:$GOPATH/bin

Run:
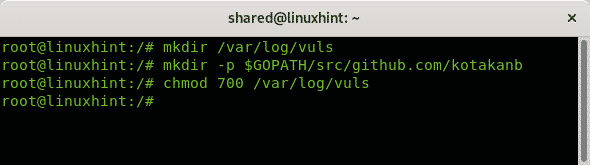
Execute the following commands:
mkdir -p $GOPATH/src/github.com/kotakanb
chmod 700 /var/log/vuls
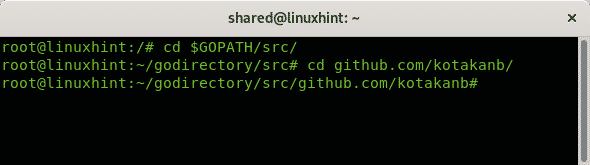
Run the following command, for some reason I wasn’t allowed to access directly so I entered the kotakanb directory in two steps as shown below:
cd github.com/kotakanb/
Clone the go-cve-dictionary directory by running:

Then clone the goval-dictionary by running:

Enter the directory by running:

To install the goval dictionary it run:
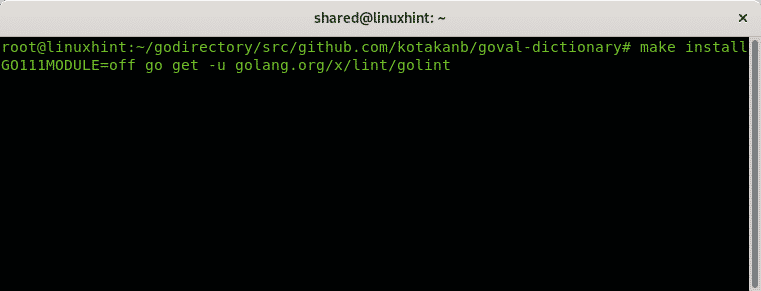
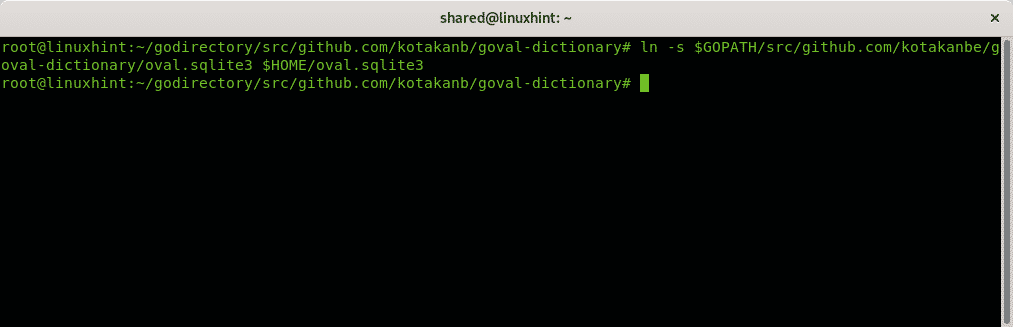
Create a symbolic link by running:
$HOME/oval.sqlite3
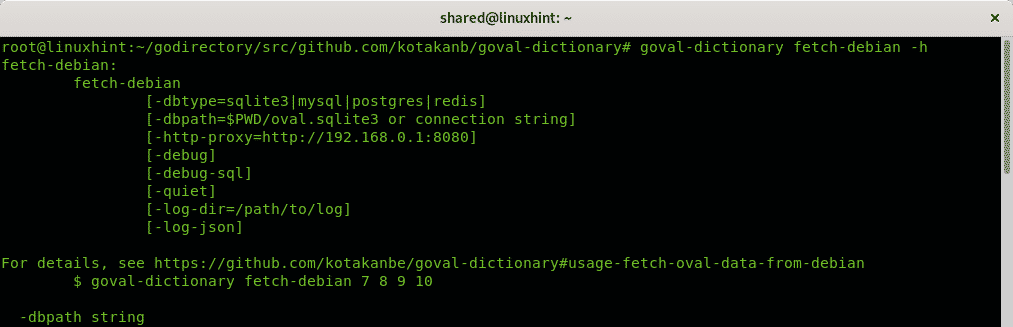
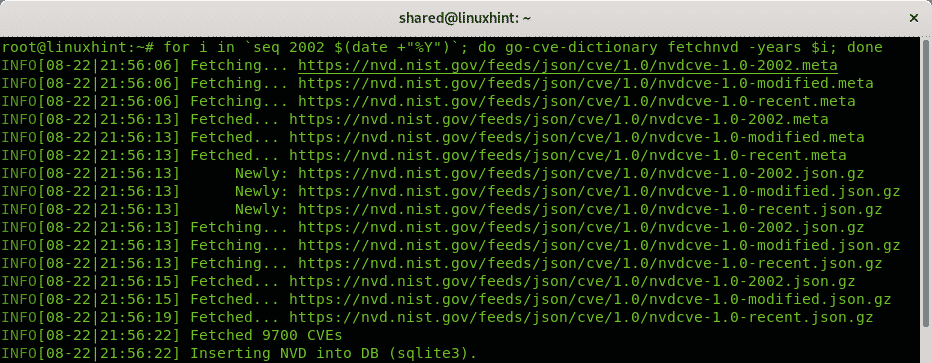
See the help menu to fetch the definitions for Debian systems:
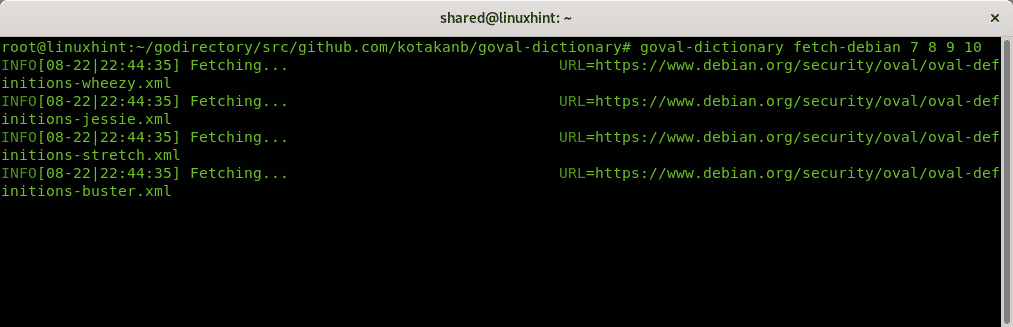
Fetch them by running:
Go back to the go-cve-dictionary directory by running:

Install it executing:

Go to your home directory

run:
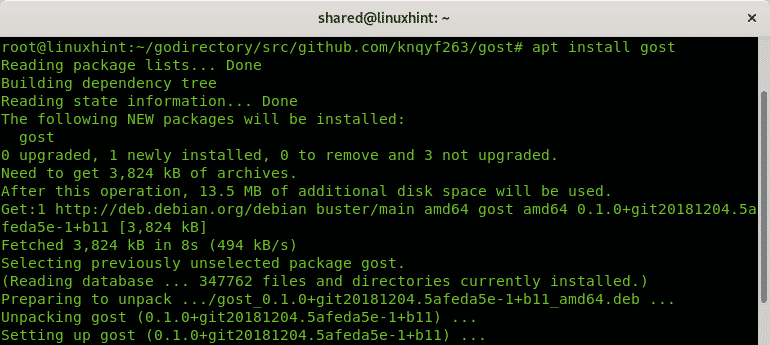
Install gost from apt by running:
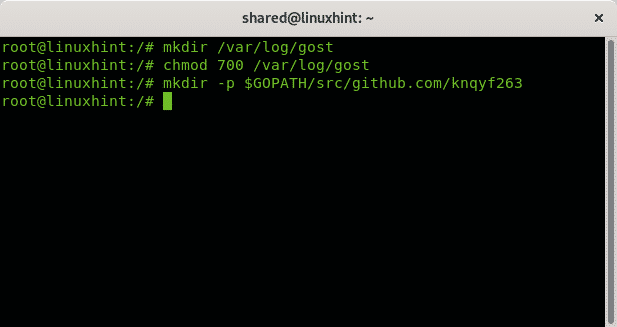
Run the following commands:
chmod 700 /var/log/gost
mkdir -p $GOPATH/src/github.com/knqyf263
Enter into the knqyf263 directory by running:

Clone the gost git:

Enter the gost directory and run make install despite we already installed it through apt, the process didn’t work without running it:
make install

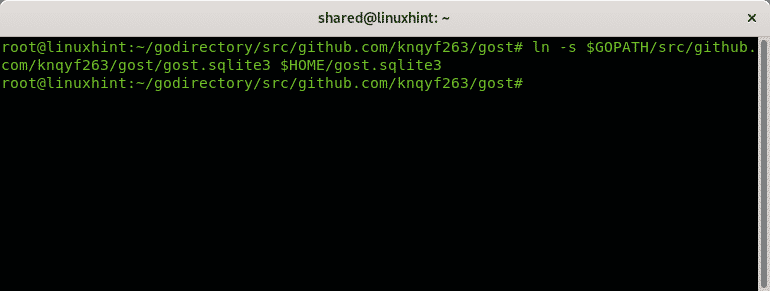
Create a symbolic link:
Fetch Debian definitions.

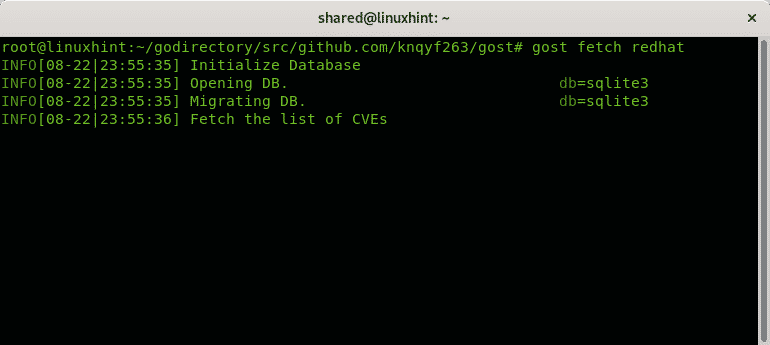
Fetch RedHat definitions if you plan to scan a Red Hat based system too:
Run the following commands:
chmod 700 /var/log/go-exploitdb
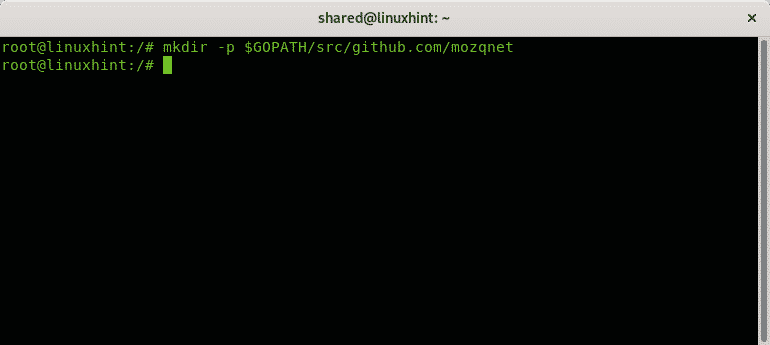
mkdir -p $GOPATH/src/github.com/mozqnet

Create the following directory:
Enter into the directory you just created:

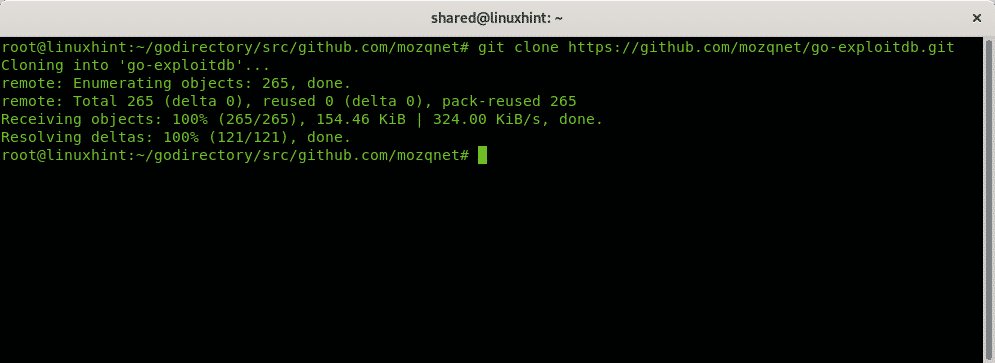
Clone go-exploitdb by running:
Enter the go-exploitdb directory and run make install:
make install

Create another symbolic link:
$HOME/go-exploitdb.sqlite3

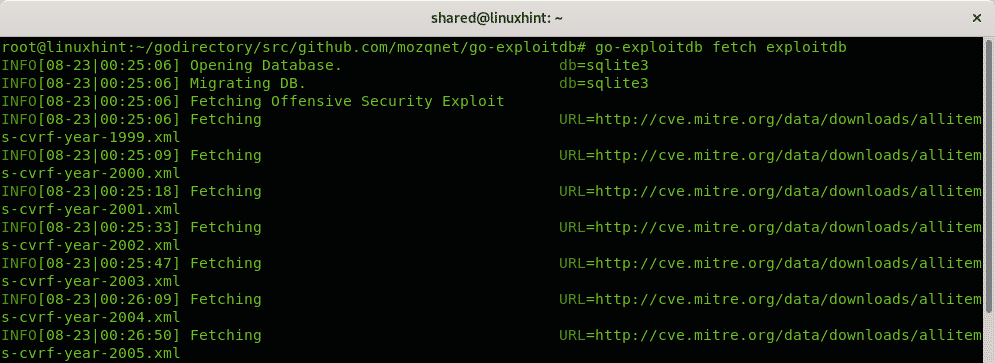
Fetch the exploitdb definitions:
Run the following commands:
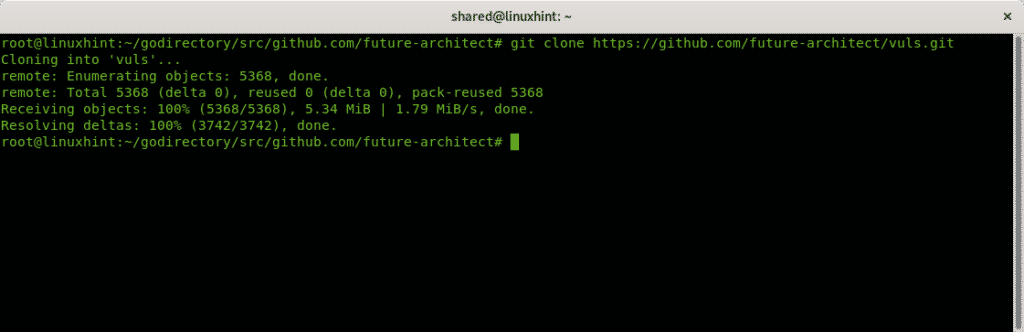
cd $GOPATH/src/github.com/future-architect

Clone Vuls by running:
Enter Vuls directory and run make install:
make install

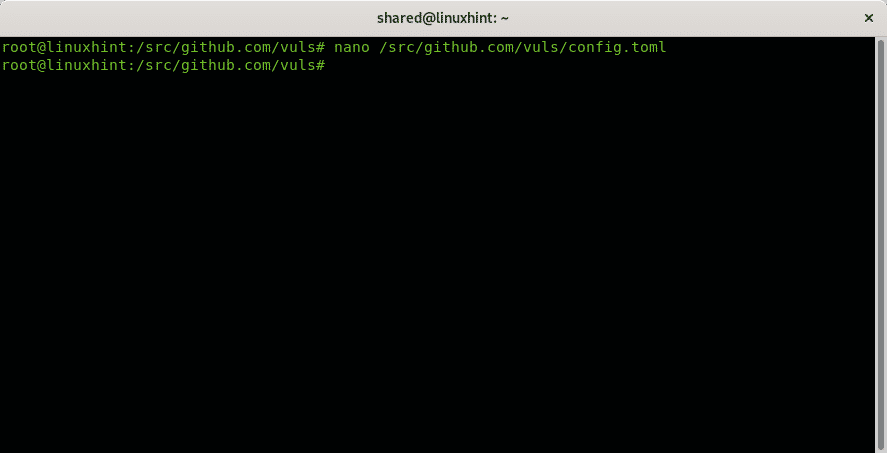
Create the following file both within your home directory and within /src/github.com/vuls/:
nano /src/github.com/vuls/config.toml
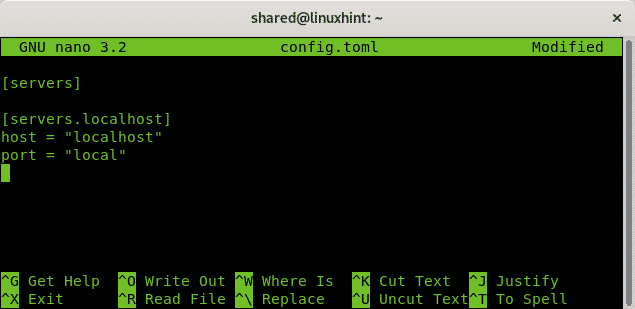
For a local scan, copy the following information within the created file:
[servers.localhost]
host = "localhost"
port = "local"
Create the same file within your home directory:
nano config.toml
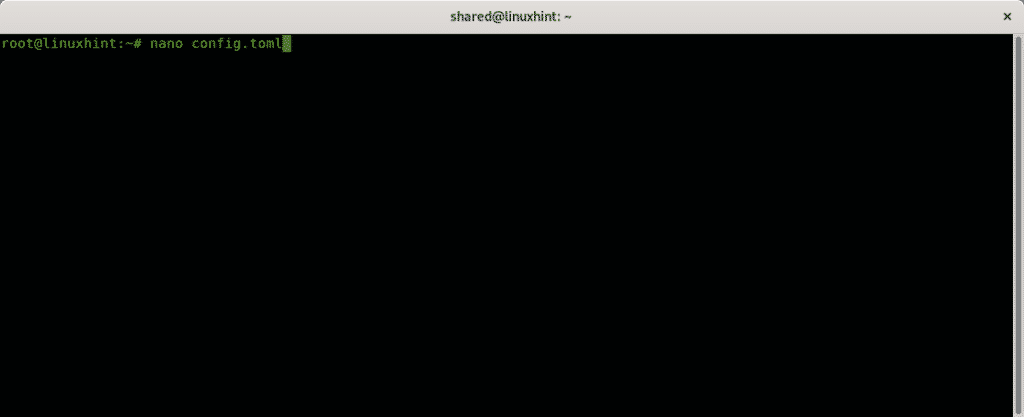
Copy the same content for a local scan of your Debian or RedHat system:
[servers.localhost]
host = "localhost"
port = "local"

Check Vuls configuration by running:
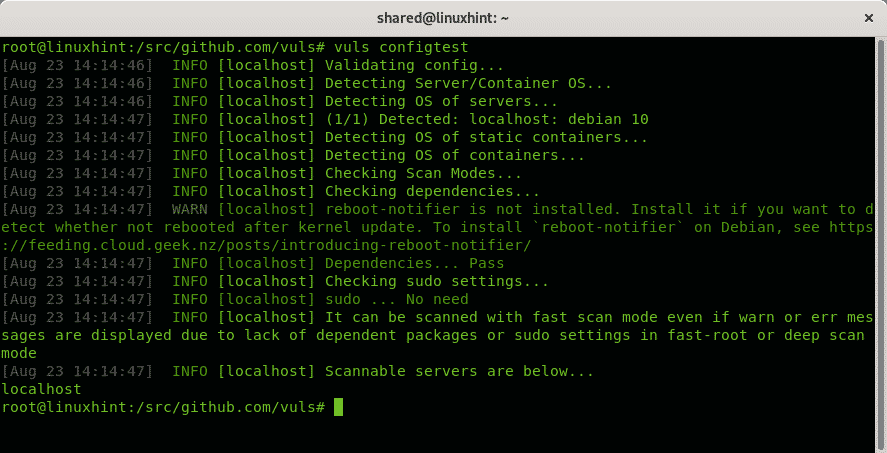
Run the first scan for your local computer:

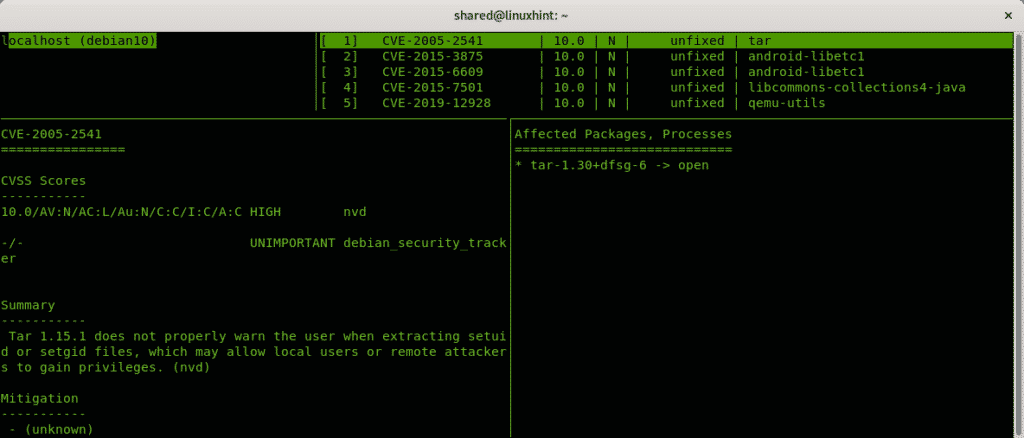
To see results run:
Note: To configure Vuls for remote scans see the official documentation at https://vuls.io/docs/en/architecture-remote-local.html
Conclusion
To me Nmap is superior to all scanners mentioned above also to find vulnerabilities on targets by implementing NSE if we have defined targets. Masscan and Zmap probably are a better option to find random targets due their speed.
I hope you found this tutorial useful for alternatives to Nmap, keep following LinuxHint for more tips and updates on Linux and networking.
Related articles
OpenVAS Ubuntu Installation and Tutorial
Nessus Ubuntu Installation and Tutorial
Getting started with Nikto vulnerability scanner
Installing Nexpose Vulnerability Scanner on Debian/Ubuntu