This tutorial explains how to work with the Nftables Linux firewall. This content is optimized both for Linux experienced and new users.
Nftables is a component of the Linux kernel providing firewall functionalities. It is the replacement of Iptables.
After reading this tutorial, you will understand the Nftables’ rules, and you will be able to create your firewall. You don’t need previous knowledge on Iptables.
All examples in this tutorial contain screenshots, making it easy for all Linux users, independent of their knowledge level, to understand and implement them.
Getting Started With Nftables
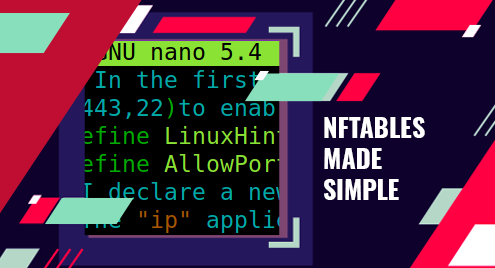
Before getting started, create and open a file using a text editor like nano or vi to start typing your first Nftables rules based on the following example. Do not copy-paste; type everything.

The example in this tutorial is pretty simple and shows a restrictive firewall in which all IPv4 traffic is dropped except for loopback and specific ports.

In the previous screenshot, I used the first line to define my local network (192.168.0.0/16) as LinuxHintNet.
In the second line, I define a group of ports (80,443, and 22). I call this group AllowPorts because I plan to allow traffic through them. AllowPorts is an arbitrary name.
Then, I add a table, which is a container or group of chains and rules; both of them are explained below. Tables help rules and chains to be organized. I called the table in the example “Restrictive” because it contains a restrictive policy, and its name is arbitrary.
The IP before the table name indicates that que table rules will only be applied to IPv4 traffic. You can use inet instead of IP to apply rules to IPv4 and IPv6 protocols. Or you can replace IP with ip6 for IPv6 only.
Remember, Restrictive is a name I defined arbitrarily. You can name the table as you want.
In my case, I apply rules only to IPv4, as shown below.
For both protocols, use the following:
Then we add the first base chain, which I arbitrarily name Incoming because it’s related to the incoming traffic. However, you can name it as you want.
The following base chain drops all incoming traffic by default:
- add chain ip Restrictive Incoming: This section adds the Restrictive Incoming chain to be applied to IPv4
- type filter: This defines the chain type as a filter since it will filter traffic. Other possible chain types are route or NAT
- hook input: Refers to incoming packets
- priority 0: Base chain priority defines base chains order
- policy drop: The drop policy, by default, discards all packets
As you can see in the following screenshot, I created two other base chains similar to the previous, Restrictive Redirect and Restrictive Outgoing. The difference is the defined hook for each (hook forward and hook output). Explaining them is repetitive.
After the three base chains, we can continue with the Nftables rules to allow loopback traffic.
I add the following lines for incoming and outgoing traffic on the loopback interface.
add rule ip Restrictive Incoming oifname lo counter accept
Now, I add four rules accepting outgoing and incoming TCP and UDP traffic through all ports included in the variable $AllowPorts defined at the beginning of the file.
add rule ip Restrictive Outgoing tcp dport $AllowPorts counter accept
add rule ip Restrictive Incoming udp sport $AllowPorts counter accept
add rule ip Restrictive Outgoing udp dport $AllowPorts counter accept
You can see the full script below.
Once you finish typing your tables, chains, and rules, close the document and save the changes.
#443,22)to enable traffic through them in the rules below.
define LinuxHintNet = 192.168.0.0/16
define AllowPorts = {80,443,53,22}
#I declare a new table which will contain chains and rules. I call this table "Restrictive".
#The "ip" applies rules to IPv4 only. For IPv6, only use "ip6" and use "inet" for both protocols.
add table ip Restrictive
# After creating the table, I create three chains, Incoming, Redirect and Outgoing,
#Their names are arbitrary. All of them drop incoming, outgoing, and forwarding traffic by default.
add chain ip Restrictive Incoming { type filter hook input priority 0; policy drop; }
add chain ip Restrictive Redirect { type filter hook forward priority 0; policy drop; }
add chain ip Restrictive Outgoing { type filter hook output priority 0; policy drop; }
# I implement two rules to allow loopback traffic.
add rule ip Restrictive Incoming iifname lo counter accept
add rule ip Restrictive Incoming oifname lo counter accept
# I implement rules to allow traffic through ports defined in the AllowPorts variable.
add rule ip Restrictive Incoming tcp sport $AllowPorts counter accept
add rule ip Restrictive Outgoing tcp dport $AllowPorts counter accept
add rule ip Restrictive Incoming udp sport $AllowPorts counter accept
add rule ip Restrictive Outgoing udp dport $AllowPorts counter accept
To activate the firewall, run the following command:

You can check your rules by running the following command:
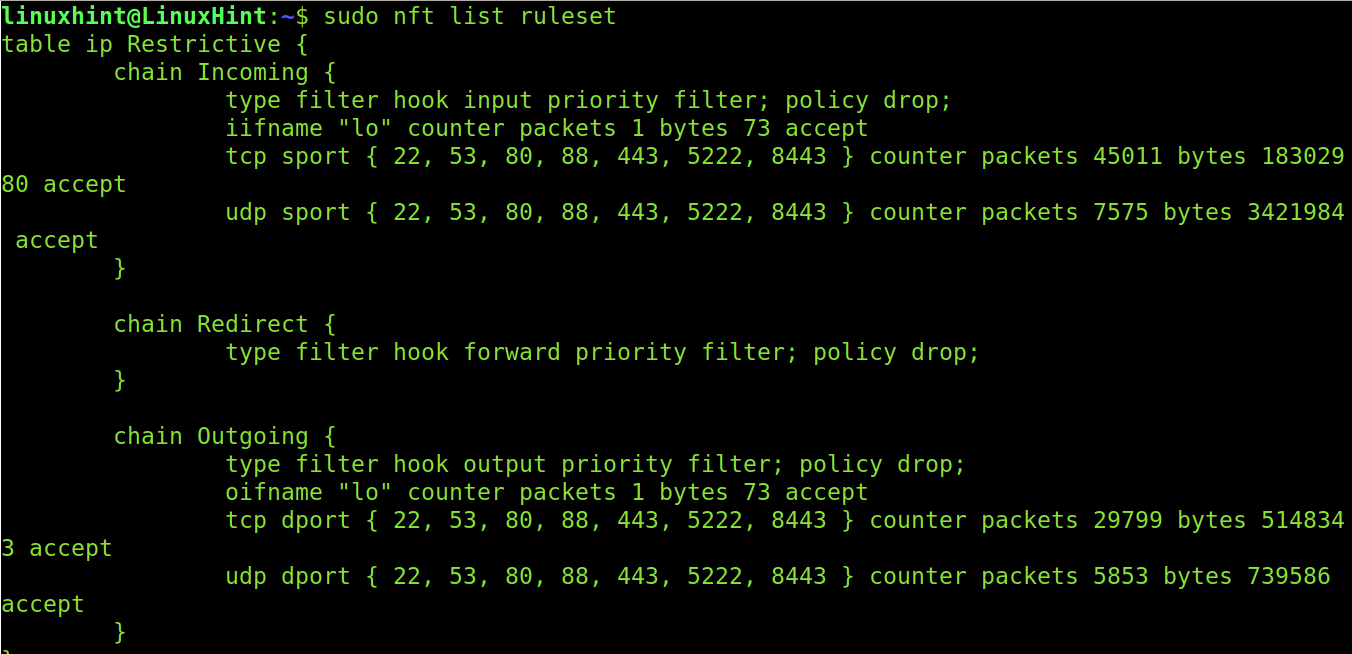
That’s a basic restrictive firewall.
Conclusion:
As you can see, Nftables is much more friendly than Iptables, and users can learn Nftables faster than Iptables. Since Iptables is being discontinued, and many distributions are using Nftables as the default firewall, including Debian. Iptables experienced users may want to look at the Iptables-nftables-compat tool, which translates Iptables to Nftables. This may help them to understand the differences.
Professional users like system administrators tend to keep working with Iptables; avoid ignoring Nftables to save time while improving filtering. I hope this article was simple enough to convince you to try Nftables.