
If you use the netplan command on Ubuntu, then It becomes easy to restart and change network settings. Netplan is also good for automation (humans and programs can read YAML). This write-up is focusing on how to use the netplan command on Ubuntu. Let’s begin:
How to list out all active network interfaces on Ubuntu
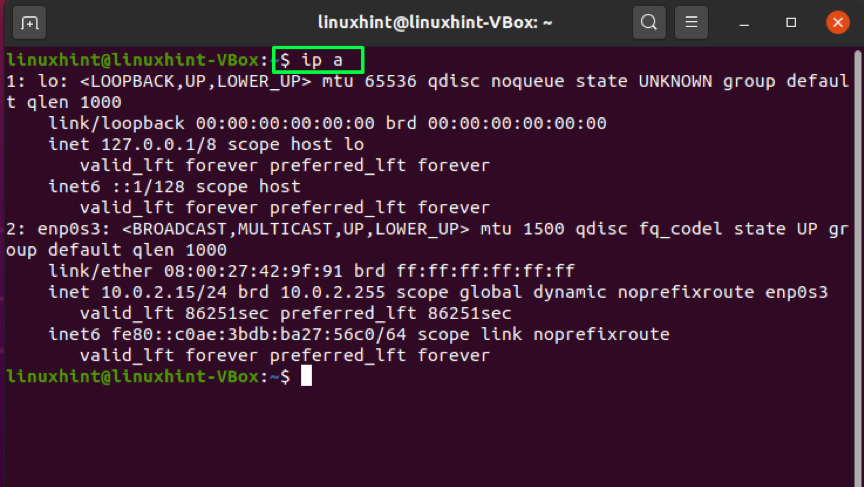
Any Linux system administrator should be familiar with the “ip” command, a powerful tool for configuring network interfaces. It can be used to assign and delete addresses and routes, put up or down interfaces, control ARP cache, and more. To get a list of active network interfaces on your system, utilize the “a” option in the ip command:
How to use netplan command for setting dynamic IP address on Ubuntu
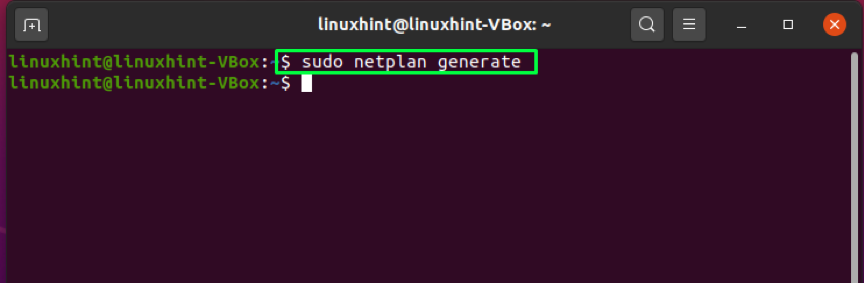
This section will show you how to set a dynamic address on Ubuntu using the netplan command. But firstly, if the required YAML file does not exist in your system, then generate the renderer configuration file by writing out the below-given command in your terminal:
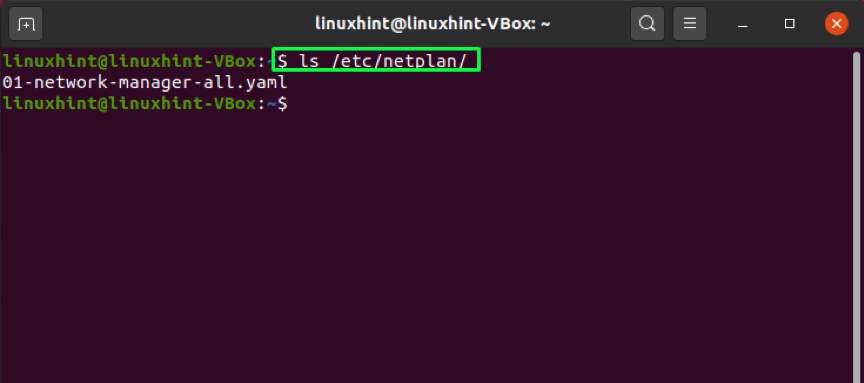
Now, verify its presence on your system by listing out the “/etc/netplan/” files:
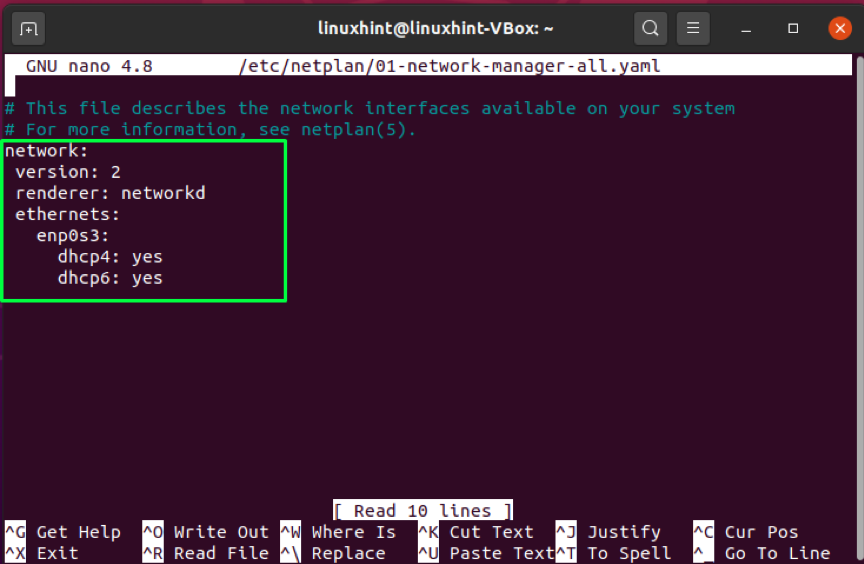
Check the content of the network renderer configuration file:

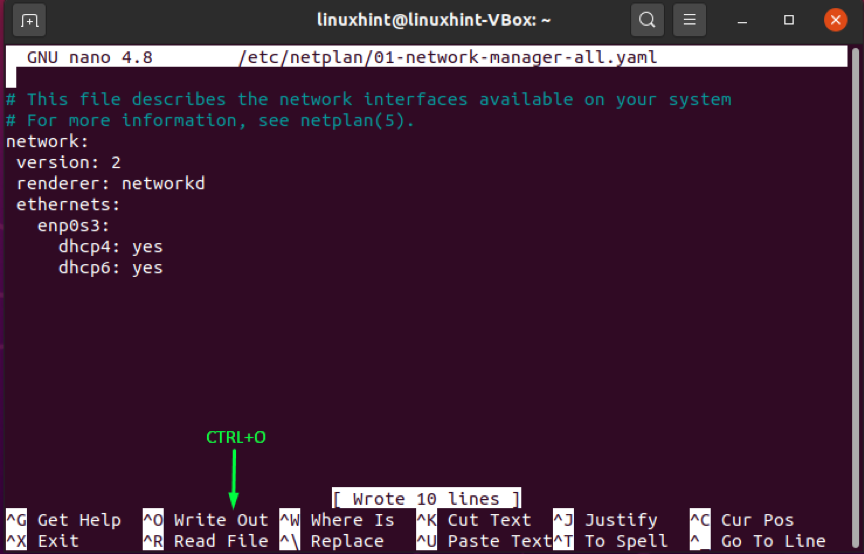
Open up the “/etc/netplan/*.yaml” file in your nano editor:

Now write out the below-given code in the /etc/netplan/*.yaml” file. We are going to set a dynamic IP address for our “enp0s3” network interface:
version: 2
renderer: networkd
ethernets:
enp0s3:
dhcp4: yes
dhcp6: yes
In the above-given command:
- dhcp4and dhcp6 are IPv4 and IPv6 DHCP properties.
- enp0s3is the network interface name.
Press “CTRL+O” to save the changes in this file:
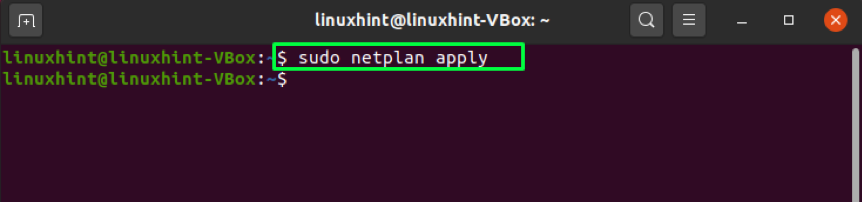
To apply modified network settings, utilize the below-given command in your terminal:

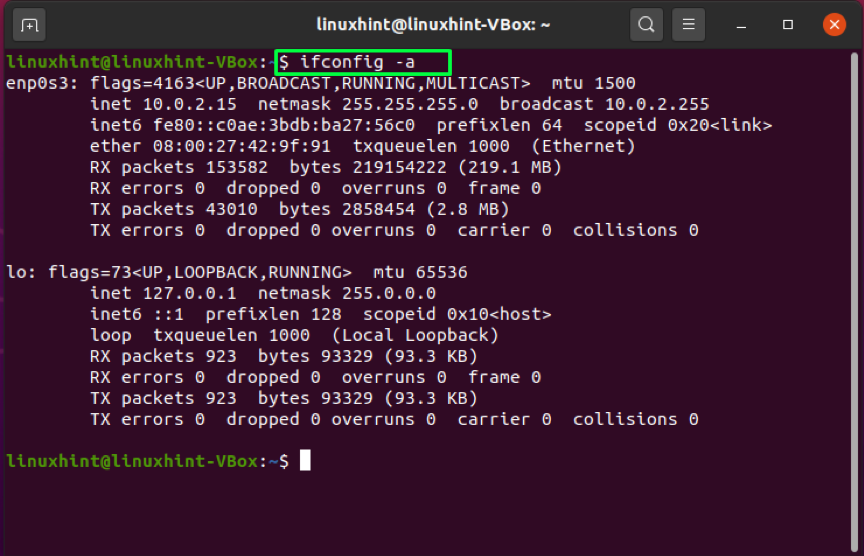
Write out this command to confirm the IP address:
How to use netplan command for setting static IP address on Ubuntu
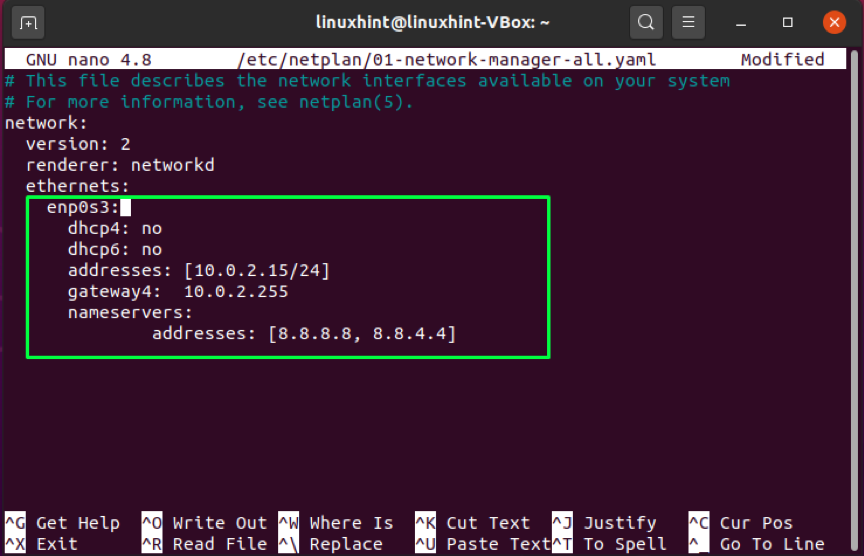
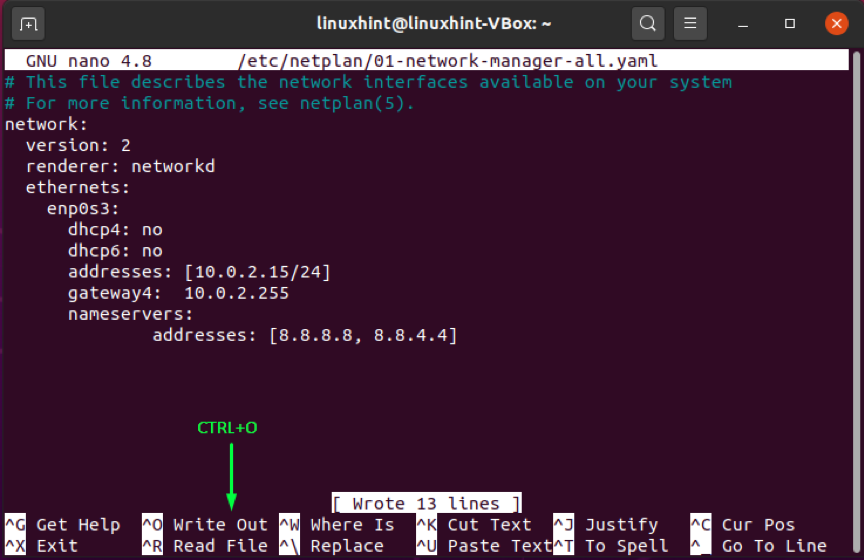
First of all, open up the “/etc/netplan/*.yaml” file in your nano editor:

Then, write out the following code in the “/etc/netplan/*.yaml” file for setting a static IP address on your system:
version: 2
renderer: networkd
ethernets:
enp0s3:
dhcp4: no
dhcp6: no
addresses: [10.0.2.15/24]
gateway4: 10.0.2.255
nameservers:
addresses: [8.8.8.8, 8.8.4.4]
In the above-given command:
- dhcp4and dhcp6 are IPv4 and IPv6 DHCP properties.
- enp0s3 is the network interface name.
- addresses contain the sequence of static addresses to the network interface.
- gateway4contains default gateway’s IPv4 address.
- nameserverscomprise a sequence of IP addresses for nameservers.
Press “CTRL+O” to save the changes we made in the file:
After that, apply the modified network settings by utilizing the below-given command:
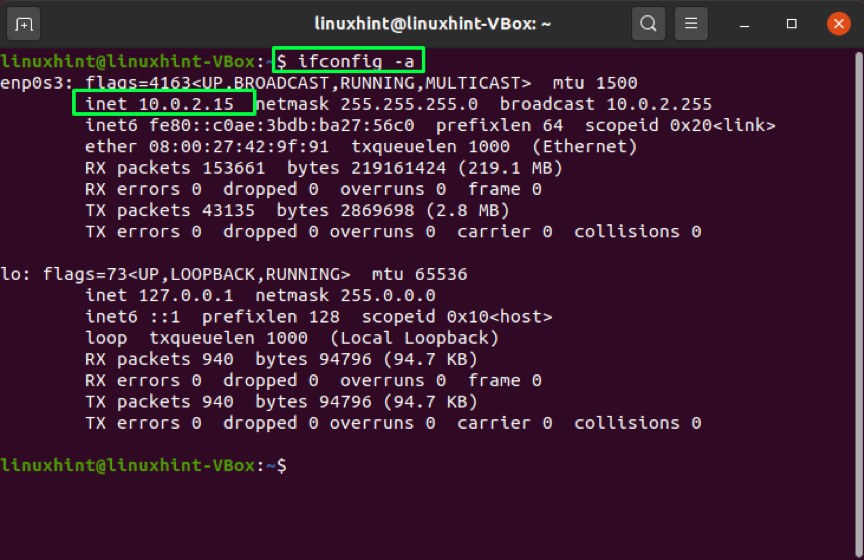
Now, check out if the configured “enp0s3” is connected to the local network and have a static IP address which we assigned earlier:
How to get more information about netplan on Ubuntu
To know more about the configuration options and information related to the netplan command, you can check out its man page:


Follow this link to check out more configuration examples.
Conclusion
Netplan was introduced in Ubuntu 17.10 and is active by default in the latest releases, including Ubuntu 20.04. The purpose of this tool is to use YAML configuration files to abstract network interface configurations. Those configurations are then translated into networkd setups and NetworkManager for the given renderer. I hope the usage of netplan command for setting the static and dynamic addresses on Ubuntu will be clear for you after reading this article. To know more about trendy technology topics, keep following Linux Hint.