This post will discuss the negation operators and their usage.
How to Negate a Condition in PowerShell?
These are the methods/operators that can be used to negate a condition in PowerShell:
Method 1: Negate a Condition in PowerShell Using “-Not” Operator
The “-Not” operator is a negation operator. It is used to negate conditions in PowerShell that are added afterward.
Example
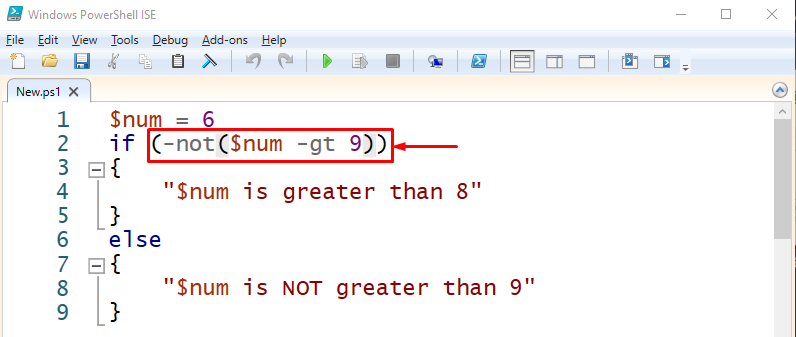
Now, let’s negate a condition using the “-not” operator. We will use the negation operator in the “if condition”, such as “if(-not(condition))”. The added condition will check if the value of the “$num” variable is greater than 9 and then negates the resultant value due to the “-not” operator:
if (-not($num -gt 9))
{
"$num is greater than 8"
}
else
{
"$num is NOT greater than 9"
}
Note that PowerShell is case-sensitive. So, both the “-Not” and “-not” will work the same.
Output
As we have negated the condition, that is why the “if statement” has been executed and the added message is displayed on the screen.
Method 2: Negate a Condition in PowerShell Using “!” Operator
Another negation operator that is used to negate a condition is a “!” operator. It works the same as the “-Not” operator.
Example
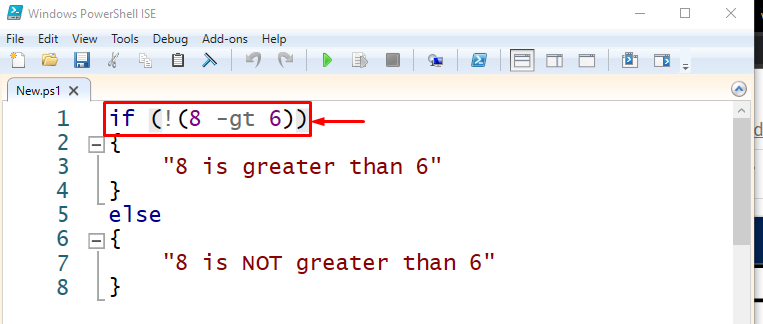
In this example, we will utilize the “!” operator for negating the condition “8 -gt 6”:
{
"8 is greater than 6"
}
else
{
"8 is NOT greater than 6"
}
Output
The output shows that the condition has been negated successfully.
Conclusion
To negate a condition in PowerShell, two negation operators “-Not” and “!” can be used. You can add any of the mentioned operators in the “if” statement to negate a condition using the “if (-not(condition))” syntax, or “if (!(condition))”. This post has demonstrated several methods to negate a condition in PowerShell.


