The results of ncdu are displayed on a Text User Interface (TUI), and you can easily track the space usage using the tool, as discussed in the article.
How To Install ncdu
The ncdu doesn’t come preinstalled, but its installation is quite simple. You only need to type the following command:

How To Use ncdu
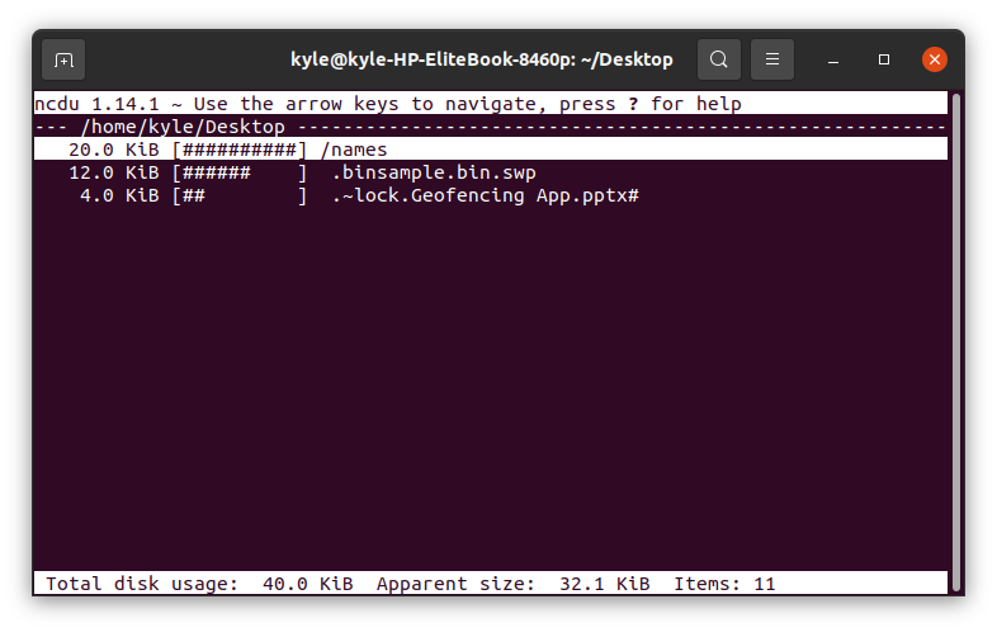
The ncdu command calculates the disk usage of your current directory unless you specify the path. For instance, running the command while on the Desktop/ will display the disk usage, as shown below:
We note that it lists the files in the directory and the space they use. Furthermore, the total disk usage for the given directory gets displayed at the interface’s bottom. To quit the window, press q.
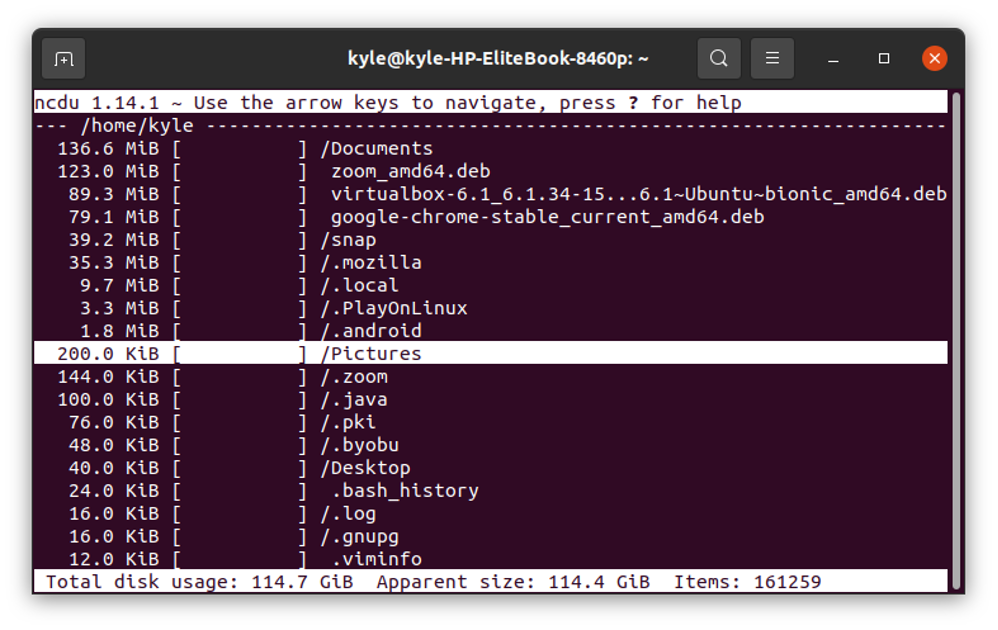
The Up and Down keyboard keys help navigate the files. If you need to move to a given directory, then you can move to it. When it’s selected, click the enter key.
For instance, the following output selects the Pictures/:
To return to the initial directory, press the left arrow key.
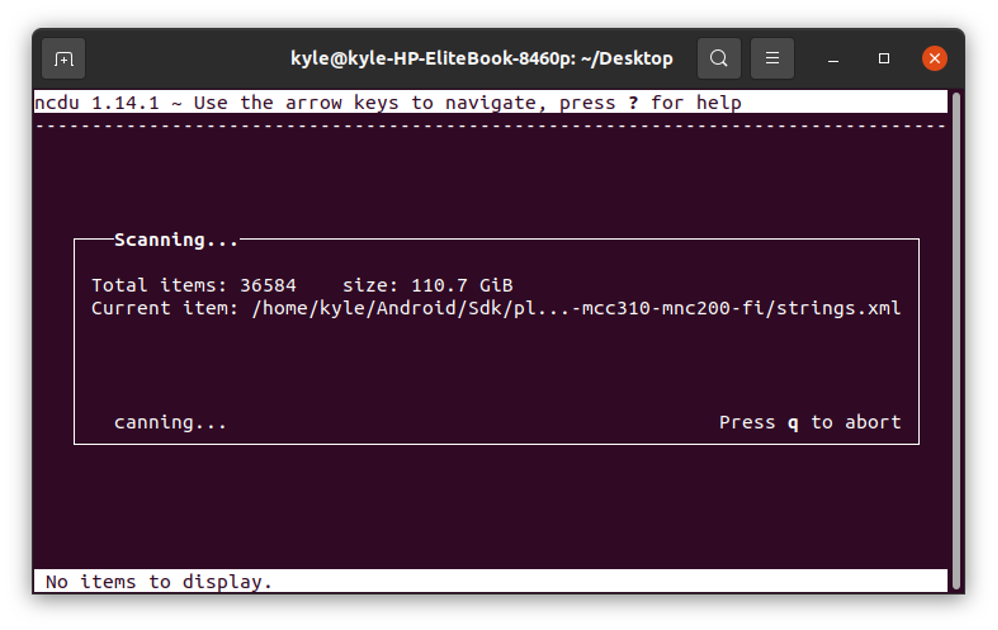
Moreover, if you intend to scan large directories, such as your home directory, you can achieve that using ncdu. However, this will take time. Besides, you will get the following window:
Viewing Directory Information
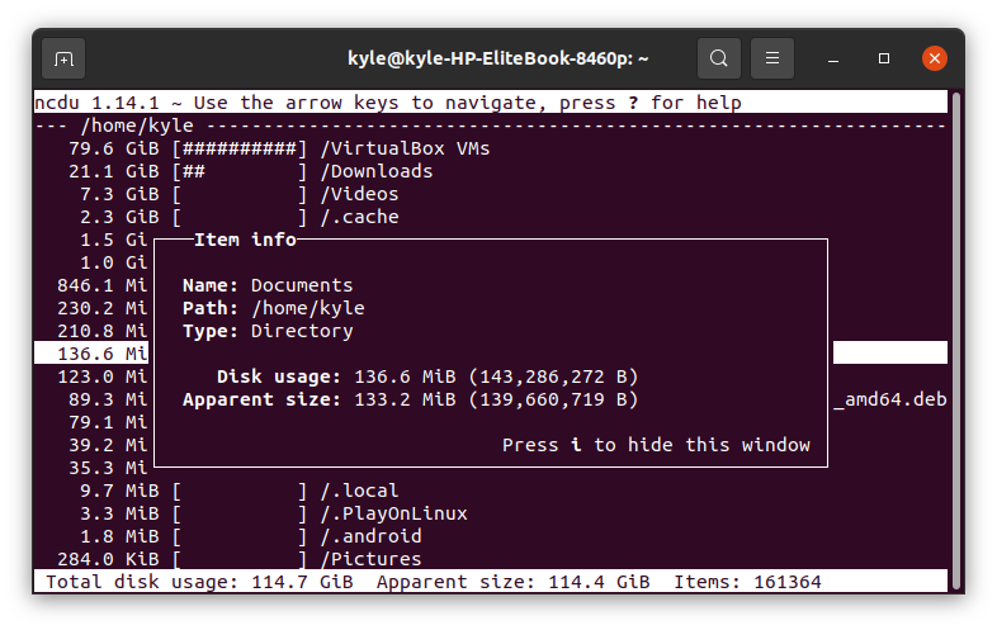
You can get the information of a selected directory, such as the disk usage and the full path, by pressing the “i” keyboard key. You can press it again to exit the window.
Open Help Page
While using ncdu to display the tree structure of the disk usage, you can press SHIFT + ? to open a Help window and move up and down the window using the arrow keys.
Deleting a Directory Using ncdu
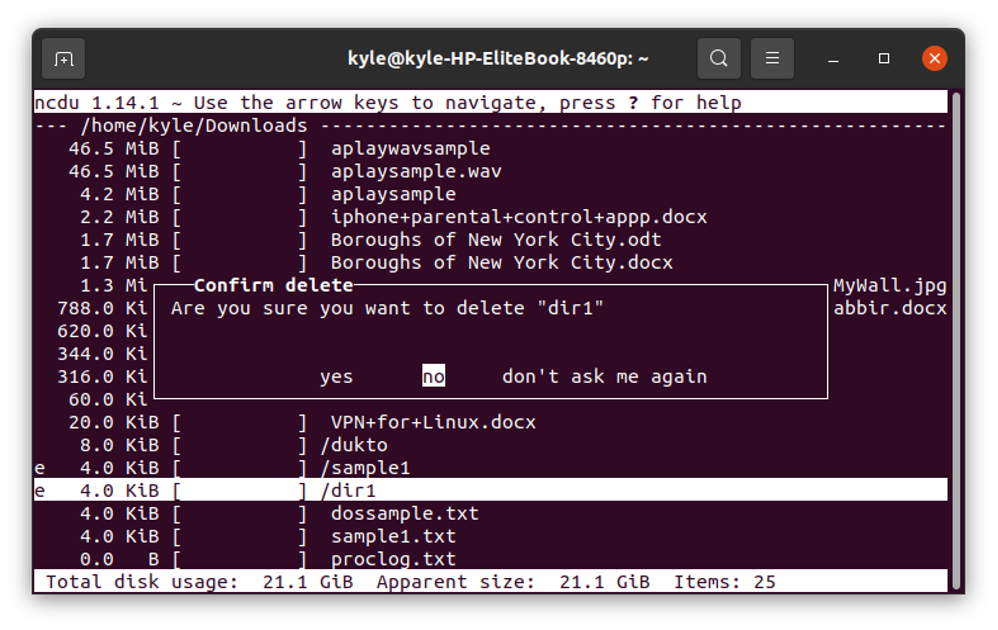
Using ncdu, you can delete a selected directory. Use the -d options, and click Yes or No on the confirmation prompt.
For instance, let’s try to delete a directory named dir1:
Specifying a Specific Path
It’s possible to use ncdu to check the disk usage outside the current directory by specifying the path. For instance, to check disk usage of the Downloads/ directory from a different working directory, the following command will be:
Scanning the Full System
The ncdu also allows you to check the disk usage of your root (/) system, as shown below:
Scanning the root system is time-consuming. However, you can export the results for the scan to a file and review them later. To scan a given directory and store results as an archive file, use the following command:
The -x specifies ncdu to stick to files and directories within the same file system as the specified one. In the previous example, we are checking the disk usage of the Downloads directory and storing results in our working directory, as shown below:
Afterward, you can read the archive file and pipe the results to ncdu to display the usage using the -f- flag.
The output will be similar to scanning the disk usage of the Downloads/ directly. The only difference, in this case, is that you scanned earlier and reviewed the results later from a file.
The ncdu Colors
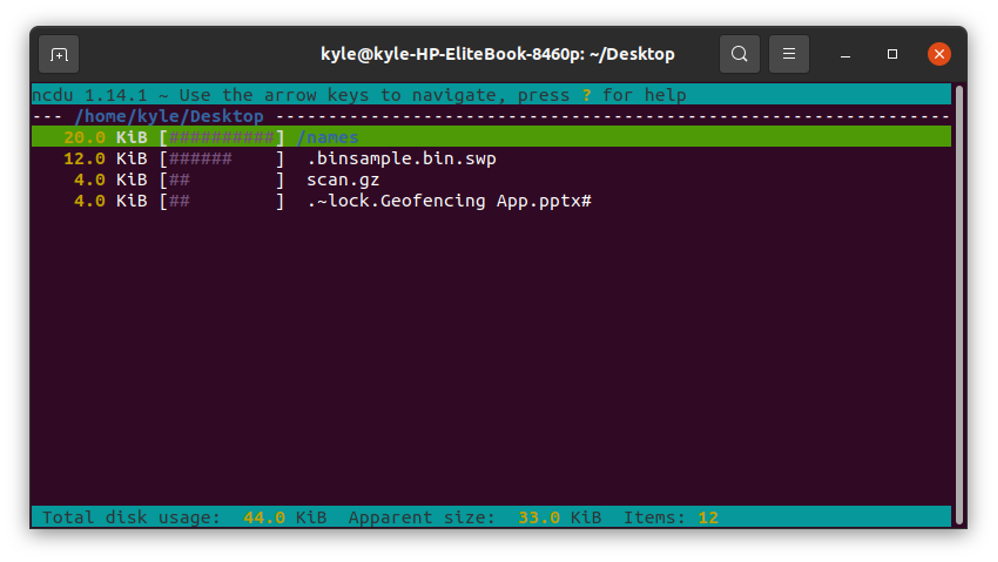
It’s possible to add the color option on ncdu, and you can do that using the following command:
The colored output screen will be:
Furthermore, some keyboard shortcuts are helpful to navigate, and you can access them by pressing the “?” Keyboard key to view the complete list.
Conclusion
The ncdu is a utility that you can’t sideline. Yes, you can use the du -h command to check the disk usage of the given directory. However, using ncdu is the better option. With ncdu, you can get a nice window for the output, and the options and commands available are easy to use. Hopefully, you found this article helpful and will get used to ncdu along the way.

