It is a powerful tool that enables us to visualize modules for creating, executing, and optimizing several queries. So, in this article, I am going to give a tour of MySQL Workbench and show you how to use it.
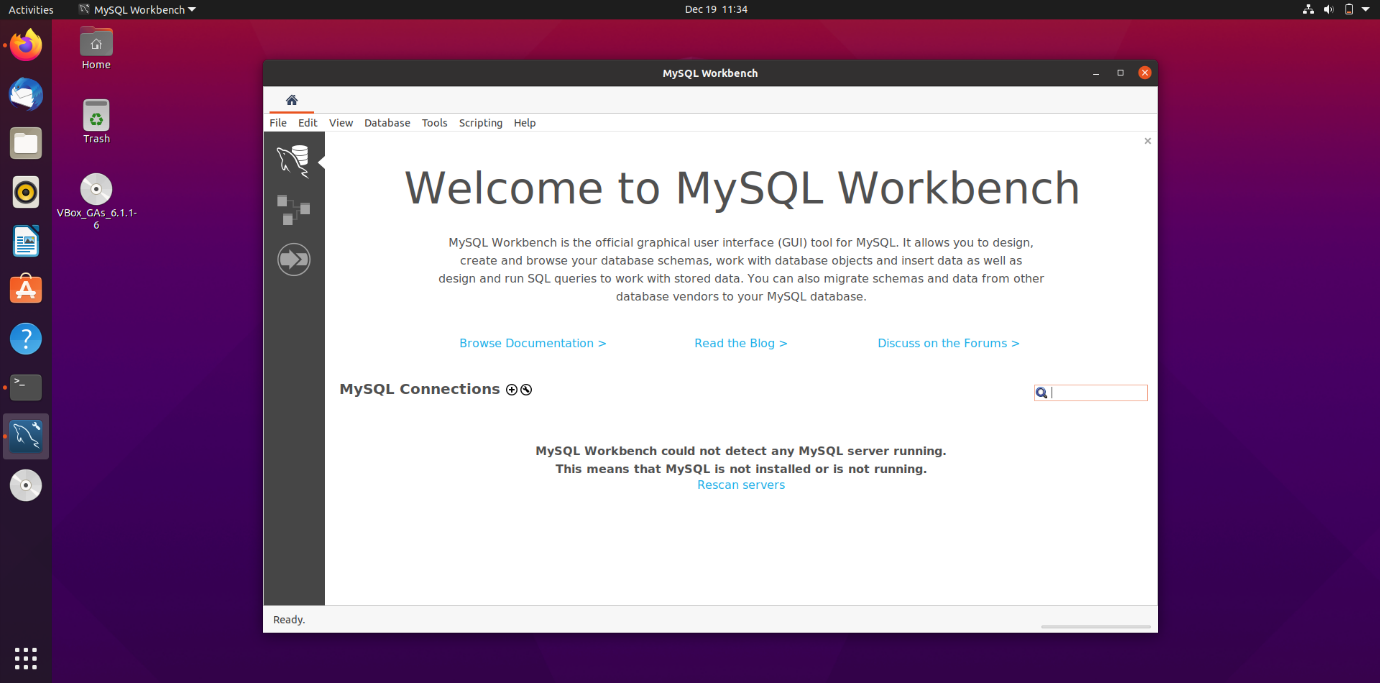
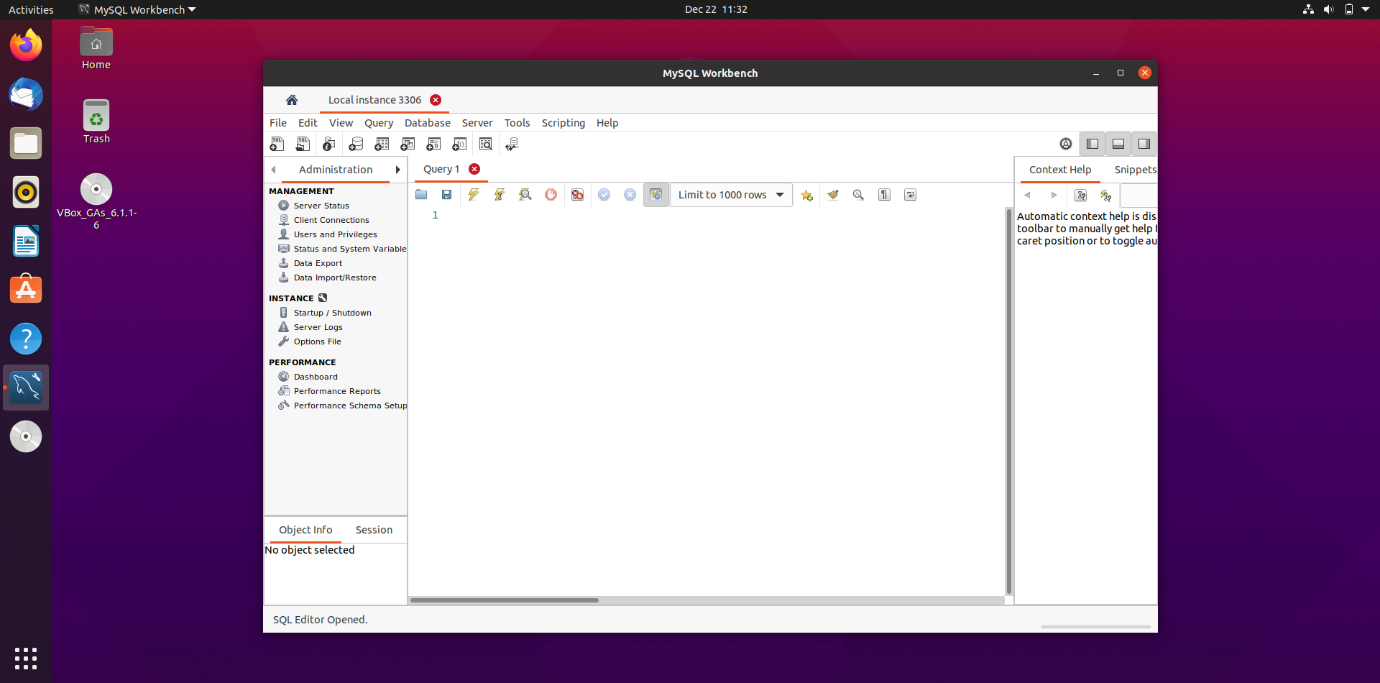
After installation, when you launch MySQL workbench for the first time, it somewhat looks like the following screenshot. It is the home window of the workbench.
Here you will be able to perform database admin tasks, right from creating a database to configuring and executing database servers.
Key MySQL Workbench Features
- SQL Development
- Data Modeling
- Server Administration
- Data Migration
- MySQL Enterprise Support
So, there are three modules in MySQL Workbench, SQL Development, Data Modeling, and Migration. For each of these, there is a separate tab present on the MySQL Workbench home screen.
1. SQL Development
This is the first module in MySQL workbench that enables database administrators to create and manage connections to database servers.
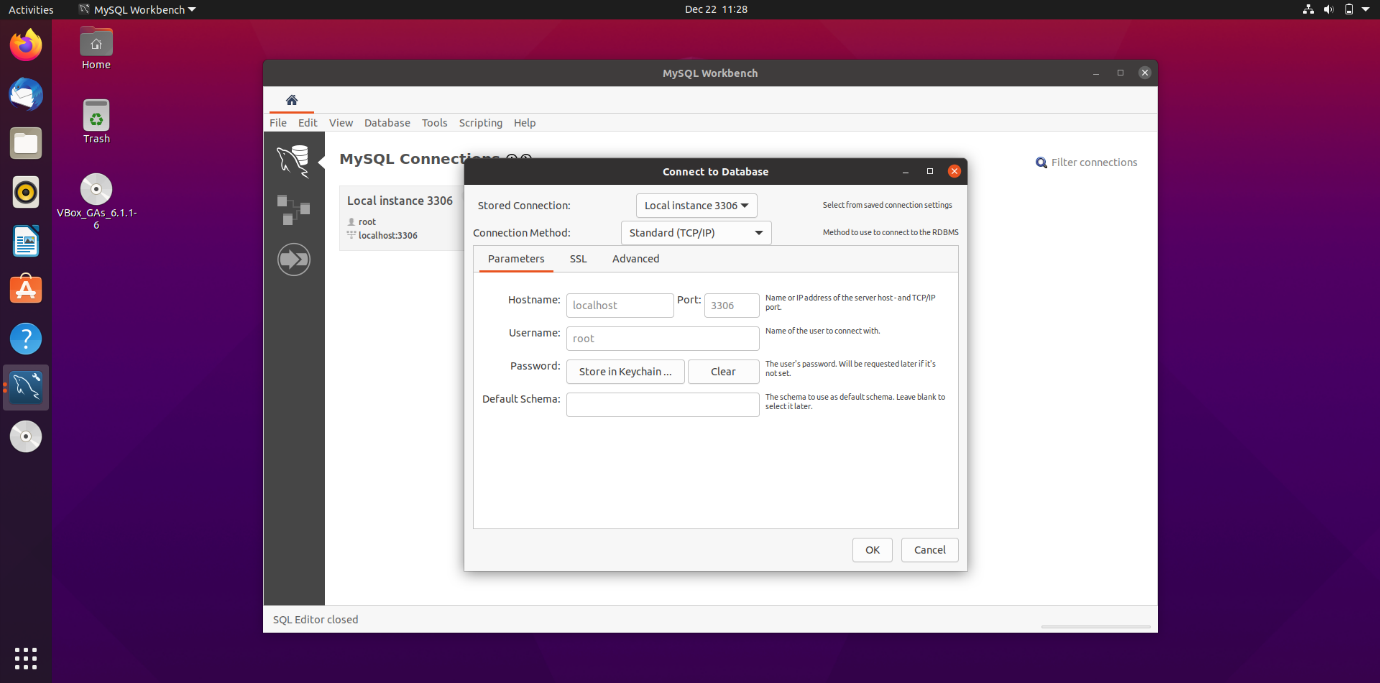
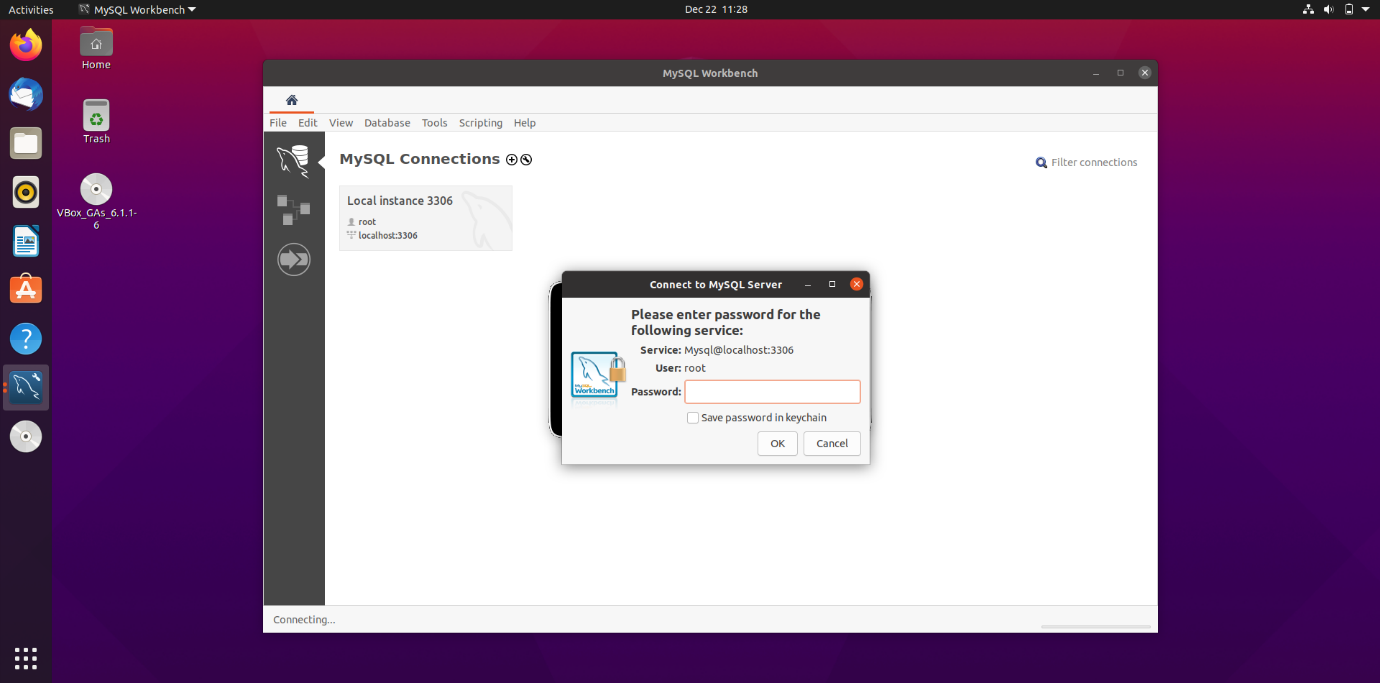
For example, let me show you how you can connect to localhost. Click on Databases and then Connect to Database, a new window will appear similar to the below screenshot, here you need to click Ok, and then, it will ask for a MySQL server password.
Enter your password and click Ok. It will connect to the database named, localhost. You can also check Save the password in keychain to remember it for future use.
The following window will appear with a tab named Query 1 on successful connection to the database. Here you can start creating and managing databases.
The output pane here gives you output to any query you run or execute. It means you can see the result immediately.
For example, let’s create a table named LINUXHINT1 and try to execute it. Don’t forget to select the default schema before executing any query.
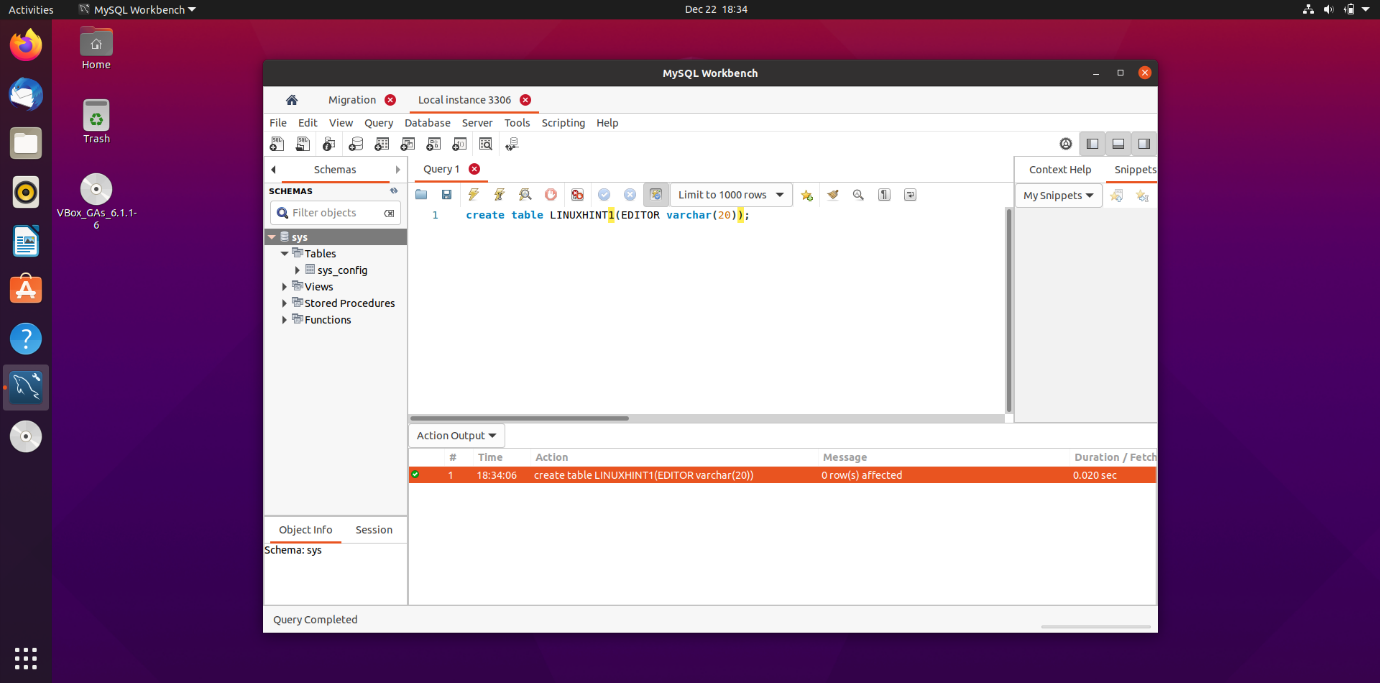
You can see in the above screenshot that table named, LINUXHINT1, is created in the output pane.
2. Data Modeling
As the name suggests, it will help you create models of your database graphically and allow you to perform reverse and forward engineering between schema and live databases.
You can also add various fields to your database using its comprehensive table editor, which is very easy to use and offers tools to edit tables, columns, indexes, and various more.
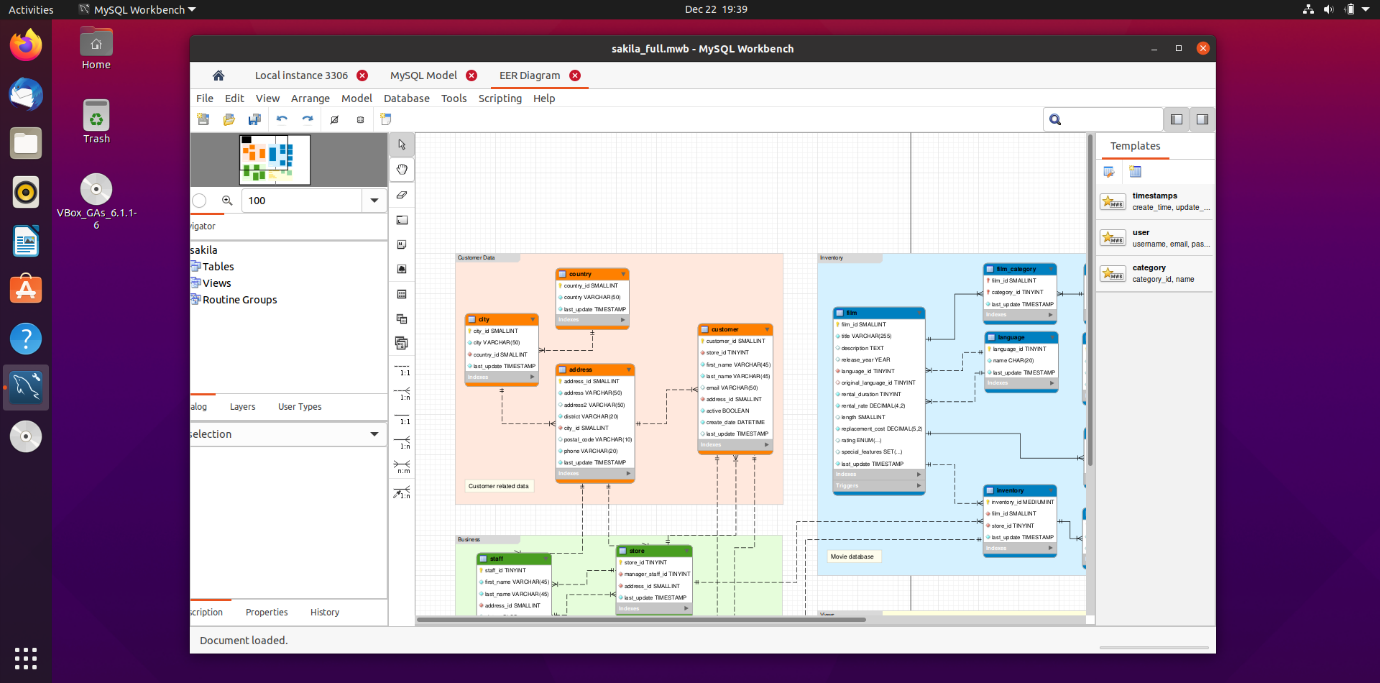
The data modeling window is something that looks like what is shown in the following screen shot. Here you can see various buttons like Add Diagram, Add Table, Add View, Add Routine, and Add Groups.
You can use the schema privileges drop-down to add users and various user roles. Also, you can add scripts under the SQL Scripts drop-down.
3. Data Migration
It is a great feature to migrate the data from other databases like Microsoft SQL server, Microsoft Access, Sybase ASE, SQLite, and other relational database management systems (RDBMS).
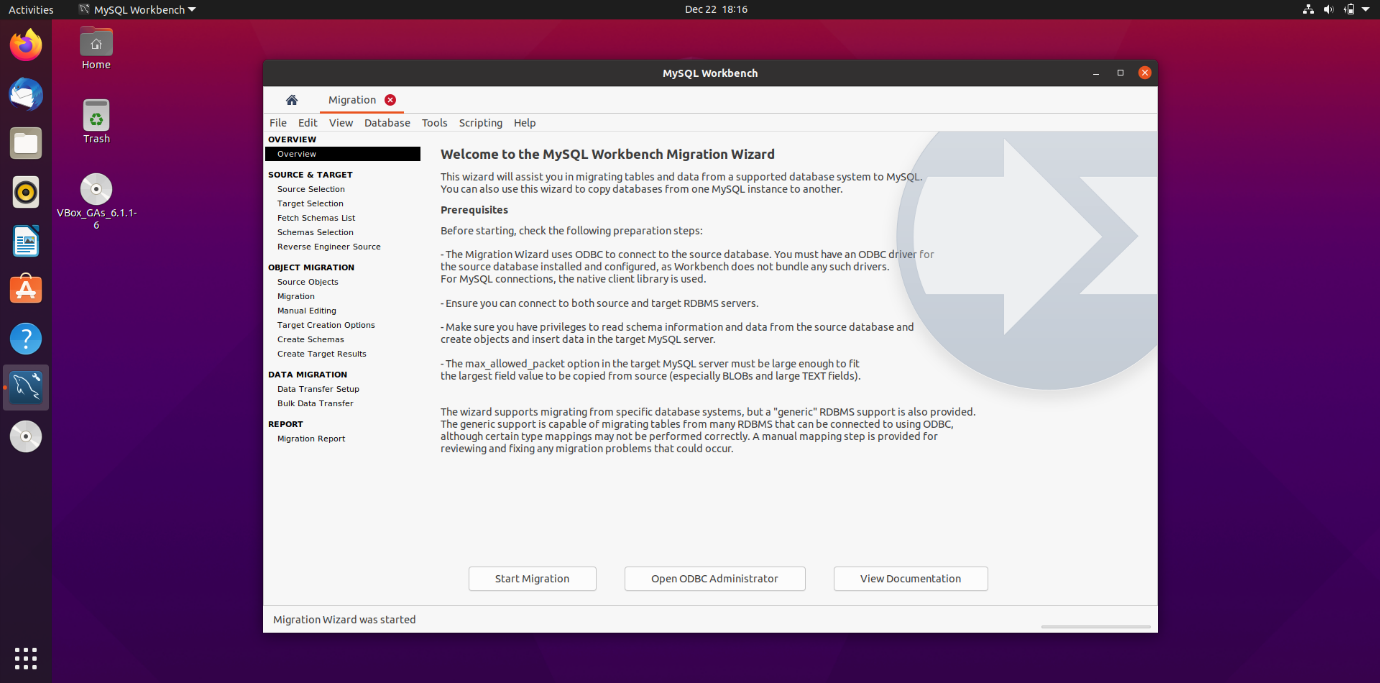
On top of that, you can also migrate from earlier versions of MySQL to the latest releases.
So, these are the basic things you can do with MySQL workbench. Apart from that, you can be a server admin and create/manage server instances, manage security, create and manage different users, and give them permissions to work on MySQL objects and perform import/export.
Administration
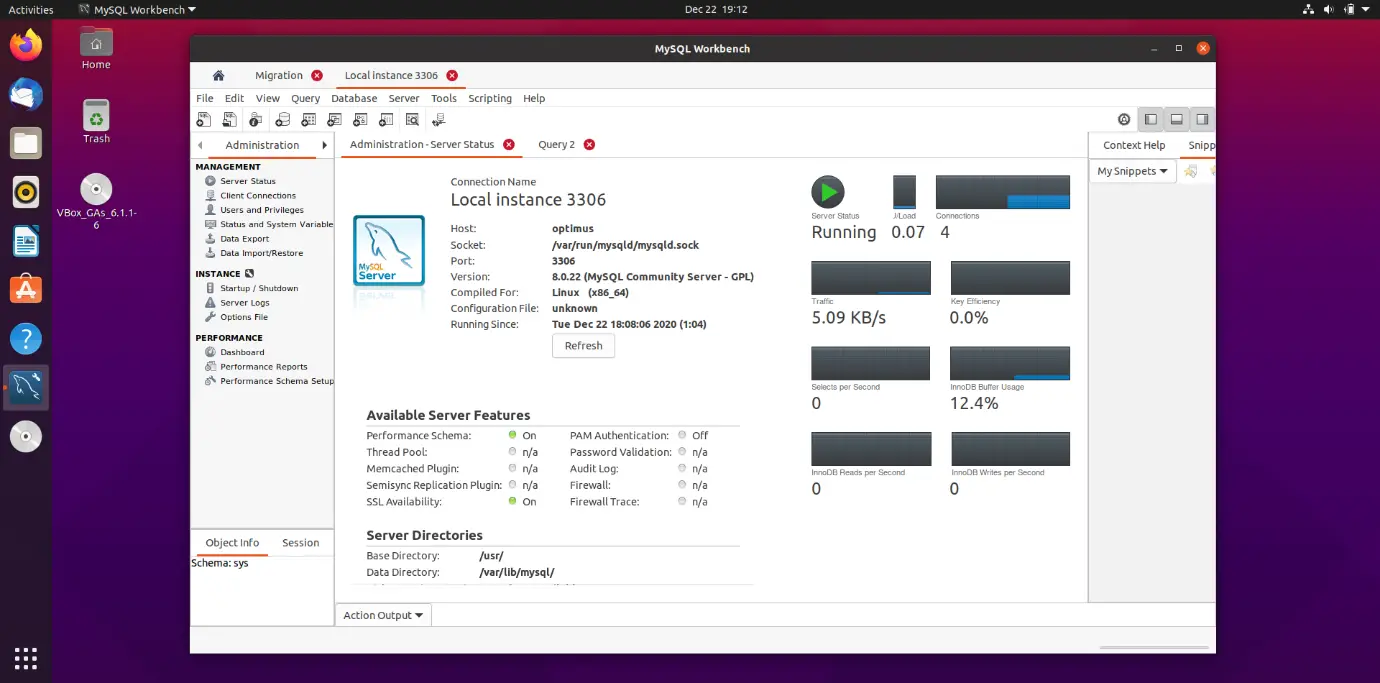
Server Status
Under this tab database admins, can keep track of the performance of the currently connected database. Here, they can monitor the connection status, number of connections, and traffic.
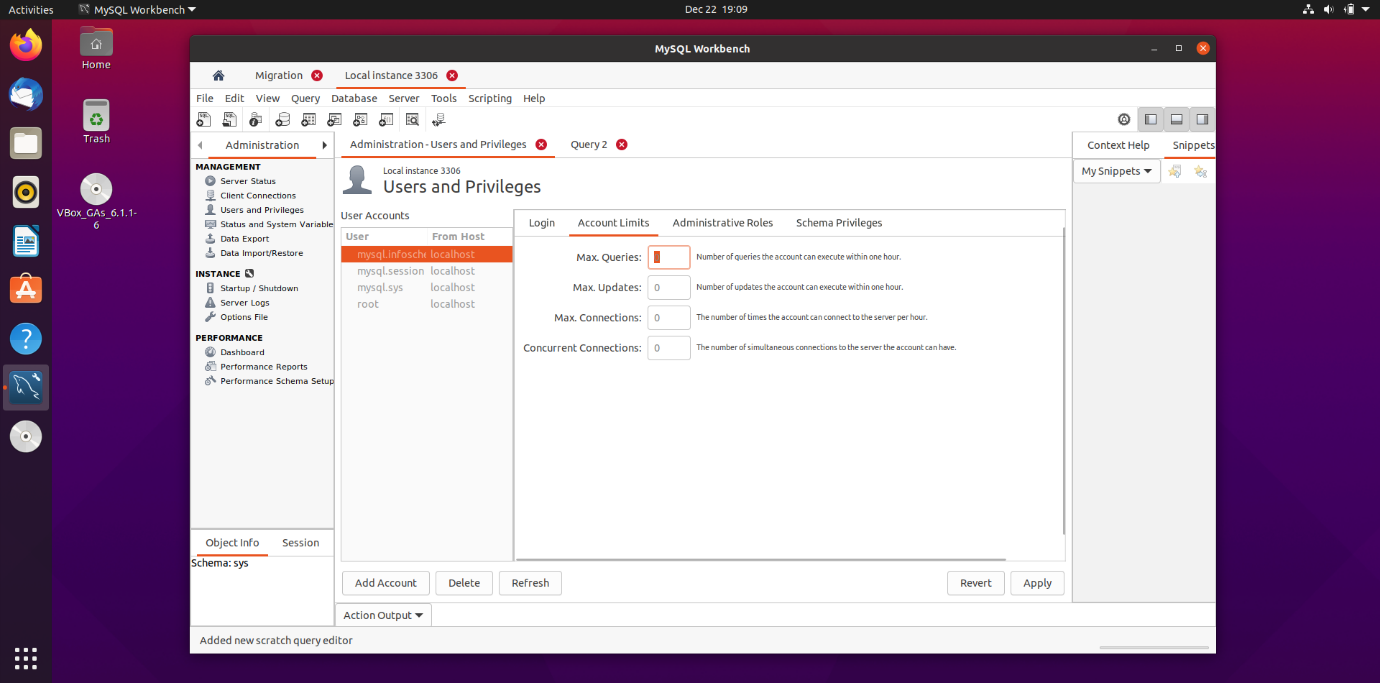
Users and Privileges
Here, administrator can add a specific user, and give them access to edit and work on databases and schemas. In the future, they can reassess the permissions and make changes to them according to requirements.

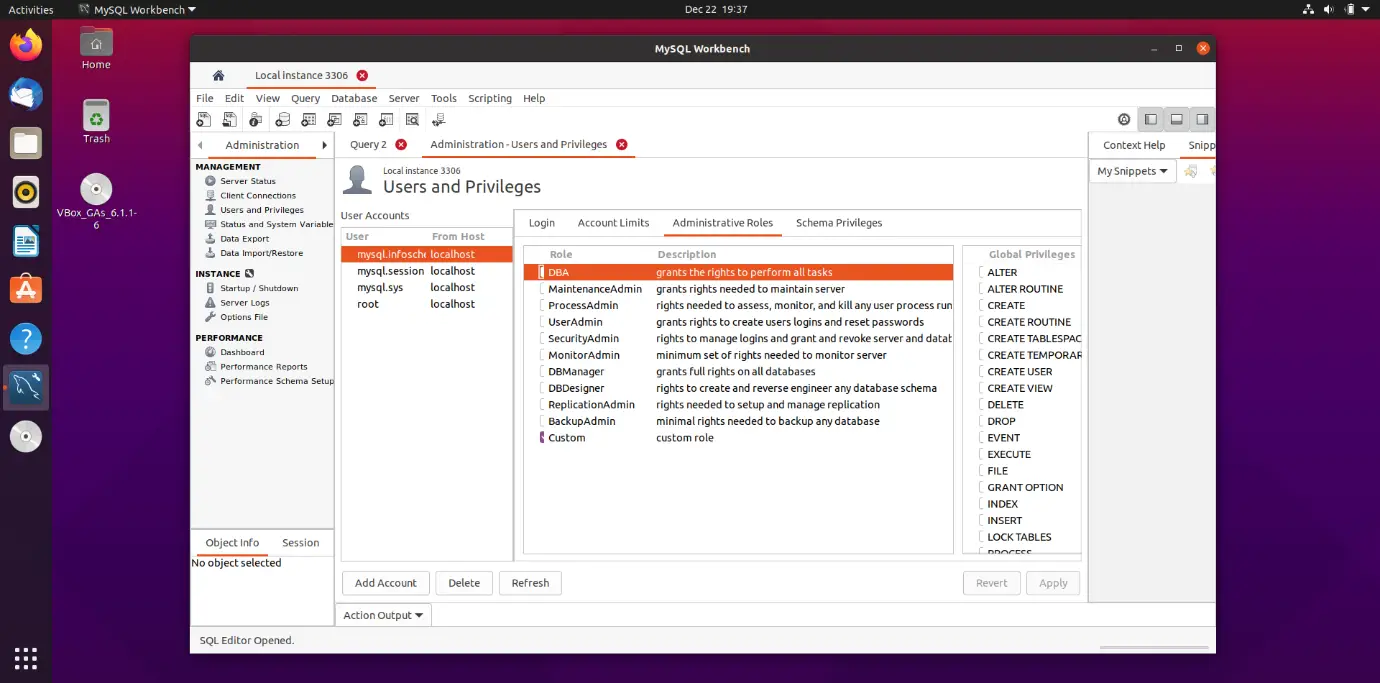
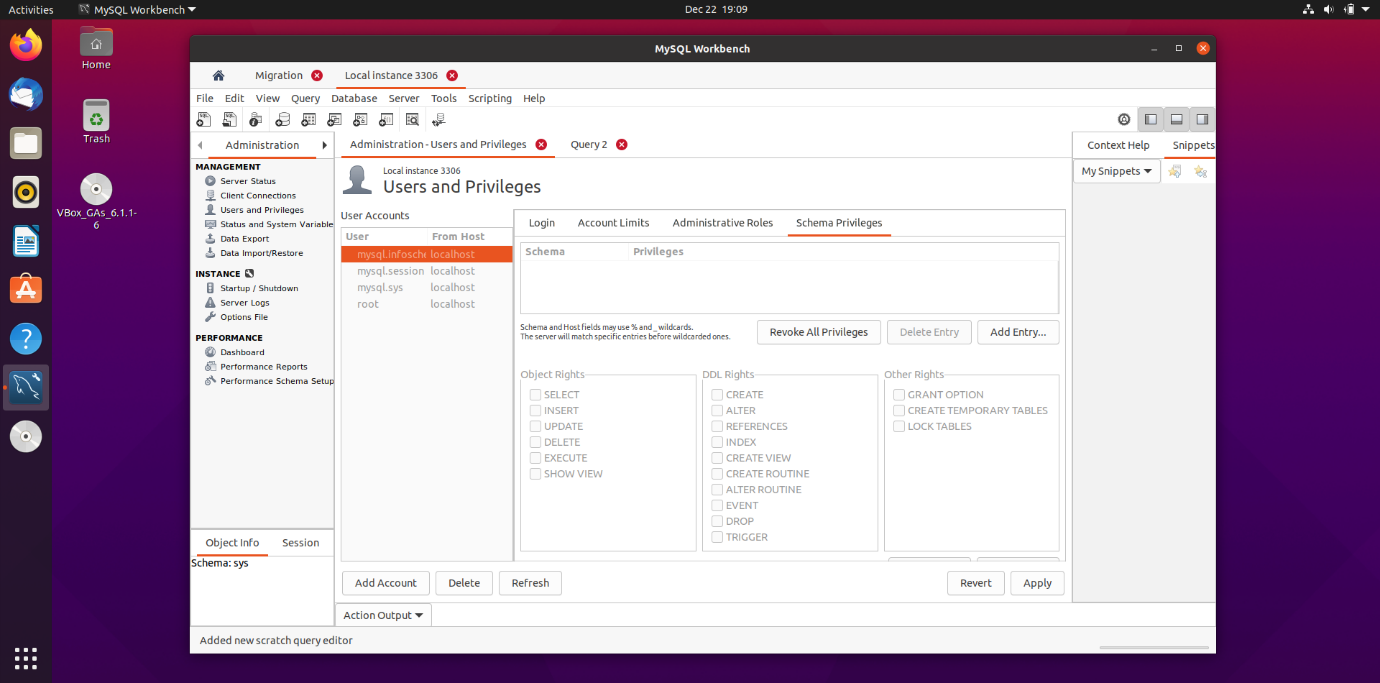
Under the administrative roles tab, you can choose the roles for which you want to give permissions. Similarly, under schema privileges, you can select permissions you want to give like to select, alter, create, etc.
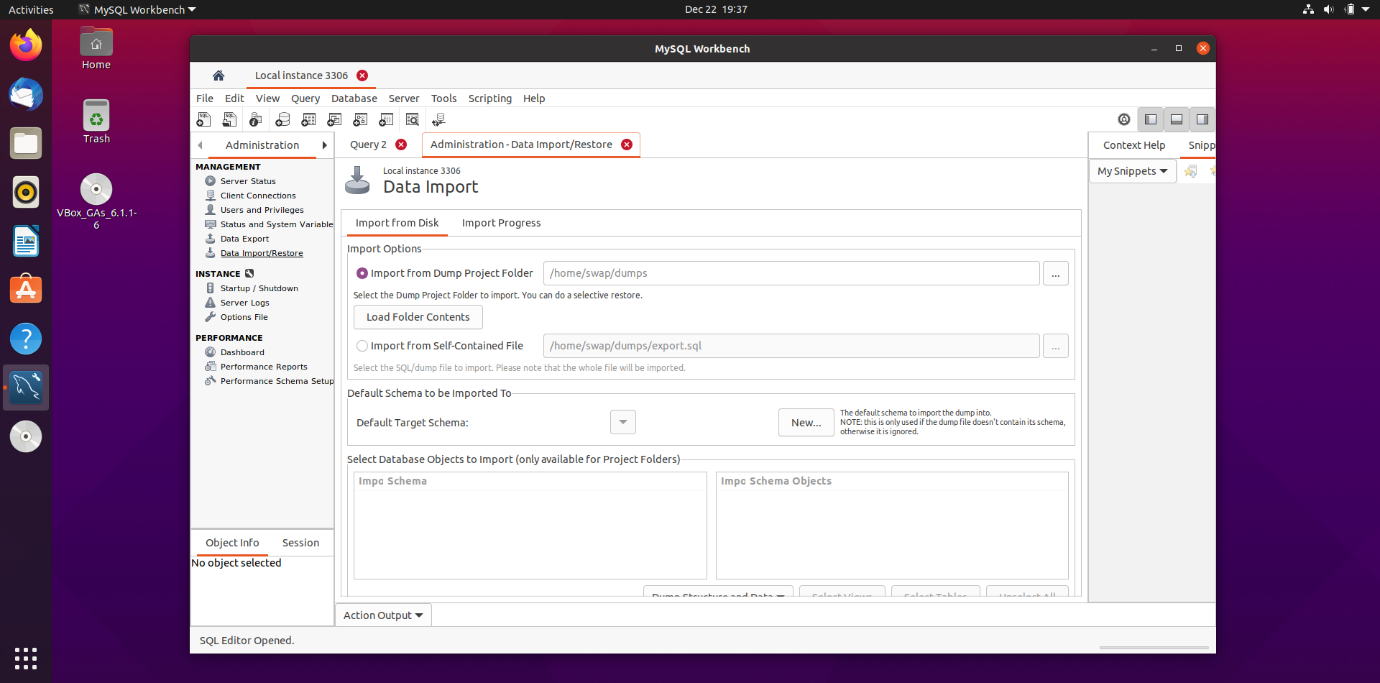
Data Import/Restore
Here you can import schemas and restore them to previous ones.
So, this is the basic MySQL workbench tutorial for Ubuntu, which should be enough to make you familiar with MySQL Workbench and start your journey in database management. Feel free to share your views with us at @linuxhint and @SwapTirthakar.