Git is the versioning control tool that keeps track of day-by-day changes. For that purpose, developers can generate multiple branches. Additionally, if a user wants to move the changes from one local branch to another, they can do so by utilizing the “git stash” command, which temporarily holds the changes and applies them to the desired place through the “git stash pop” command.
This blog will talk about moving changed files from one local branch to another for check-in.
How to Move Changed Files to Another Branch for Check-in?
Check out the following instructions to move the changed files to another branch for check-in:
-
- Redirect to the Git local repository.
- List repository content.
- Update the existing file and push it to the Git index.
- Stash the added changes to the temporary index.
- List branches and switch to them.
- Execute the “git stash pop” command.
- Add a file to the tracking area.
- Check the status of the current branch for verification and view the file’s content.
Step 1: Go to Particular Repository
Utilize the “cd” command with the path of the desired local repository and switch to it:
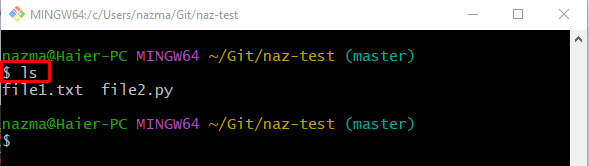
Step 2: Check the List of Content
Next, execute the “ls” command and check the list of content:
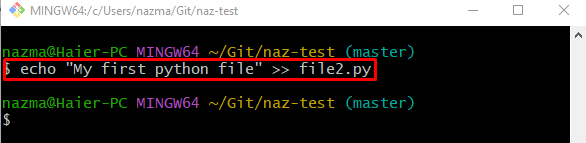
Step 3: Update Existing File
Now, add changes to the existing “file.py” file by running the provided command:
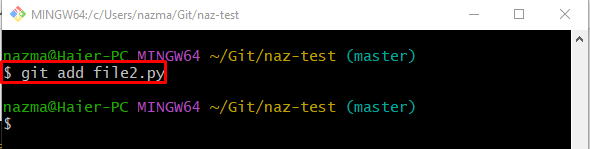
Step 4: Track Changes
Then, push the newly added changes from the working directory to the tracking index:
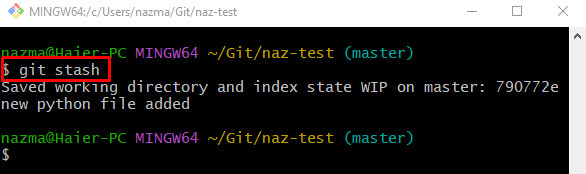
Step 5: Stash Staged Changes
To temporarily hold the staged changes, use the “git stash” command:
When the above-provided command is executed, the tracking index changes will be temporarily moved:
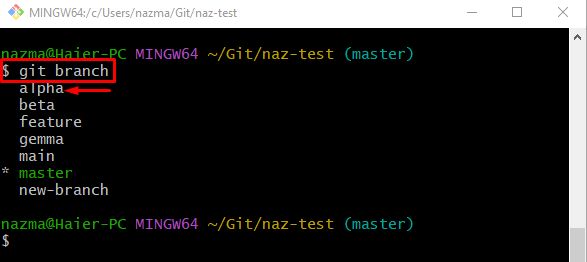
Step 6: Display Branches
Execute the “git branch” command to show all the local branches:
From the below branches list, we have selected the “alpha” branch:
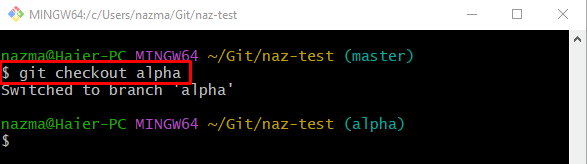
Step 7: Switch Branch
After that, redirect to the previously selected local branch through the “git checkout” command:
Step 8: Apply Temporarily Hold Changes
By using the “git stash pop” command, apply the previously hold changes to the target branch:
As you can see, the applied changes are placed in the working area:

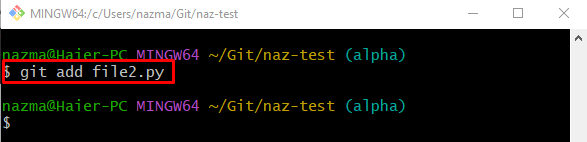
Step 9: Add Stash Changes
Execute the “git add” command along with the file name to push changes from the working area to the staging index:
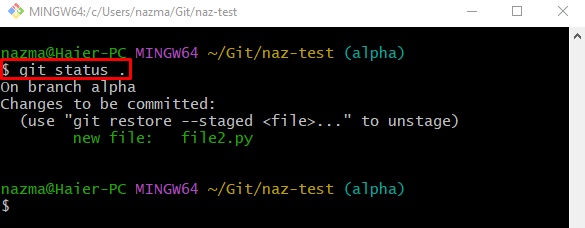
Step 10: Check Status
Use the “git status” command to view the status of the current working branch:
As you can see, the “file2.py” file is successfully added to the staging index:
Step 11: Show Added File Content
Lastly, run the “cat” command to display the content of the move file:
According to the below-given output, the specified file contains two lines:

That’s it! We have described the method of moving the changed files from the local branch to another check-in.
Conclusion
To move the changed files to another branch for check-in, first, redirect to the Git local repository and list its content. Next, update the existing file and push it to the Git index. Then, stash the added changes to the temporary index, list branches, and switch to it. After that, execute the “git stash pop” command and add a file to the tracking area. Lastly, check the status for verification and view the file’s content. This blog described the process of moving changed files from one branch to another for check-in.