This guide goes through installing the NFS server, creating a shared space, and mounting and unmounting the NFS server.
Mounting the NFS Ubuntu 22.04
To work with the NFS, you must install it on a server and the client.
Installing the NFS Server
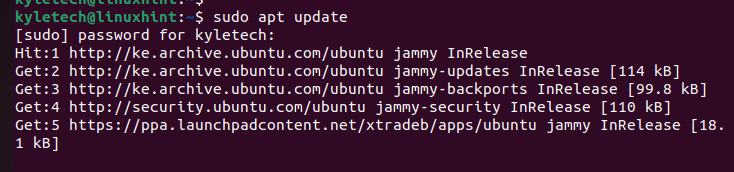
Login to your server where you want to install and configure the NFS server, then update the packages.
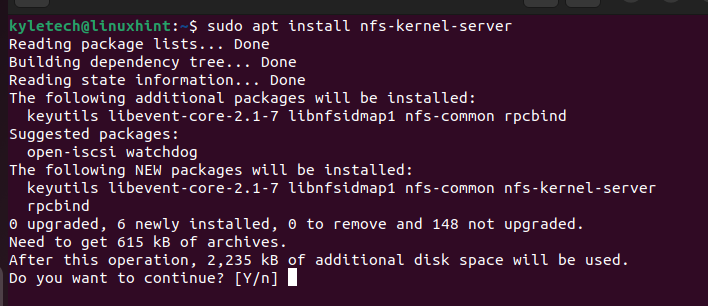
Once the update is done, we need to install the NFS server package. Install it via apt with the command below.
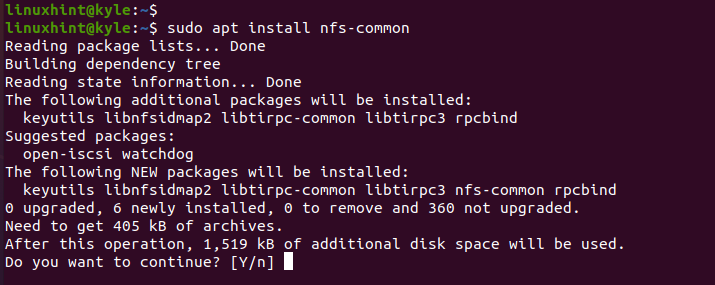
Press y to continue with the installation.
After the NFS server is installed, check its status. On Ubuntu 22.04, the NFS server is automatically enabled after the installation. If we check the status, we confirm that it is active and ready for use.

Furthermore, the NFS server will automatically be enabled even after you reboot your server.
After the installation, we need to create our shared directory on our server so that when we mount NFS on the client, we can access this shared directory.
The shared directory is defined in the /etc/exports but we must first create it. For this case, let us name it linuxhint_shared.

Change the directory’s permissions to grant all permissions to all users. This way, we can read, write, and execute the directory from the client machine.

Sometimes, you can take it further and change the directory ownership. But that depends on your preference.
To define the shared directory on the /etc/exports file on the server, we must have the client IP as we must define it and point it to the shared directory.
So, log in to your client machine and get its IP address. You can use the ifconfig or the IP commands.
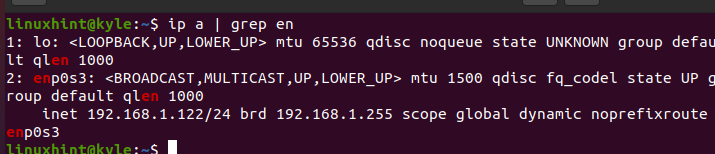
For our case, we are getting the IP address for the enp0s3 network interface. Our client IP for this case is 192.168.1.122.
Use a file editor of your choice to access the /etc/exports file.
Once the file opens, define the shared directory and the IP address of the NFS client that will use it. We have also granted the read and write permissions to the shared directory using the rw option. The sync ensures the NFS server is available to the clients and allows it to write changes before it responds to the client machines.
Lastly, adding the no_subtree_check disables the subtree checking and guarantees that no conflict arises when users change the filename.
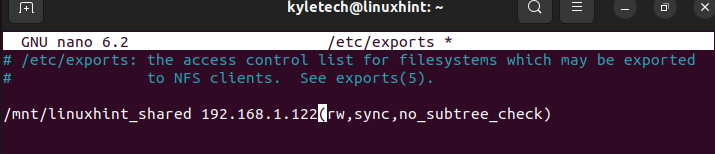
Replace the file content to match your shared directory and your client’s IP, then save and exit the file.
To apply the changes made to the file and export the shared directory, run the command below.

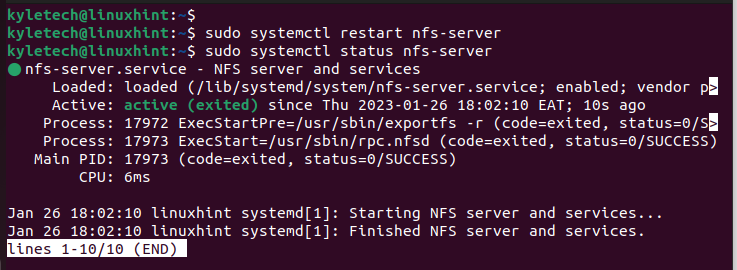
Restart the NFS server and confirm that its status is set to active.
To apply the changes made to the file and export the shared directory, run the command below.
$ sudo systemctl status nfs-server
You can verify the shared directory defined in the NFS server using the exportfs command.
To apply the changes made to the file and export the shared directory, run the command below.
You should get the path to the shared directory we created earlier.

The last step on the server is to configure the firewall to allow traffic from the client machine. For that, create the rule below and replace the IP with that of your client machine.

Check the firewall status to confirm that your rule was added successfully.

Configuring NFS on the Client
Login to your client machine and update the repositories.
You then need to install the nfs-common package to help with mounting the NFS server shared directory.
Once the package installs, we then need to create a mount destination on the client machine. Let us name it client_shared.

Specify the NFS server IP address, the path to the shared directory, and the destination mount directory on the client machine to mount the NFS shared directory on the client machine, as in the example below.

Verify that the NFS server is mounted on the client machine using the df command.
Our NFS is mounted successfully on the client.

Let us create a file on the client machine to the shared folder of the NFS server to check if we have the write permissions.

Open the server and check if the file is available. If you open the file, we note that it is the same one we created on the client machine. This confirms that our shared directory on the NFS server works as expected.

Mounting NFS Automatically
The method we have described so far involves manually mounting NFS on Ubuntu. We can automate the task such that the NFS server will be mounted at boot-up time.
First, let us unmount the NFS destination directory.

Open the /etc/fstab and add the NFS server IP, the shared directory, and the destination directory, as in our example below.

Use the mount command to verify that the configuration is correct.

You can confirm that the NFS has been mounted successfully on your client. Every time you boot the client machine, NFS will automatically get mounted.

Conclusion
Mounting NFS on Ubuntu 22.04 is not a complicated process. You first need to install and configure the NFS on your server, then install it on the client. Once you configure it, as we have done in this post, your NFS will be mounted successfully on your Ubuntu.