As Amazon EFS is a serverless service, you do not need to manage the filesystem, and it scales up to Petabytes automatically without disrupting the application. You only pay for the storage your filesystem uses. Amazon EFS supports NFSv4.1 and NFSv4.0 protocols, so you can interact with the filesystem using these protocols. In this blog, we will create a filesystem spanning multiple availability zones. Then we will access this created elastic file system by mounting it on EC2 instances in different availability zones.
Creating Amazon EFS
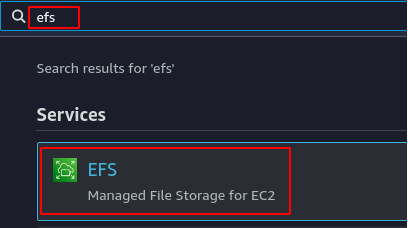
From the AWS management console, search and go to the EFS.
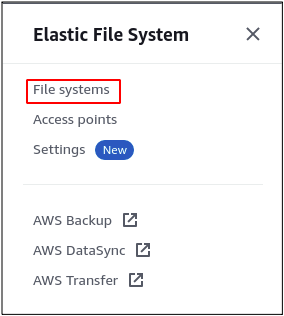
Go to the File system from the menu on the left side.
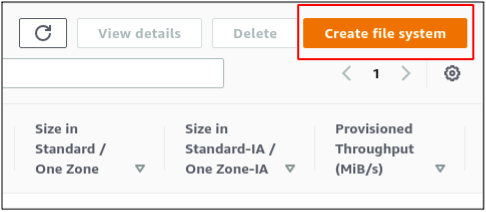
Click on the Create file system button to create a new Elastic File System.
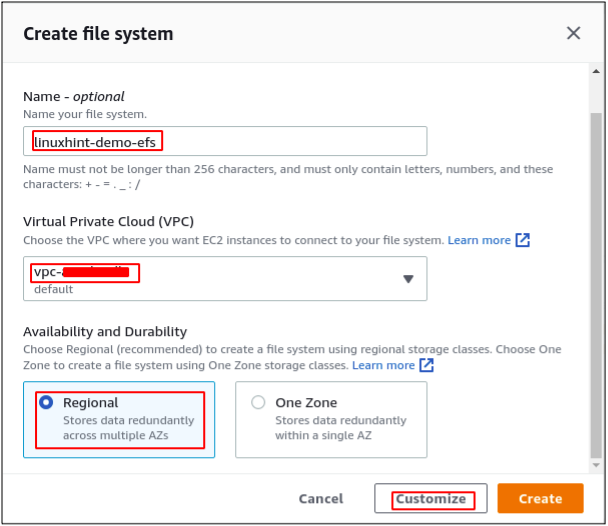
It will open a pop-up asking for the details of the Elastic File System. Enter the name of the elastic file system to be created and select the VPC in which the file system will be created. For availability and durability, select the Regional option. It will create the file system in different availability zones of the Region. Hence, the file system will be accessible from these availability zones.
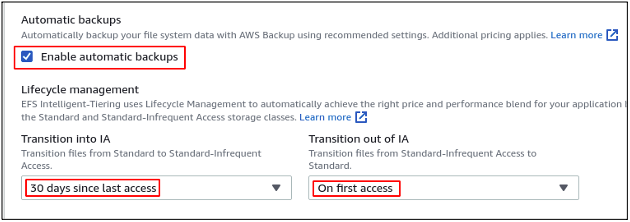
Enable the automated backups of the elastic file system by checking the Enable automatic backups box. It will automatically create the backups of your elastic file system using the AWS backups service. Life cycle management can be used to save costs by rotating the data into different storage classes. The storage pricing for IA (infrequently accessed) class is less than that of the standard one. If a file has not been accessed for 30 days, the file will be moved to the infrequently accessed class to save cost.
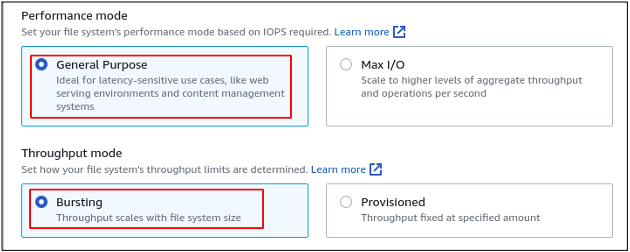
There are two performance modes available in the elastic file system that are General Purpose and Max I/O. General Purpose mode is used for most use cases, and it keeps the balance between performance and cost, while the Max I/O is used where performance is the primary key.
The Throughput mode can be selected based on the size of each transaction. The Bursting mode scales the throughput with the size of the file system, while Provisioned mode can be used to set the specific value of throughput.
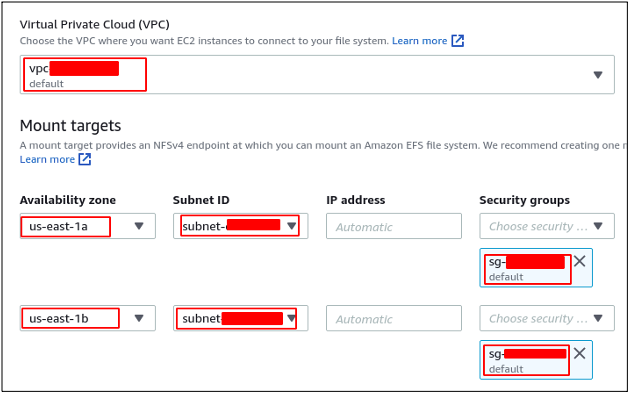
Now go to the next page to configure network access. Select the VPC and mount target availability zones and subnets from where the filesystem will be accessible. This filesystem will be accessible from the EC2 instances launched in specified subnets only with the following network settings. The security group of the filesystem is different for each subnet.
On the next page, it will ask for the optional filesystem policy. Skip this step, review, and create the elastic file system.
Configuring security groups for EFS
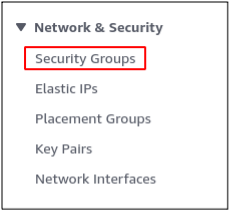
While creating the elastic file system, on each mount target, a security group was attached. In order to access the elastic file system, a rule must be added to the security group to allow inbound traffic on the NFS port. From the EC2 console, go to the Security groups section.
Select the security group you attached to the mount targets while creating the elastic file system and edit the security group inbound rules.
Add a rule to allow inbound traffic on the NFS port (2049) from the private IP addresses of the EC2 instances. The inbound rule is configured for this demo to allow inbound traffic on the NFS port from everywhere.
Save the newly created inbound rule to the security group, and the filesystem security group is configured.
Mounting EFS on EC2 instance
After creating the elastic file system, now mount this file system on EC2 instances. For this, EC2 instances must be in the same subnets in which mount targets for EFS are created. For this demo, the mount targets for the filesystem are created in the subnets of us-east-1a and us-east-1b availability zones. Log in to the EC2 instance over SSH and install the Amazon EFS client on the EC2 instance.
ubuntu@ubuntu:~$ sudo apt install git binutils -y
Now clone the repository, including amazon efs utilities from Github.
Go to the cloned directory and build the amazon-efs-utils.
ubuntu@ubuntu:~$ ./build-deb.sh
Now update the repositories and install the amazon EFS client using the following command.
ubuntu@ubuntu:~$ sudo apt install ./build/amazon-efs-utils*deb -y
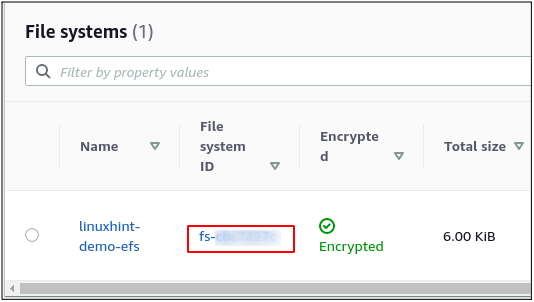
After installing the EFS client on the EC2 instance, copy the elastic file system ID to mount the file system on the EC2 instance.
Create a directory and mount the elastic file system on the directory using the following command.
ubuntu@ubuntu:~$ sudo mount -t efs -o tls <file_system id>:/ efs-mount
Now the elastic filesystem has been mounted on the EC2 instance and can be used to store data. This filesystem can also be accessed on an EC2 instance in the us-east-1b availability zone by following the above step to mount the file system.
Conclusion
An elastic file system is a serverless shared filesystem provided and managed by AWS, which can be accessed in multiple availability zones. It can be used to share the data between different mount points in different availability zones. Each mount point has its own security group on EFS, so a specific availability zone can be blocked to access the filesystem by configuring the security group. This blog explains configuring and accessing the Elastic File System by mounting it on an EC2 instance.

