In this article, I am going to show you how to install and use nethogs to monitor network traffic on Linux. So, let’s get started.
Installing nethogs on Ubuntu/Debian:
nethogs is not installed on Ubuntu/Debian by default. But, it is available in the official package repository of Ubuntu/Debian. So, you can easily install nethods with the APT package manager.
First, update the APT package manager cache with the following command:
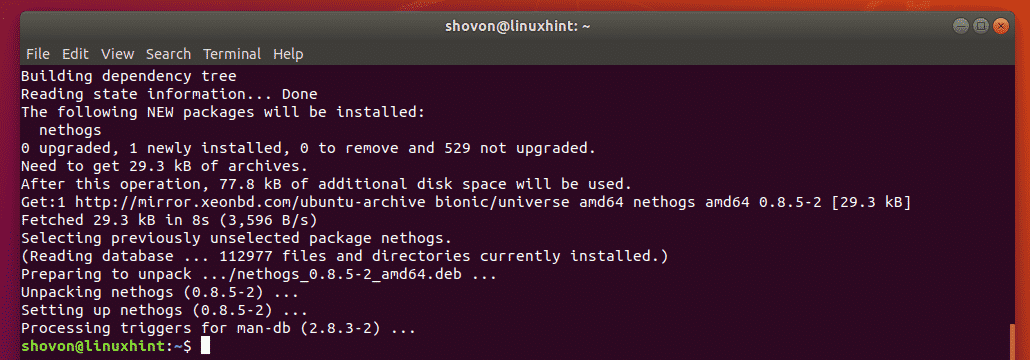
Now, install nethogs with the following command:
nethogs should be installed.
Now, to check whether nethogs is working, run the following command:
As you can see, it’s working correctly.
Installing nethogs on CentOS 7:
nethogs is not installed on CentOS 7 by default. But nethogs is available in the EPEL repository of CentOS 7. So, you can easily install nethogs from the EPEL repository with the YUM package manager.
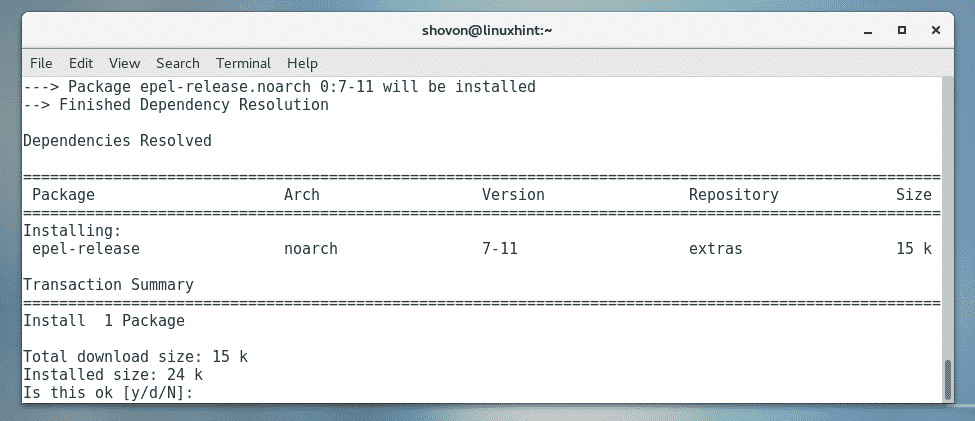
First, enable EPEL repository with the following command:
Now, press y and then press <Enter>.
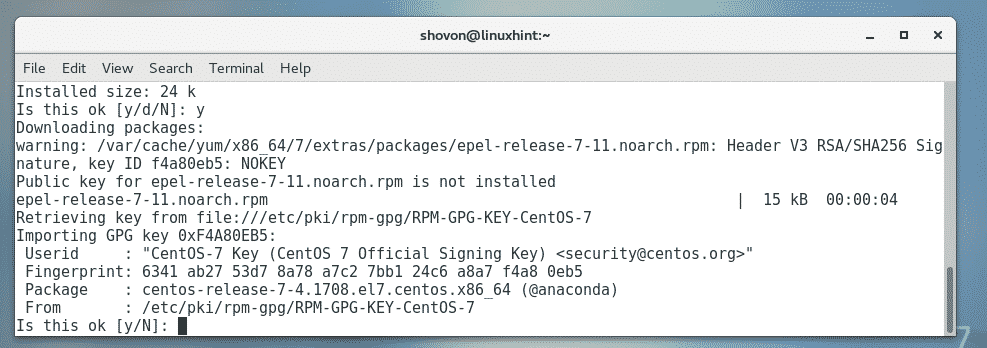
Now, press y and then press <Enter> to accept the GPG key of the CentOS 7 repository.
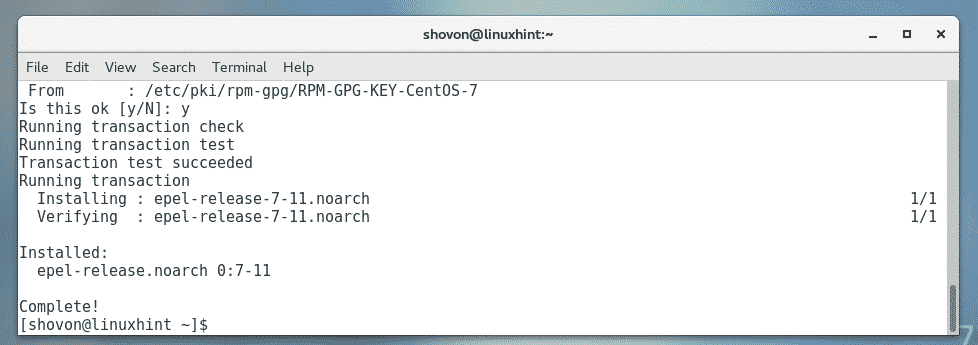
EPEL repository should be enabled.
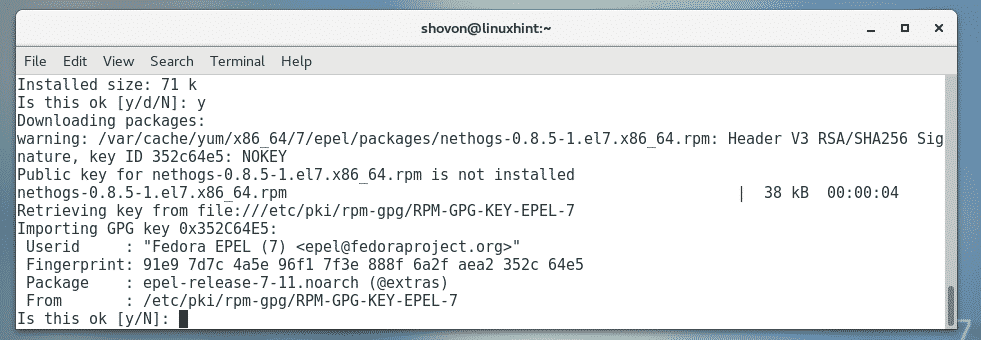
Now, run the following command to install nethogs with the YUM package manager.
Now, press y and then press <Enter>.
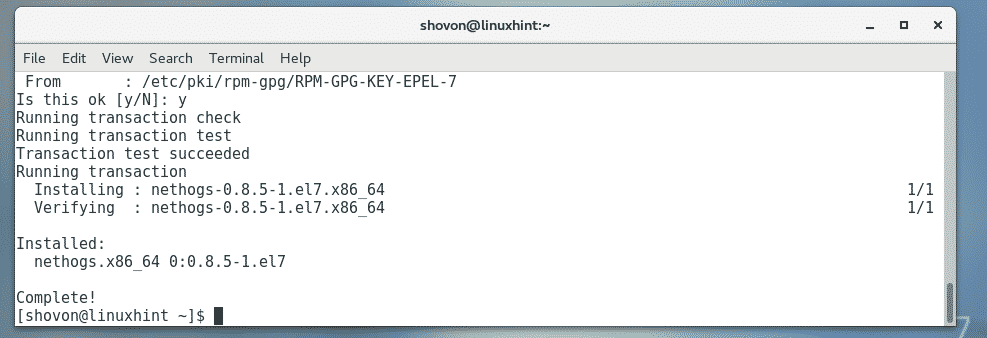
Now, press y and then press <Enter> to accept the GPG key of the EPEL repository.
nethogs should be installed.
Now, to check whether nethogs is working, run the following command:
nethogs is working perfectly.
Installing nethogs on Arch Linux:
nethogs is not installed on Arch Linux by default as well. But, nethogs is available in the official package repository of Arch Linux. So, you can easily install nethogs on Arch Linux using the Pacman package manager.
Now, press y and then press <Enter> to continue.
nethogs should be installed.
Now, run the following command to check whether nethogs is working.
As you can see, nethogs is working perfectly.
Using nethogs:
Now that you have nethogs installed, you’re ready to monitor your network traffic with nethogs.
If you want to monitor the network traffic of all the network interface of your computer, you can run nethogs as follows:
nethogs should start. As you can see, the network upload (sent) and download (received) speeds for each process is listed. The network interface each process is using is also listed here. The owner of the process and also the PID is listed here. If you have any process which is eating up network bandwidth unnecessarily, you can just kill the process using the PID.
nethogs should automatically update the information just like top and htop does.
By default, nethogs displays the network download and upload speeds in kilobytes/s (kb/s). This is one of the display modes of nethogs. There are 4 display modes of nethogs, the default kb/s, total bytes used (b), total kilobytes used (kb), total megabytes used (mb). You can press the m key on your keyboard to while nethogs is running to cycle through these display modes.
The default display mode of nethogs. It shows the network download and upload speed in kilobytes/s (kb/s).
Another display mode of nethogs. In this display mode the total network usage per process in kilobytes (kb) is displayed. Also the total network usage of every process (in kb) is displayed as well.
In this display mode the total network usage per process in bytes (b) is displayed. Also the total network usage of every process (in b) is displayed as well.
In this display mode the total network usage per process in megabytes (mb) is displayed. Also the total network usage of every process (in mb) is displayed as well.
You can close nethogs network monitor with <Ctrl> + c.
If you want to monitor a specific network interface using nethogs, you can easily do it.
For example, let’s say, you want to monitor the network interface ens33 with nethogs. To do that, start nethogs network monitor with the following command:
NOTE: You can list all the network interfaces of your computer with the ip a command.
Now, only the ens33 interface should be monitored.
So, that’s how you use nethogs on Linux to monitor network traffic. Thanks for reading this article.


