This blog will provide the procedure to merge a Git remote branch to a local repository branch.
How to Merge a Remote Branch to a Local Branch in Git?
To perform the merging operation between remote and local branches in Git, firstly, clone the remote repo and then check out the list of branches. Next, execute the “$ git switch <branch>” command to change the branch. Then, fetch the remote repo with its references and run the “$ git branch –set-upstream-to=<remote>/<branch>” command to track the Git remote <branch> until it changes. Lastly, merge the remote branch to a local branch with the help of the “$ git pull origin feature –allow-unrelated-histories” command.
Let’s go ahead to implement the above-given procedure!
Step 1: Move to Git Directory
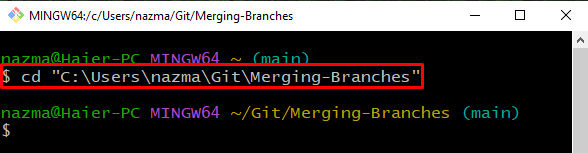
First, navigate to the Git repository using the “cd” command:
Step 2: Clone Remote Repo
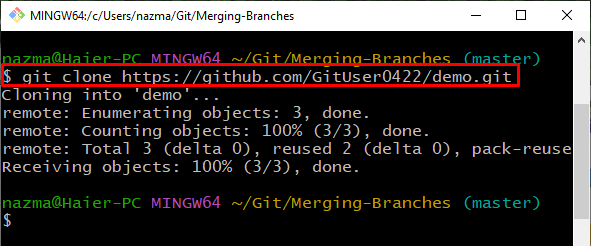
Next, clone the remote repository into the Git local repository using the “git clone” command:
It can be seen that the “demo.git” remote repository is cloned successfully into Git “Merging-Branches” local repository:
Step 3: List Branches
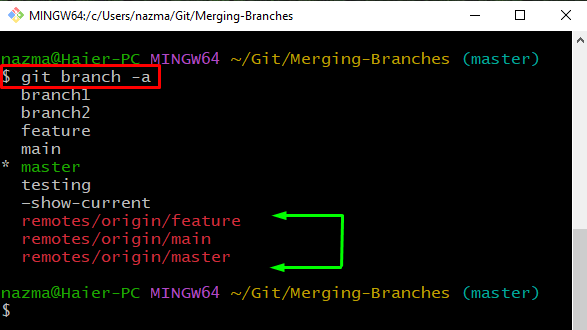
Now, list all branches of the Git repository using the “git branch” with the “-a” option for all:
According to the below output, we have three remote branches:
Step 4: Switch Branch
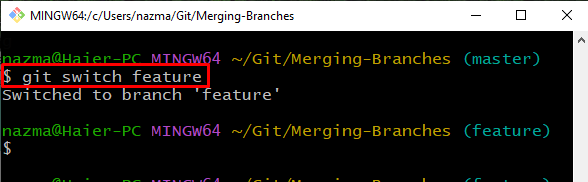
To switch to a branch, execute the “git switch” command with the branch name. In our case, we will switch to the “feature” branch:
Step 5: Track Remote Branch
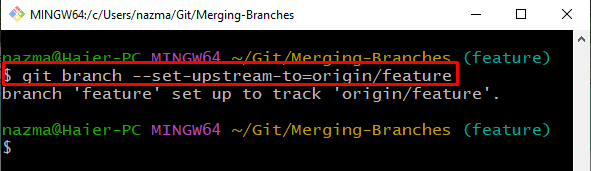
Now, we will set our “feature” branch to track the Git remote feature unit changes:
As you can see, our local “feature” branch is set up to track the remote “origin/feature” branch:
Step 6: Git Pull
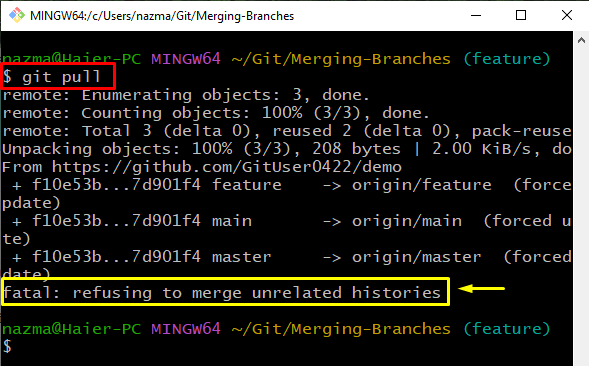
Then, directly pull all changes which are made on the Git remote branches:
Note: The above-provided command sometimes gives a “fatal: <error>” error which can occur if the cloned project did not have the “.git” directory or is corrupted. This error can be encountered when the user creates a new repository, adds a few commits to it, and try to pull from a remote repo that already has its own commits:
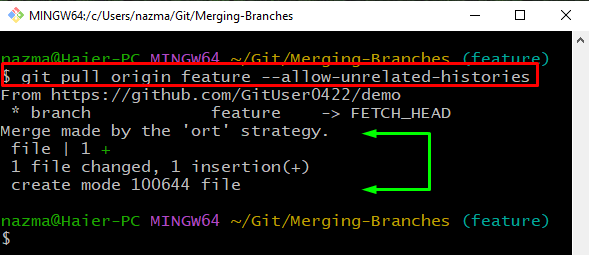
The solution to the above-occurred error is to toggle the “–allow-unrelated-histories” switch after the “git pull” command and specify the remote branch name:
The below output indicates that we have successfully merged the remote branch to a local branch:
We have explained the method to merge a remote branch to a local branch in Git.
Conclusion
To perform the merging operation between a remote and local branch in Git, first, clone the remote repository in the Git local repository. Next, list all existing branches of Git and then switch the branch “main” by executing the “$ git switch <branch-name>” command. After that, set the local branch to track the Git remote feature. Lastly, execute the “$ git pull origin feature –allow-unrelated-histories” command. This blog illustrated the method of merging a remote branch with the Git local branch.