On the other hand, when we have a direct linear path between the source branch and target branch, then the fast-forward merging can be performed.
This guide will discuss the procedure of merging branches without fast forwarding in Git.
How to Merge Branches Without Fast Forward in Git?
Suppose you have created a new branch to work on a specific project, and want to integrate the results into the main code or file. For the specified purpose, merging the specific branch with the root branch is required.
Follow the below-provided procedure for this corresponding purpose.
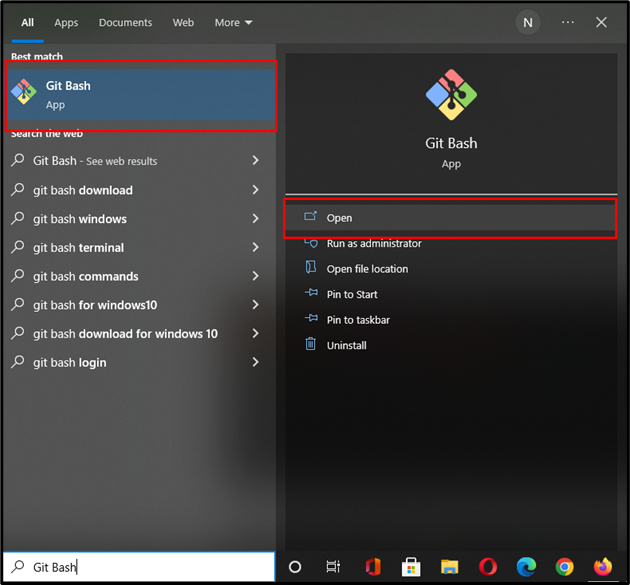
Step 1: Launch Git Bash
First, launch the “Git bash” terminal with the help of the “Startup” menu:
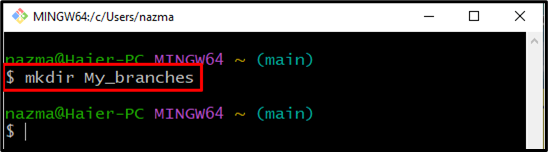
Step 2: Create Git Directory
Run the “mkdir” command to create the new Git directory:
Here, “My_branches” is the name of our newly created directory:
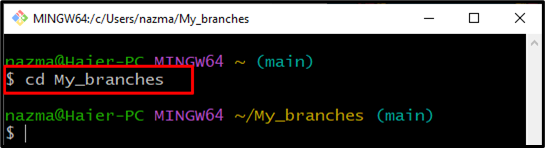
Step 3: Navigate to Git Directory
Move to the local directory where you like to make changes:
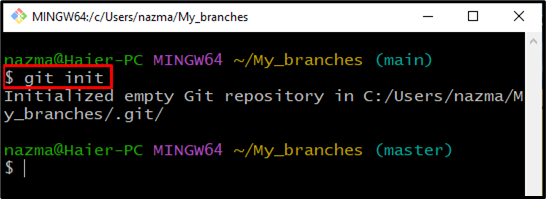
Step 4: Initialize Git Repository
Now, create the empty Git repository using the below-provided command:
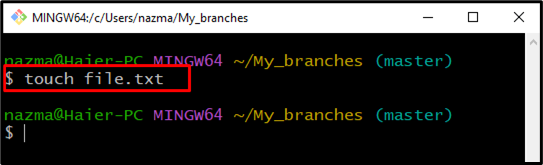
Step 5: Create and Add File
Run the “touch” command to create a text file named “file.txt” in the current directory:
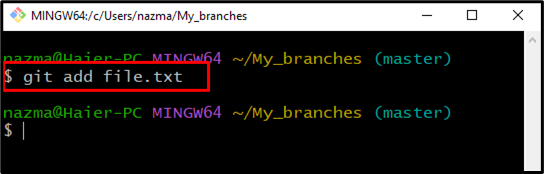
Now, add it to the Git repository with the help of the “git add” command:
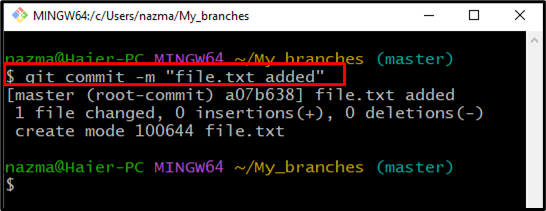
Step 6: Commit Changes
After that, commit the changes with an informative message:
Here, we placed commit message inside double quotes:
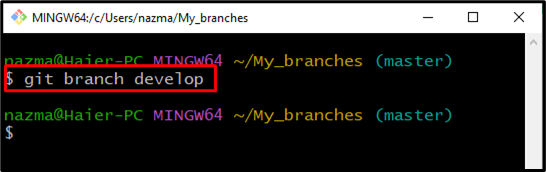
Step 7: Create Branch
Next, run the below-provided command to create a new branch:
Till this point, we have successfully created the new branch name “develop”:
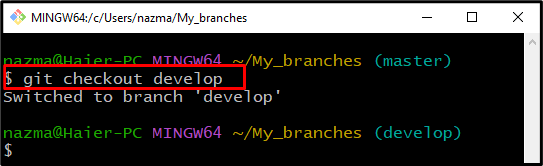
Step 8: Switch Branch
Execute the “git checkout” command to switch to the newly created branch:
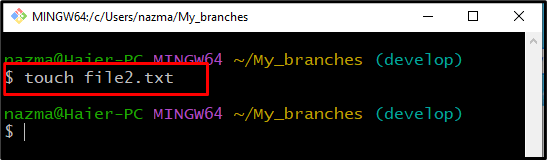
Step 9: Create and Add File
Now, first create a new file inside the new branch through the below-given command:
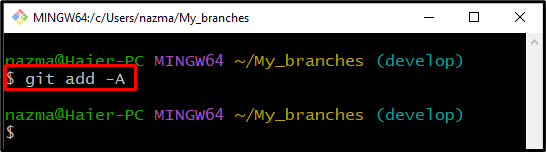
After that add it to the Git repository:
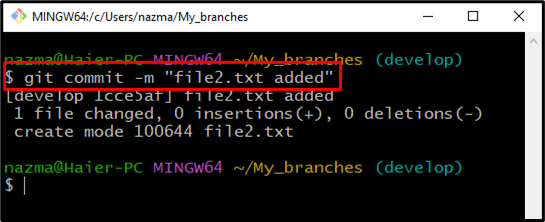
Step 10: Commit Message
Commit the changes with a message by utilizing the “git commit” command:
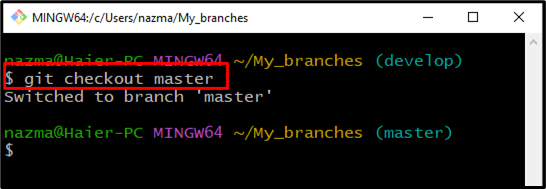
Step 11: Switch to Branch
Next, switch to the main branch “master” using the below command:
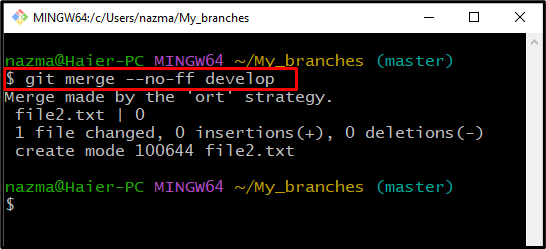
Step 12: Merge Git Branches
Lastly, merge the branches without fast forwarding using the “git merge” command. Here, the “–no -ff” flag prevents merging from performing the fast forward functionality:
As you can see, we have merged the “master” branch with the “develop” branch:
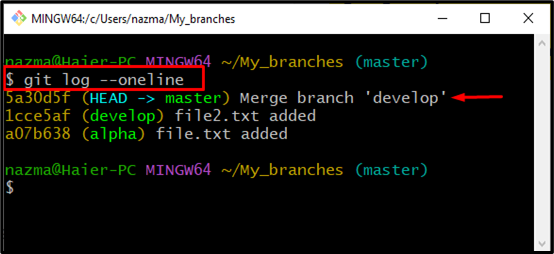
Step 13: Verify Merge
Ensure that branches are merged with the “git log” command:
Below output indicates that our two branches are merged:
We have compiled the easiest process of merging branches without fast forward in Git.
Conclusion
To merge branches without fast forwarding in Git, first, initialize a directory with the “$ git init” command. Then, create a new file, add it, and commit changes with a message to the Git repository. After that, create and switch to the new branch. Again create, add a new file in the switched branch and commit it. Lastly, execute the “$ git merge –no-ff” command to merge both branches. This guide illustrated the procedure of merging the branches without fast forward in Git.