How network drive is mapped using PowerShell
The steps to map a network drive using PowerShell are provided below and are recommended to perform carefully.
Step 1: Firstly, open the PowerShell by searching it from the search box of the windows:

Step 2: Once it is opened, you can use the command stated below:
The New-PSDrive cmdlet of PowerShell creates a new PowerShell drive and is used here to map the network drive. The above command contains the following options of New-PSDrive cmdlet:
Name: The letter of drive that is being created to map network-drive.
PSProvider: The PSProvider is a kind of software that converts several actions into an understandable manner of provider.
Root: It contains the device name and location of the remote computer
For example, the command written below maps the \\ADNAN\Users\NEW to the local computer and the drive is set to “L“:
As the drive is mapped, you can verify the addition by using the Get-PSDrive cmdlet of PowerShell as we have used as shown below.
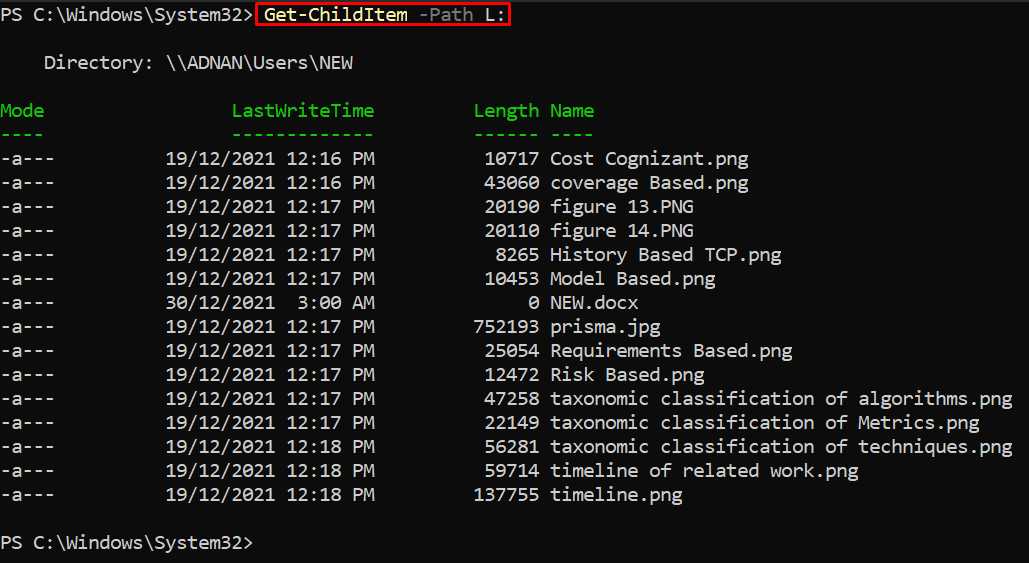
Moreover, you can get the list of the content inside the drive with the help of the Get-ChildItem cmdlet as shown below:
How to unmap a network drive
If you no longer require the network drive on your PC, you must un-map that drive. Firstly, get the list of mapped drives with the help of the command provided below:
The output shows that the S: drive is the network drive mapped currently:
Once you have noted down the drive letter that you want to un-map. You can use the Remove-PSDrive command to remove the mapped devices. In our case, the following command removes the drive with a letter (S:). For verification, you may execute the Get-PSDrive cmdlet to look for the S drive
> Get-PSDrive -PSProvider "FileSystem"
Conclusion
In this modern tech era, networks have a crucial role in getting things done in a shared resource environment. Several resources like printers, scanners, internet, storage are shared in a network to manage time and cost. Using PowerShell, this article shows how to map a network drive. Throughout this article, we provide details about how to map a network drive on your computer. A resourceful command-line tool named PowerShell is utilized to map a network drive on the computer. Moreover, you would also get the direction to remove a mapped drive from your computer as well.


