On some occasions, when you are using Ansible to automate various tasks, you may need to transform and manipulate data. In Ansible, you can use a set of built-in filters or create custom filters to manipulate, process, and convert data. Ansible uses jinja2 template filters in the background to allow users to create filters for specified data.
It is important to note that filter templating is carried out on the Ansible controller, and not on the specified remote hosts. This helps to reduce the amount of data transferred to the remote host after local processing. If you are unfamiliar with jinja templating, Jinja is a simple, intuitive, fast, and secure templating language for the Python programming language developed after the popular Python framework Django templates.
We will not get into how jinja templating works, though it can be an added advantage to understand how it works with templates.
Check out the resource provided below to learn more about Jinja.
How Ansible Filters Work
As mentioned, the Ansible filtering engine builds upon the Jinja templating model. This allows users to use these templates to input data, process them, and provide an output based on the defined filters.
Once the data is transformed and filtered using the defined template, you can use it to perform other tasks in Ansible. You can learn more about filters in Ansible at the following website:
https://linkfy.to/AnsibleFilters
Ansible has many filters that are all very useful and applicable to many different scenarios. Once you have the filter output, you can use it to perform other tasks, such as debugging.
The general syntax for filtering data is as follows:
Using Ansible Filters
We will now look at examples of Ansible filters that we can use to perform various tasks.
NOTE: As previously mentioned, Ansible has many filters, so we cannot cover all of them in this article. Instead, this tutorial seeks to provide you with the basics of using various Ansible filters.
Example 1: Ansible Format Data Filters
The Ansible format data filters take an output data structure in a template and use the specified filter to render it in the format called in the filter.
Below is an example filter to convert to JSON and YAML:
{{ variable | to_yaml}}
For example, consider the following playbook:
- shell: cat /tmp/all.json
register: result
- debug:
msg: "{{result.stdout | to_nice_yaml}}"
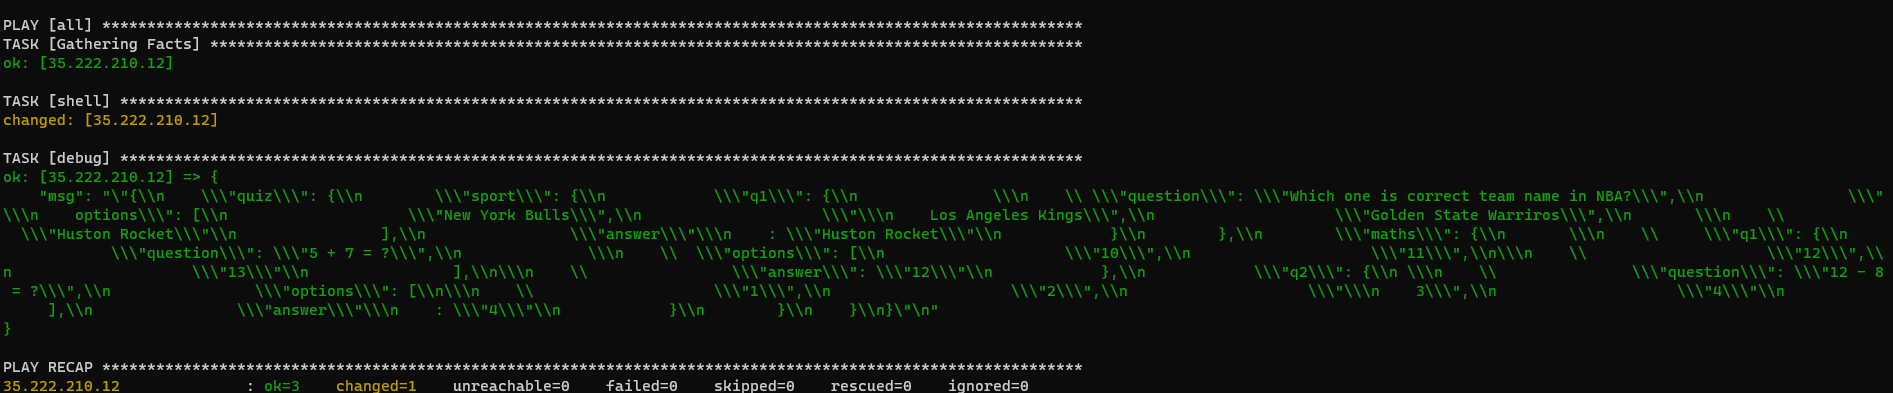
Running the above playbook will produce an output for the JSON data converted to YAML. The following is an example output:
You can also specify other filters such, as to_nice_yaml, to obtain the output in a human-readable format.
{{ variable | to_nice_yaml }}
Using the formatting data filters, you can transform data into various formats and use it for various tasks.
For instance, you can pass parse multi-document YAML strings, as in the playbook below:
- shell: cat /tmp/all.json
register: result
- debug:
msg: "{{result.stdout | to_yaml | list}}"
Example 2: Ansible Default Filter
The Ansible default filter helps to default values to undefined variables. The default Ansible configuration fails undefined variables. For example, if you have an undefined variable, you can tell Ansible to default to a value instead of raising an error.
The general syntax for the default filter is as follows:
For example:
vars:
tasks:
set_fact:
undef_var: "{{0_var | default(5)}}"
The above playbook will set the value of the ‘0_var’ variable to 5 if not explicitly defined, instead of throwing an error.
To define a variable, you can use the mandatory filter. All you need to do is refer to the example above and replace the default with the mandatory:
Example 3: Ansible Debug Filters
When debugging, you can use the type_debug filter to get information about the variable type. The variable type will be in Python, as the engine is Python-based. The general syntax for the filter is as follows:
Example 4: Math Filters
The Ansible math filters allow you to perform mathematical-related queries. These filters include the following:
- Logarithm filter – {{variable | log} – specifies the base of the logarithm in parentheses as {{variable | log (2)}}
- Power filter – {{variable | pow(3)}} – returns the variable raised to the specified power
- Absolute filter – {{variable | abs}} – returns the absolute value for the passed variable
- Root filter – {{variable | root}} – this returns the variable’s square root. To explicitly specify the root, pass the value in parentheses; for example, cube root {{variable | root(3)}}
These math filters can be quite useful, especially when dealing with large amounts of data and instant math operations.
Example 5: Hash Filters
The Ansible hash filters allow you to obtain the hash of a string or passed data. In most cases, you will not need these filters, but they are available to use if the need arises. These filters include the following:
- Sha1 – {{var | hash(“sha1”)}}
- Sha256/sha512 – {{var | password_hash(“sha256/512”)}}
- Md5 – {{var | hash(“md5”)}}
- String checksum – {{var | checksum}}
Other Useful Filters
As you may have noticed, Ansible has many filters. Some Ansible filters that you may find useful include the following:
- URL split filter – {{“ developer@https://linuxhint.com:8080/index.html?query=linux” | urlspilt(“hostname”), – returns “linuxhint.com”
- Join list – {{ list | join}} – used to add a list into a string var
- Directory path – {{path | dirname}}
- Expand a tilde – {{path | expanduser}}
Conclusion
Ansible filters come in handy when you are performing debugging tasks or need specific information without too much typing. Because Ansible supports custom filters, these filters can be especially useful in specific use cases.