Launch the Startup Application Utility
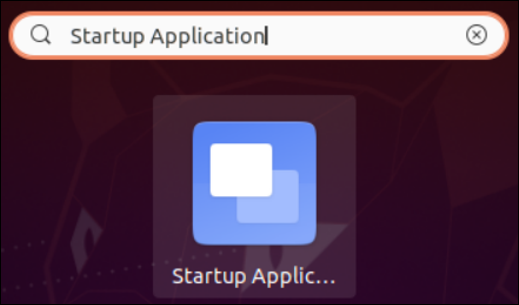
To provide the ability to manage the starting apps, Ubuntu has developed a “Startup Application” utility. It is a software that controls which certain programs launch each time the system powers up. Launch the Startup Applications on your machine to launch an app upon system login. To launch it, tap on the “Activities” menu from the desktop of your Ubuntu system and a “Search bar” will be opened as shown in the following. Type “Startup Application” in the search area and press “Enter”. Click the Startup Applications utility icon which is populated from the search results as seen in the following image:
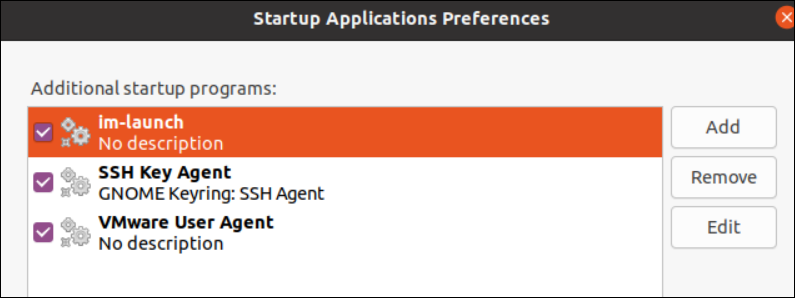
After launching the Startup Application utility, you will get the following window on your Ubuntu desktop screen with the “Startup Applications Preferences” label:
Within its “Additional Startup Programs” section, you may find the default programs and applications quickly launched right after the system startup. This includes a GNOME utility and a VMWare utility as well. In front of the listed programs and apps to be launched on the startup, we have three buttons to perform different tasks. Using the “Add” button, you can add a new program or application within the Startup Application utility which you want to launch automatically right after the system starts. After selecting a specific application or program from the list, you can remove it via the “Remove” button below the “Add” button. Then, we have an “Edit” button that can be used to modify any application or program that is listed in the Startup Applications utility.
Add a Program to Startup Applications
Let’s move towards the illustration of adding a new program to the list of startup applications via the “Startup Applications” utility. Before that, we quickly launch the Command Terminal utility of Ubuntu via the “Ctrl+Alt+T” shortcut. After launching the Command Terminal, we execute the “which” instruction with the “bash” keyword option to look for the path of the Bash terminal in our Ubuntu system. We utilize the Bash terminal’s path in our next steps. Using these instructions, you can look for the configuration path of any program that is installed on your Ubuntu system.
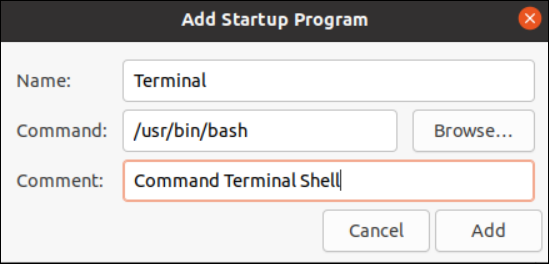
Now, return to the “Startup Application” utility and tap its “Add” button. Right after that, another small “Add Startup Program” window will be opened on our Startup Application screen. This window contains three labels with three text boxes. The first label, “Name”, has a text box to add any random name for an application to be added to the list of startup applications. We assign the name “Terminal” to the new application to be added.
The “Command“ label is here to set the path for the application installation folder and the “Browse” button to search for the specific path. Now, the path from the “which” command can be utilized here, i.e. we add the path of the Bash terminal in the text area, i.e. “usr/bin/bash”. The “Comment” label is the optional part of adding an application to the list of Startup applications; it only holds the comments regarding an application. Therefore, you can either skip it by adding nothing or you may add any comment like “Command Terminal Shell”. Tap the “Add” button to finally add the application or program to the startup applications list.
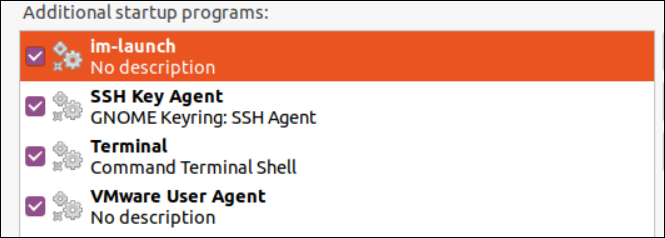
After adding a Bash terminal to the startup applications, we can find it in the list as displayed. Now, close the “Startup Application” utility and reboot the system once again.
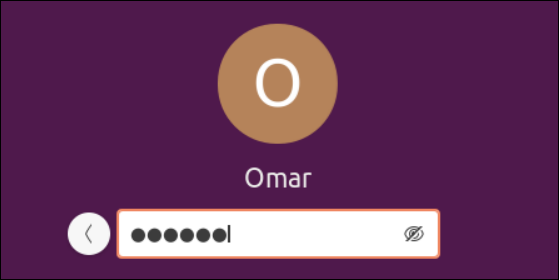
After a reboot, you need to log in from the same account, and you will see that the Bash terminal application will be launched automatically.
’
Disable or Remove the Startup Application
To temporarily disable the application from launching at startup, you need to unmark the checkbox with the specific application. To completely remove an application from the startup applications list, select the application and tap on the “Remove” button.
Delay the Startup Programs
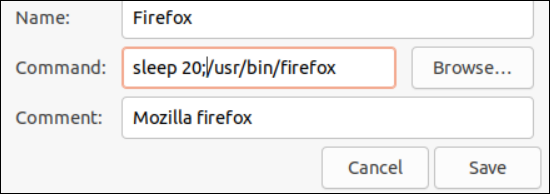
Adding an application or program to the list of startup applications will quickly start after a successful login without a second delay. This might cause performance issues like slow processing. To optimize the performance of our Ubuntu system, we use the “Delay” functionality in the startup applications. Within the textbox of the “Command” label, you should add the “Sleep” function, followed by the space, the delay seconds that end with the “;” character, and the path of the program where it is installed and configured. This time, we set the “Firefox” as the startup application. Tap on the “Save” button to continue. Now, firefox will be launched on each startup of Ubuntu right after the 20 seconds.
Install the Main Menu Utility
You may use the alacarte menu editor when using the GNOME desktop platform. These utilities might or might not be present in other desktop environments. To install the “Main Menu” utility, run the “install” instruction with the “Apt” package followed by the “alacarte” keyword. Add your password and proceed.
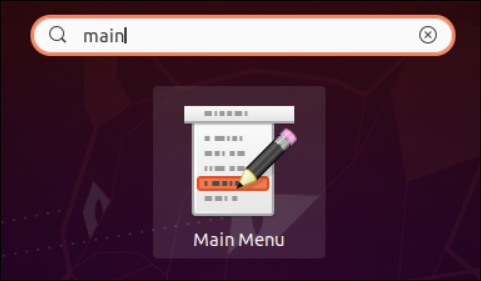
After its successful installation, you can find it in the applications of your system after searching the “main menu” in the search area.
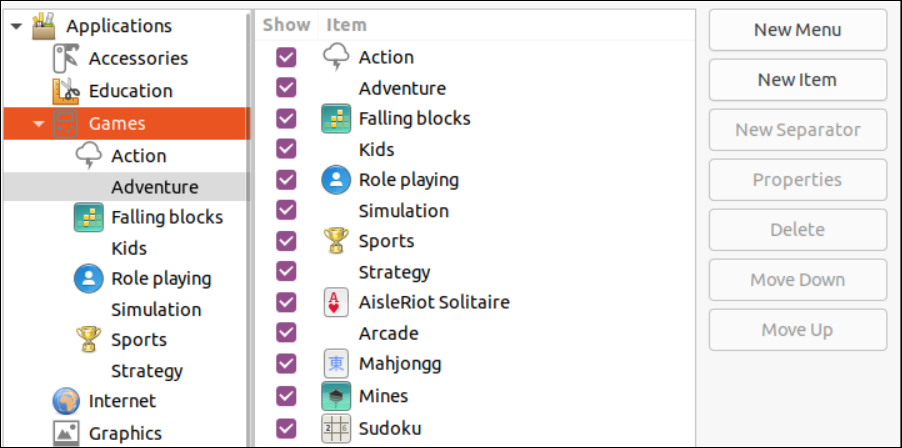
This utility provides a broad list of applications and programs to add, remove, and edit in the list of startup applications.
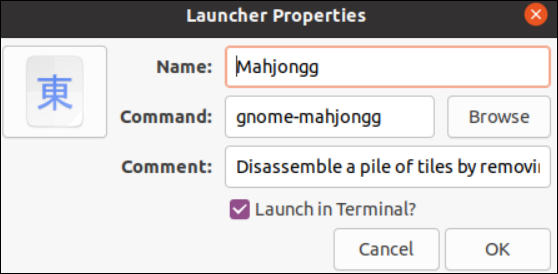
Using the “Main Menu” utility, we add the Mahjongg game in the startup application as depicted in the following image:
Conclusion
This guide is all about setting up the startup applications for the Ubuntu system. We utilized the built-in “Startup Application” utility and learned to add, remove, and edit the applications. We also discussed the use of sleep function to delay the launch of startup applications to optimize an Ubuntu system.

