This blog will discuss the method to manage the CSV files using the “Import-CSV” cmdlet.
How to Manage CSV Files in PowerShell Using “Import-CSV” Cmdlet?
The cmdlet “Import-csv” imports the CSV file in PowerShell in a table-like format. For further understanding of managing the CSV files overview the given examples.
Example 1: Import or Display Content of CSV File in PowerShell Console Using the “import-csv” Cmdlet
This demonstration will import the CSV file in PowerShell console using the “import-CSV” cmdlet:
According to the above code:
- First, write the “Import-CSV” cmdlet and add the CSV file path:

Example 2: Import Only a Selected Query of the CSV File Using the “import-csv” Cmdlet
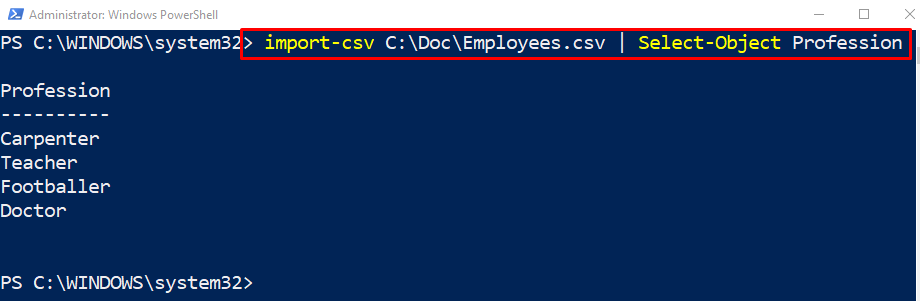
This illustration will import the selected query selected by the “Select-Object” cmdlet:
In the above-stated code:
- First, add the “Import-csv” cmdlet, then specify the CSV file path.
- After that, define the pipeline “|” to transfer output from one command to another.
- Then, add the “Select-Object” cmdlet and assign the “Profession” section to be imported and displayed in the output console of PowerShell:
Example 3: Select and Display Only a Single Value or Row With the Aid of the “Where” Cmdlet
This example will display only the selected values in the PowerShell console:
According to the above code:
- Add the “where{}” cmdlet after the pipeline “|”.
- Inside the “where{}” cmdlet parameters, select the “Age” query followed by the “-eq” operator and then assign the “28” value to it:

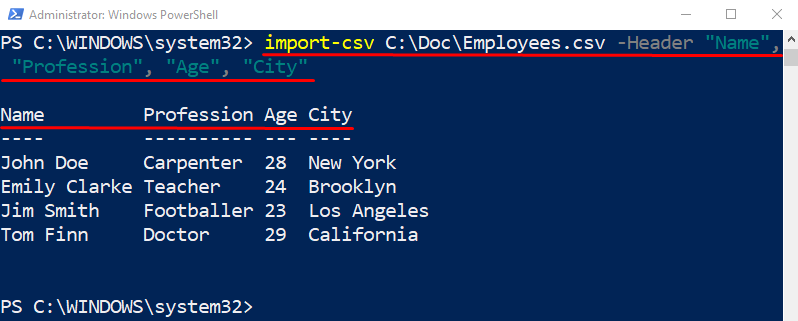
Example 4: Add the Header Section With the Aid of the “-Header” Parameter
In this example, the header section will be created if it is not provided. For that reason, add the “-Header” parameter after the file path, and then define the header values within inverted quotes separated by a comma:
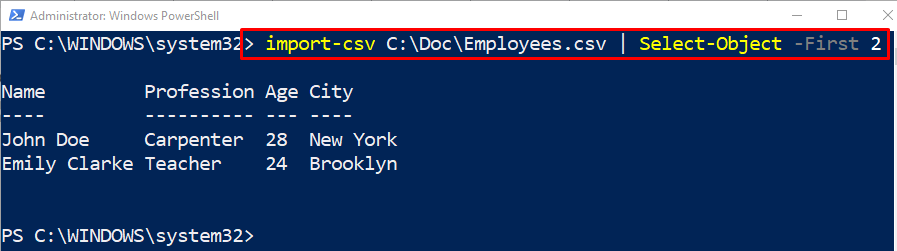
Example 5: Display the First Two Rows of the CSV File Using “Import-Csv” Cmdlet
This example will display only the first two lines of the CSV file. For that reason, add the “-First” parameter after the “Select-Object” cmdlet and assign the value “2” to it:
That’s how managing CSV files in PowerShell.
Conclusion
The CSV files can be managed using the “Import-CSV” cmdlet. This command imports the CSV files in the PowerShell console in a table-like format. It uses parameters to select or display the desired queries or values. This article has illustrated the management of CSV files using several examples.