A firewall is responsible for monitoring the incoming and outgoing traffic through a network. The monitoring process is parametrized by the security requirements of the system that the firewall is supposed to defend.
Ansible has a module called the UFW module which allows the users to manage the firewalls on remote hosts. Let’s find out what this module is and how it works!
What is the UFW Module?
Before we get to the UFW module, we must first check out what UFW is in the first place. UFW stands for Uncomplicated Firewall – an easy-to-use application designed to make firewall management easy on Linux systems. It comes preinstalled in all Ubuntu versions after 8.04 LTS.
The good thing about UFW is that it provides an intuitive frontend that anybody can learn to use quickly. It is a CLI (command-line interface) based program, however, there are GUI versions available as well. UFW works particularly well with host firewalls, which is most likely why there is support for it in Ansible.
Ansible has a UFW module belonging to the community.general collection, meaning that it isn’t included in ansible-core. However, if you’ve installed the ansible package, you most probably already have it. In case you don’t, refer to the next section for installation instructions.
Installing the UFW Module
You can check whether or not the UFW module is included in your Ansible installation by running the command below.
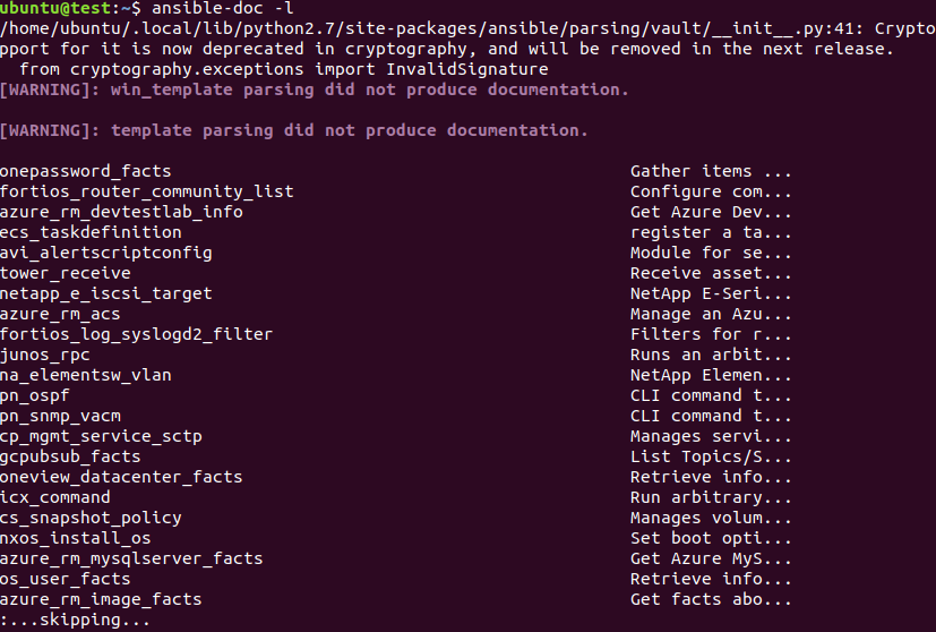
Check the output. If you don’t have the UFW module, run the command below for installing it.

With that done, we are all on the same page regarding the installation of the UFW module. Let’s get into how you can use it!
Using the UFW Module
Given below are some important parameters that every user should know before using the UFW module.
- default or policy – Takes allow or deny or reject and changes the current security policy for network traffic.
- delete – Takes no (default) or yes. Deletes a rule.
- direction – Sets the direction of a rule i.e., in, incoming, out, outgoing, or routed.
- from_ip, from_port – Returns source IP address and port respectively.
- insert – Adds a rule identified by its rule number or NUM. (Numbers start from 1 in UFW)
- interface – Specifies the interface (driven by the direction parameter) for the subject rule.
- log – Takes no (default) or yes. Turns logging on and off for new connections made to the rule.
- logging – Changes packet logging settings according to on, off, low, medium, high, or full.
- route – Takes no (default) or yes. Applies the specified rule to forwarded/routed packets.
- rule – Add a new firewall rule. Takes the same arguments as the default parameter.
- state – Takes enabled to reload and run firewall upon boot, disabled to unload and turn off firewall upon boot, reset to disable the firewall and applies default settings, reloaded to reload the firewall.
- to_ip, to_port – Returns destination IP address and port respectively.
Once you’ve mastered the ins and outs of these parameters, you’re well on your way to becoming a UFW expert. If you’d like to learn more, visit the Ansible UFW module documentation. Having said that, let’s move on to some examples that demonstrate the usage of this module.
Example 1: Enable UFW
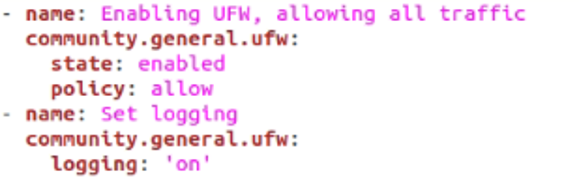
In this first example, you will learn how to enable UFW while allowing all the traffic. This can be done with the following piece of code.
community.general.ufw:
state: enabled
policy: allow
- name: Set logging
community.general.ufw:
logging: 'on'
Now, run this playbook with the help of the following command in the Linux terminal:
![]()
As you can see, we’ve used the state parameter and set it to enabled – turning on the firewall. Next, our policy or default parameter allows everything. Finally, we have turned on logging.
Example 2: Rejecting Traffic
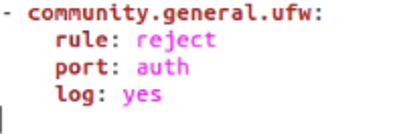
Connections from a sender can be rejected in multiple ways, by using deny and reject. However, using deny doesn’t inform the sender that they have been denied. In many cases, you may want to notify the users that their connections are being denied. In such an instance, use the reject argument.
rule: reject
port: auth
log: yes
We also log the rejected connections by setting log to yes.
Example 3: Denying & Allowing Access to a Specific Port
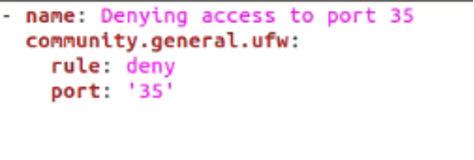
In this example, we will go over how you can deny access to a certain port. This can be achieved by simply setting the rule as deny and passing the number of the port that you want.
community.general.ufw:
rule: deny
port: '35'
We can also change things up a bit by allowing all access to a TCP port as well. Here’s how that would be done.
community.general.ufw:
rule: allow
port: '53'
proto: tcp
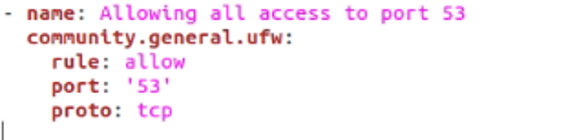
Here, the proto parameter is passed tcp, simply setting the protocol. Other possible argument values include udp, ipv6, esp, ah, any, and more.
These techniques are also applicable to a range of ports. Let’s say that you want to allow or deny access to a wide range of ports, but you’d have to specify a rule for each port one by one. Not necessarily. In fact, you can pass a whole range of ports that need the same rule. Here’s an example of how it would work.
community.general.ufw:
rule: allow
port: 60000:61000
proto: tcp

All the ports between 60000 and 61000 will be allowed complete access.
Conclusion
In this guide, we’ve explored the Ansible UFW module. It allows us to manage firewalls on remote hosts efficiently. We also looked at a couple of examples where we demonstrated how to allow or deny access, manage ports, and more. Hopefully, it has been an informative read for you!