The outcomes of this write-up are:
- How to Change Git Ignore File Mode (chmod) “True” With Configuration Value?
- How to Change Git Ignore File Mode (chmod) “False” With Configuration Value?
Let’s move ahead and go through them one by one!
How to Change Git Ignore File Mode (chmod) “True” With Configuration Value?
To make Git ignore file mode (chmod), first, move to the Git local repository, and create a file. Then, move it to the staging index and commit changes. Check the default configuration settings of the file mode. If true, change the file mode using the “$ chmod” command and verify the permissions.
Now, check out the following example for a better understanding!
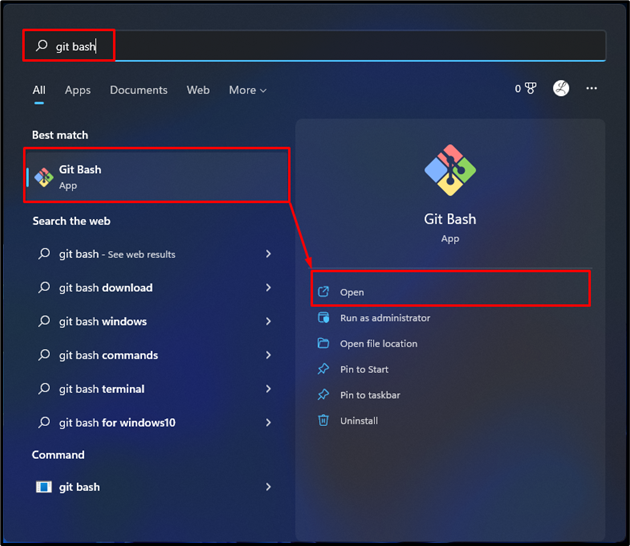
Step 1: Launch Git Bash Terminal
Open the Git bash by using the Windows Start menu:
Step 2: Move to Required Git Repository
Run the “cd” command to move to the required Git repository:
Step 3: Initialize Git Repository
Initialize the Git repository by using the following command:
Step 4: Create a New File
Utilize the below-stated command to generate a new file in the Git working area:
Step 5: Add File to Git Staging Index
Next, move the file to the Git index through the below-given command:
Step 6: Commit Changes
Commit all the added changes along with a particular message and update the repository:
Step 7: Check Default File Mode Configuration Settings
Execute the provided command to see the default file mode configuration settings:
According to the given output, the status of file mode configuration settings is “true”. Now, make some changes:
Step 8: Check Default Permissions of File
To check the default permissions of the file, run the “ls -l” command along with the file name:
It can be observed that only the user(owner) has read-write permissions and the rest of the people have read-only permissions:
Step 9: Change the File Mode
Use the “chmod” command along with the permission bits and file name for changing the file mode to different permissions:
We have changed the permissions to 444, which means everyone has read-only permissions including the author(owner):
Step 10: Verify Permissions of File
To verify whether the permissions of the file have changed or not, run the provided command:
In the below-provided screenshot, it can be seen that permissions have changed to 444 which is read-only by everyone:
How to Change Git Ignore File Mode (chmod) “False” With Configuration Value?
If you do not want to stage the file mode changes in your current working development Git project, then set the file mode configuration permissions to “False”.
Try out the following steps to do so.
Step 1: Change File Mode Configuration Permissions
Run the provided command to set the file mode configuration permissions to false:
Step 2: Change the File Mode
To change the file mode for verification of ignoring file mode changes, run the below-stated command:
Step 3: Verify File Permissions
Verify whether the permissions of the file have changed or not by utilizing the given command:
Below output shows that permissions have changed to 744 which means only the user(owner) has read-write permissions and the rest of the people have read-only permissions:
Step 4: Check Permissions of Tracked File
To see the detailed information of files on unmerged paths, use the provided command:
Note: We can see that locally the “demo.txt” file mode is 744, but in Git it is still 644 which is the default file mode. It means that the file mode changes occur only locally, and Git ignores the file mode changes.
We have explained the easiest procedure to make Git ignore file mode (chmod) changes.
Conclusion
To make Git ignore file mode (chmod) changes, first, create a file in the local git repository and commit it. After that, change the file mode using the “$ chmod” command and verify the permissions. Then, change the file mode configuration permissions using the “$ git config core.fileMode” command to ignore file mode changes in Git. Next, change the file mode again and verify the permissions. This article explained making Git ignore file mode (chmod) changes.


