Developers often use the make command to compile their projects from the command line, and it’s helpful as you can separate a large program and examine it easily. This guide covers the different usage options for the make command using various examples. Check them out!”
Getting Started With the Make Command in Linux
To compile different projects, the make command relies on the instructions in the makefile. The make command executes or uses the arguments specified in the makefile identifying different actions to handle the target project.
When the make command gets executed on a given directory, it locates the makefile, finds the targets specified in it, and uses them as arguments. The targets in a makefile also specify their dependencies, and where none is specified, the make file builds the dependencies and their main target.
You should have the make Linux utility installed on your Linux system. by default.
Verify the installation by checking its version.
If not installed, run the command below to install it.
Working With Make Command in Linux
Any project has a makefile that contains shell commands created to maintain it. The best part about using the make command is that you save on the time needed to recompile a project once you make changes, as only the object files of the source file get compiled.
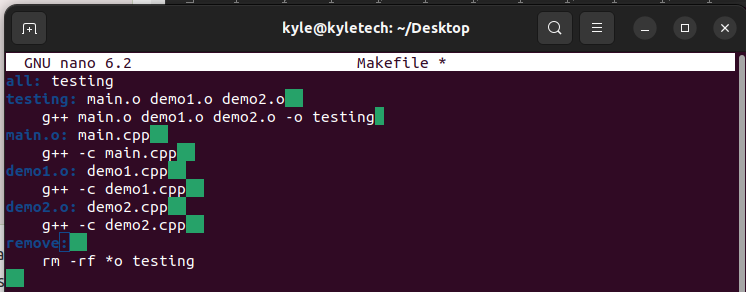
For our example, we have three C++ programs and a makefile.
As stated earlier, the make command relies upon the targets and their dependencies specified in the makefile.
Our make file contains the targets, such as demo1.o, specifying which actions to take.
To compile the project, run the make command with no arguments.
If you list the contents of the project directory, you will note the dependencies created.
In this case, if you edit any of the files, such as the demo1.cpp if we run the make command again, only the edited file gets recompiled.
That’s how using make saves on time.
Using the remove target we created in the makefile, we can invoke it using make to delete all executable and *.o files.
Common Make Command Options
1. -B: when you edit a single file but wish to compile all the files instead of the one, use the -B flag. For instance, if we add -B when we edit the demo1.cpp, we will note a different output.
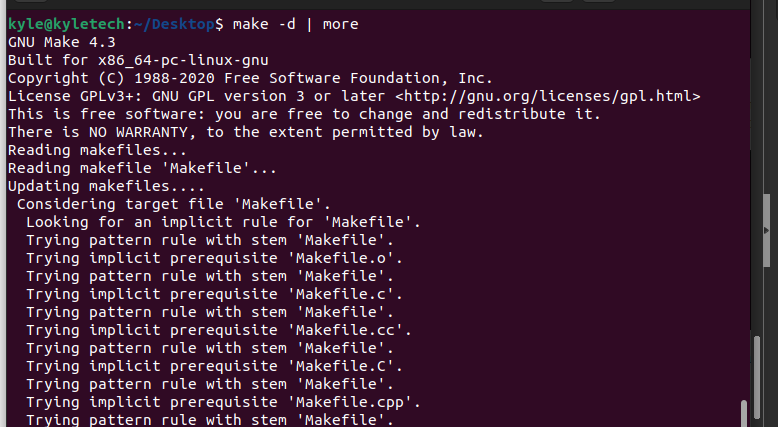
2. -d: to get the debugging information when the make command executes, add the -d flag.
3. -C: the option allows you to change to a different directory when using the make command. For instance, our project is the /Desktop. We created a new directory named new1 and navigated into it from where we called the make command.
4.-f: if you want to use a different file as you makefile, use the -f followed by that file name. The syntax is:
5. -i: if there are errors in the command executed, you can choose to ignore them by adding the -i flag.
6. -n: if you are unsure about a command, you can dry run it using the -n flag.
For instance, if we need to dry run the remove target in our makefile, we can use it as shown below. If we list the directory’s contents, we see all our files remain intact.
The above options are the common ones when working with the make command. However, you can always check the make man page for more options.
Wrap Up
That’s it, folks. We’ve seen the make command and discussed the common usage examples and options. A make command is a powerful tool for compiling complex projects for developers. You can now comfortably use the make command in Linux.


