Logical Volume Management, or LVM, is a system used to manage logical volumes and filesystems. LVM has much more advanced features than the other volume management tools (like gparted) used to divide a disk into one or more partitions. In order to play around with LVM, we need to have concepts about the following terms.
Physical Volume is the actual hard disk drive.
Volume Group gathers all the logical and physical volumes into one group
Logical Volume is the equivalent of disk partition conceptually in a non-LVM system.
File Systems are created on logical volumes, and after creating file systems, we can mount these filesystems on the machine.
This tutorial will use lvm, an apt package, to create logical volumes and filesystems.
Installing LVM
The lvm package does not come pre-installed on ubuntu. Install the lvm package using the apt command-line tool.
After installing, check the version of lvm to verify the installation.

Creating Physical Volume, Volume Group, and Logical Volume
In order to create a logical volume on a block device, a physical volume and a volume group must be created. In this section, we will create a physical volume /dev/sdc; then, we will create a volume group (/dev/vg01) from that physical volume. After this, we will create a logical volume (/dev/vg01/lv01) in this volume group.
Creating Physical Volume
So before creating any physical volume, let’s display all the available physical volumes on the machine. Use pvs, pvscan or pvdisplay command to display all the physical volumes.
OR
OR
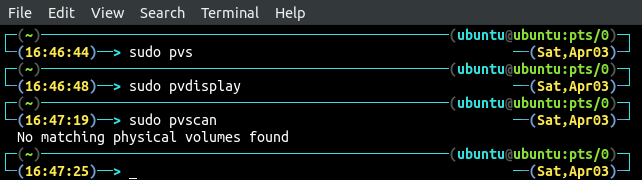
So there is no physical volume already initialized from any block device on the machine. Before creating a physical volume from a block device, list all the block devices available on the machine, which can be used to create physical volumes. Use the lvmdiskscan command to list all the block devices on the machine.

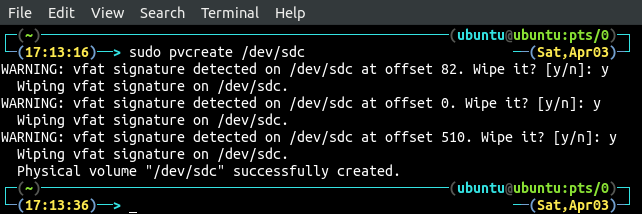
We will initialize /dev/sdc as our physical volume using the pvcreate command. A block device can not be initialized as physical volume if it is mounted on the machine. Use umount command to unmount a block device.
Now initialize the block device as a physical volume using the pvcreate command.
After initializing the block device as a physical volume, now again list all the physical volume using the pvdisplay command, and the recently created physical volume will show up there.
Creating Volume Group
So far, we have created a physical volume; now, we will create a volume group (vg01) from the physical volume we just created. Before creating any volume group, display all the available volume groups using the vgdisplay or vgs command.
OR

There is no volume group on the machine, so create a new one from the physical volume (/dev/sdc), which we just created in the previous step. The vgcreate command will be used to create a volume group.
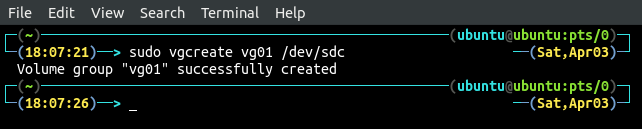
The above command will create a volume group (vg01) from the /dev/sdc physical volume.
NOTE: We can create a volume group from more than one physical volume by using the vgcreate command as follows.
Now again, display all the volume groups using the vgdisplay command, and the recently created volume group vg01 will be listed there.
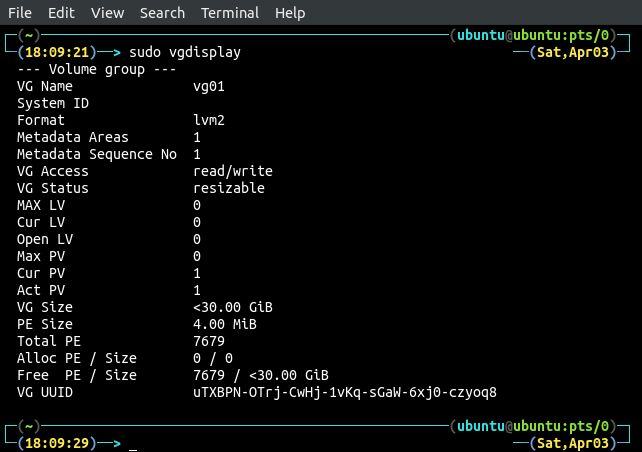
In the above figure, we can see that the physical extent (PE) size is 7679, a maximum number of physical volumes is 0 (as we have not set its value), and the maximum number of logical volumes is 0 (as we have not set its value). We can set these parameters while creating the volume group by using the following flags.
-s: physical extent size
-p: maximum number physical volumes
-l: maximum number of logical volumes
So now we have one volume group, vg01, and we can activate and deactivate this volume group using the vgchange command. To activate the volume group, set the value of -a flag to y and deactivate the volume group, set the value of the -a flag to n along with the vgchange command.
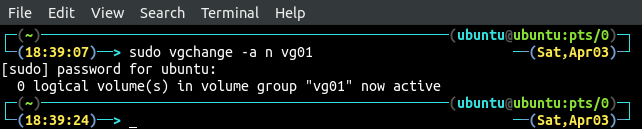
The above command has deactivated the volume group vg01. To activate the volume group, use the following command.
Creating Logical Volume
After creating a physical volume and volume group, now create the logical volume in the volume group. Before creating the logical volume, list all the available logical volumes by using the lvs, lvscan or lvdisplay command.
OR
OR

There is no logical volume, so create a logical volume of size 10GB in the vg01 volume group using the lvcreate command.

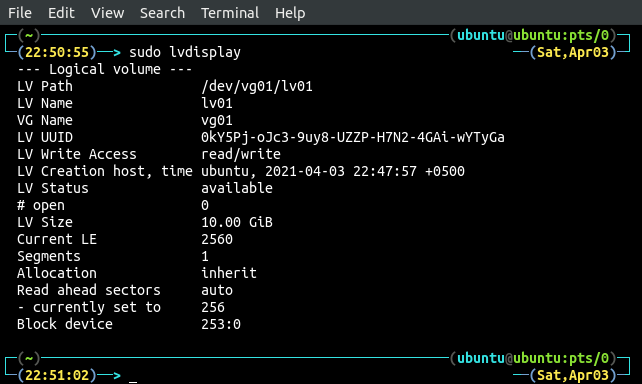
After creating the logical volume, now list all the logical volumes by using the lvdisplay command.
Creating Filesystems
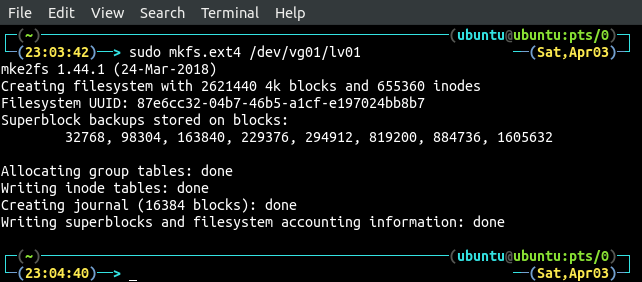
After creating the logical volumes, now the final step is to create a filesystem on top of the logical volume. After creating a filesystem, mount it on a directory to be accessible and can be used to store data in it. There are different file system formats (like FAT16, FAT32, NTFS, ext2, ext3, etc.) that can be used to create a filesystem. Create an ext4 filesystem by using the mkfs command.
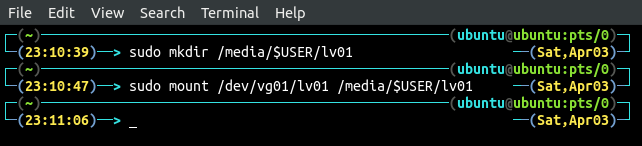
After creating the filesystem, mount it on a directory to access it. Create a directory ‘/media/$USER/lv01’.
Mount the filesystem on this directory using the mount command.
Now the /dev/vg01/lv01 filesystem can be accessed from the ‘/media/$USER/lv01’ directory, and data can be stored on this location. In order to mount the filesystem automatically on reboot, add the entry for this filesystem in the ‘/etc/fstab’ file. Open the ‘/etc/fstab’ file in nano editor and append the line in the file.
/dev/vg01/lv01 /media/ubuntu/lv01 ext4 defaults 0 0
After creating and mounting the filesystem, we can use different commands like fdisk, df, or lsblk to display the file system.
OR
OR
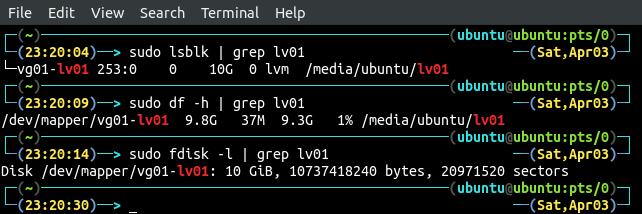
Using Graphical Tool For LVM
So far, we have used lvm through the command-line interface, but there is a graphical tool (kvpm) available used to create logical volumes and filesystems using a nice graphical user interface. Install the kvpm by using the apt command-line tool.
After installing kvpm, open the tool from the terminal by typing the following command.
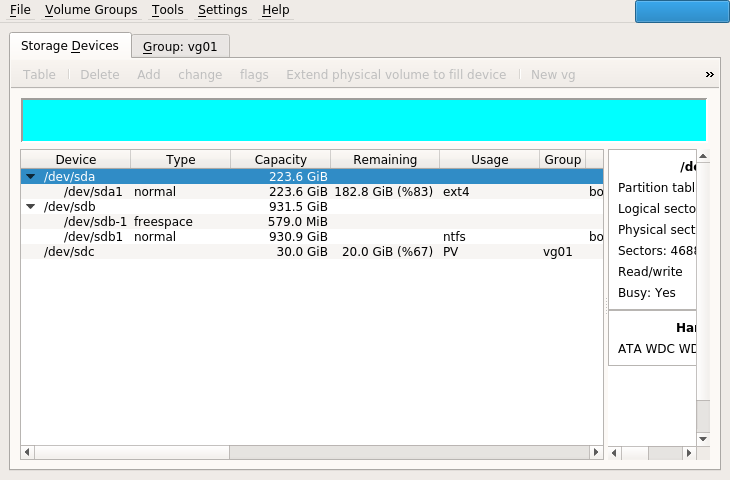
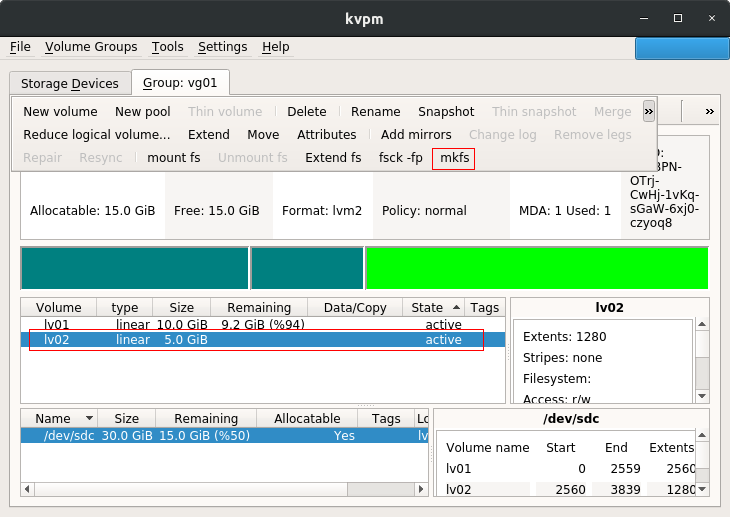
In the storage devices tab, it is showing all the block devices available on the machine. For /dev/sdc block device, it is showing 20GiB of space remaining from a total of 30GiB space because we have created a 10GiB filesystem on this block device. Alongside the ‘Storage Devices’ tab, there is the ‘Group: vg01’ tab, and it has all the data related to the volume group we created in this tutorial.
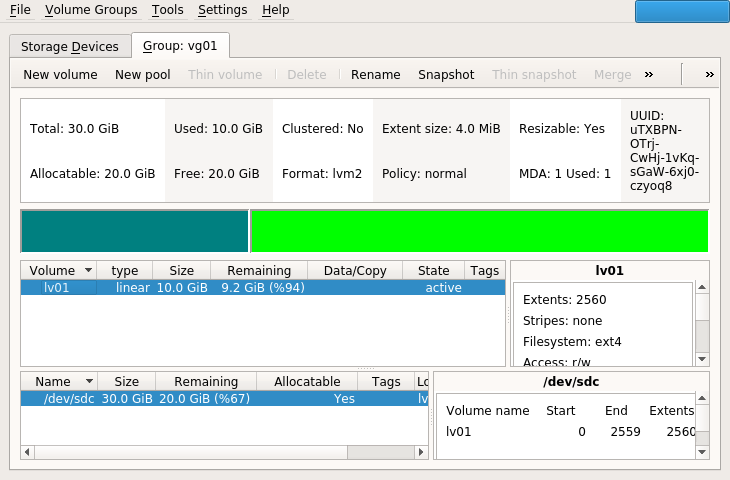
This window has all the information about the volume group, logical volume, and the filesystem created. In order to create a new logical volume using the kvpm tool, click on ‘New volume’ in the volume group tab.
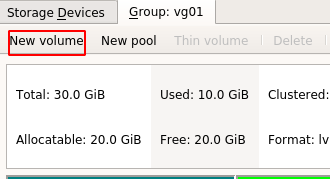
Specify the volume name and size of the logical volume.

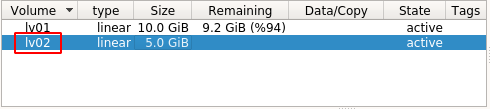
It will create a new logical volume named lv02, and the volume will be listed there.
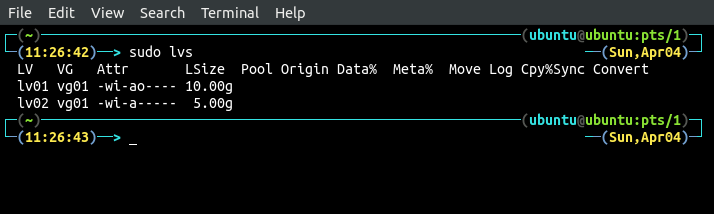
Confirm whether the logical volume is created or not by using the lvs command in the terminal.
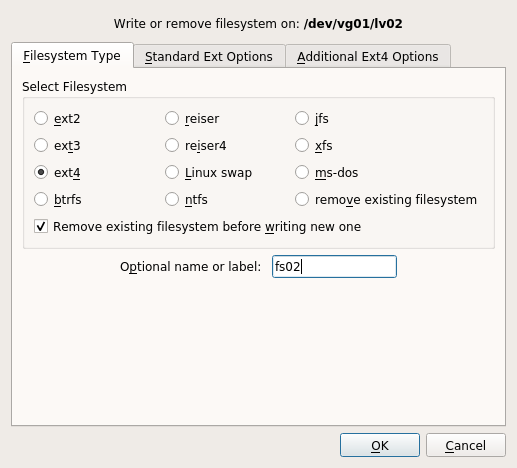
To create a filesystem on lv02 using a graphical tool, select the logical volume lv02 on which you want to create a filesystem and click on ‘mkfs’.
It will ask for confirmation and then create the file system after entering the file system format.
In order to confirm whether the filesystem was created or not, use the following commands to list all the filesystems.
OR
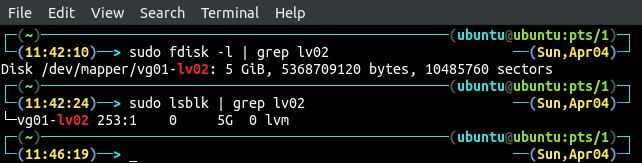
Now, this file system can be mounted on any directory and can be used to store and retrieve data.
Conclusion
To manage data on a system, we need to store it in an organized way. Some files need to be stored in one filesystem and some files in another depending upon the requirement. In this scenario, we have to manage filesystems on our block devices in the machine. In this tutorial, we learned how we could create logical volumes and different filesystems on block devices. We discussed how to initialize block devices as physical volumes and how volume groups, logical volumes, and filesystems can be created using a command-line interface and a graphical user interface tool.