In this blog, you will learn to show the file names that are modified between two commits.
How to List Only the Names of Files that Changed Between Two Commits?
To list only the names of particular files that changed between two commits, users are required to perform the below-listed steps:
- Navigate to a desired local directory.
- View the current repository list of content.
- Open a particular file with the default text editor and make modifications.
- Track and commit all added changes.
- Check the name of files that changed between two commits by executing the “$ git diff –name-only <commit-hash1> <commit-hash2>” command.
Let’s try out the above-stated steps on your particular Git local repository!
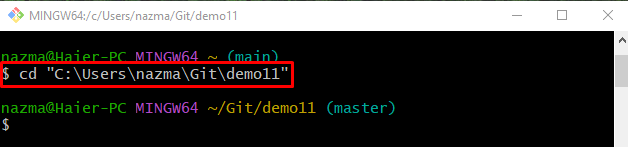
Step 1: Navigate to Git Local Repository
First, move to the Git particular local repository by executing the “cd” command:
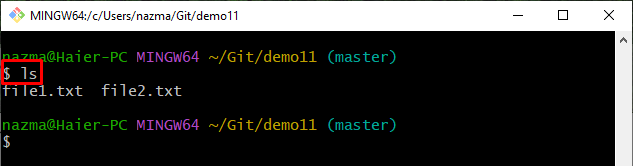
Step 2: List Repository Content
Run the “ls” command to view the current repository content:
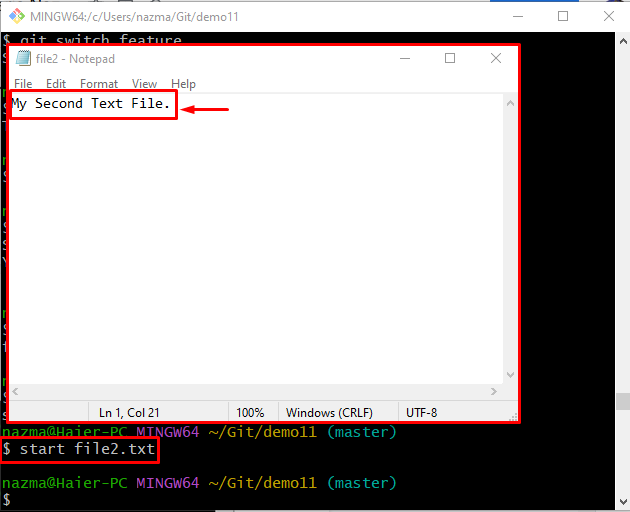
Step 3: Open and Update Existing Text File
To open and update the existing text file, utilize the “start” command:
Add some text, press the “CTRL + S“ key to save the changes, and close the file:
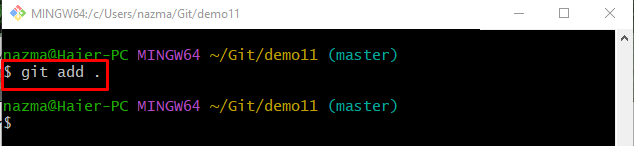
Step 4: Stage File
After adding modifications, track the added changes to the staging index through the following command:
Step 5: Add Changes to Repository
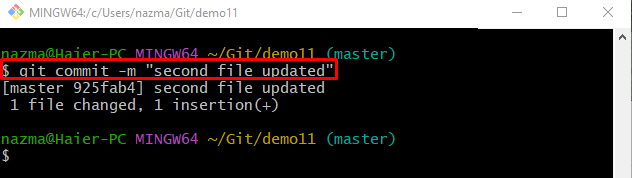
Update the Git repository using the “git commit” command along with the “-m” option and add the commit message:
Step 6: Start and Modify File Through Default Text Editor
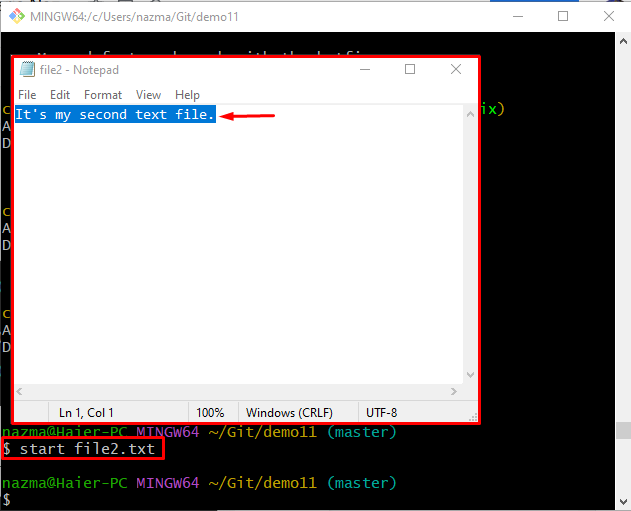
Now, run the below-given command to open the file with the default text editor and update it:
After updating the opened file, save changes and close it:
Step 7: Add Changes to Current Repository
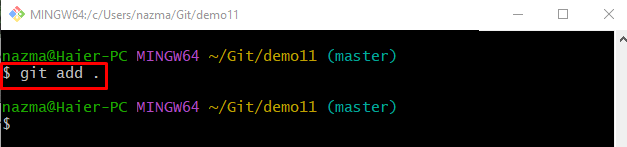
Execute the following command to add all changes to the current repository and track them in the staging area:
Step 8: Commit Modifications/Changes
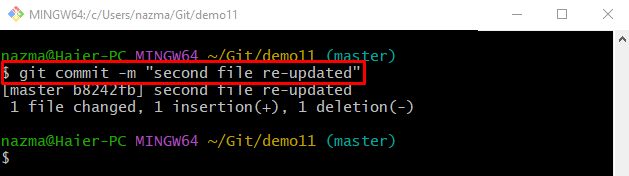
Commit changes, update, and save changes in the repository through the below-provided command:
Step 9: Check Git Repository Reference Log History
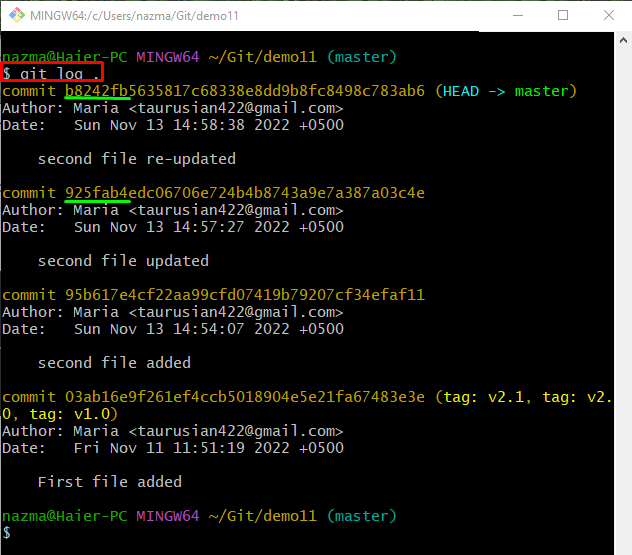
To view the Git repository reference log history, use the “git log .“ command:
Here, the below-highlighted SHA hash references are the most recently added commits:
Step 10: Show Changed File Name Between Two Commits
Lastly, run the git diff“ command with the “–name-only” option and particular commit SHA hashes:
Here, the “–name-only” option is used to display the name of the file which is changed between two commits:
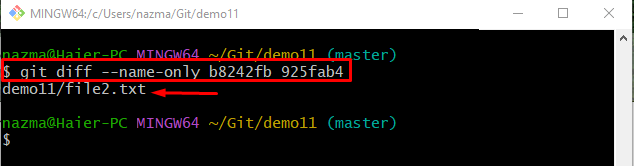
It can be observed from the above output that file2.txt is changed between the specified commits.
Conclusion
To view the name of a file that changed between two commits, first move to the particular Git repository, and list the repository content. Then, open and update the file by adding some text. After that, save and track the changes to the staging index. Next, commit them to the repository and execute the “$ git diff –name-only <commit-hash1> <commit-hash2>” command. This blog provided the procedure to show the name of a file that changed between two commits.