But the issue with using git stash is that it stores the commit in a hidden place, known as stash stack, and its content can grow widely over time. To overcome this issue, the git stash list and git stash show commands are introduced as they can help the developers to track their stash history and display which entries they should keep and select which entries to drop.
This guide will explain the procedure for listing and displaying the git stash history. Let’s get started!
How to List and Show the git stash History?
To list and show the git stash history, first, we will navigate to the Git local directory and create a new file. After that, track the file to the Git directory and commit changes. Then, save the working directory and index state with the “$ git stash” command and run the “$ git stash list” command to view the stashes list. Lastly, we will display the history of Git stashes.
Check out the below-given instructions to perform the above-discussed scenario!
Step 1: Launch Git Bash
Search and open the “Git Bash” using the “Startup” menu:

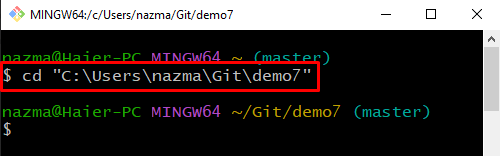
Step 2: Move to Git Repository
First, execute the following command to navigate to the Git repository:
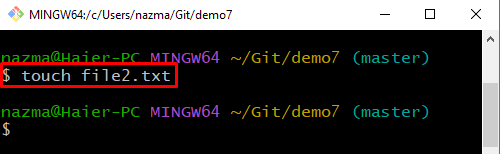
Step 3: Create File
Now, create a new file using the “$ touch” command and specify the file name:
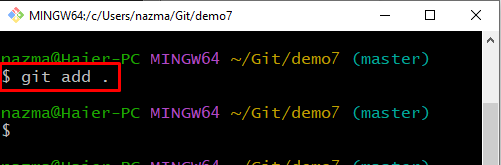
Step 4: Track File
Next, track the file Git directory by utilizing the below-given command:
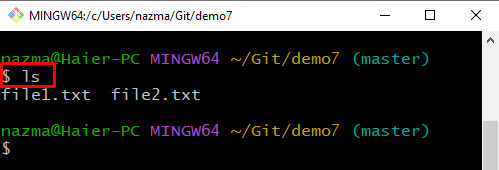
Step 5: List Repository Content
Then, execute the “ls” command to list out the content of the repository:
Step 6: Create File
Now, create another file to the Git local repository using the “start” command:

Step 7: Track File to Git Directory
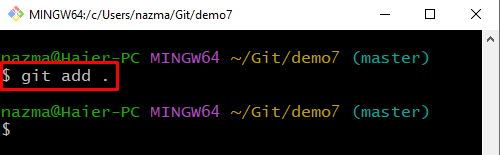
Then, add the file to the local directory utilizing below command:
Step 8: Commit Changes
After that, commit all made changes with the commit message with the help of the “git commit” command:

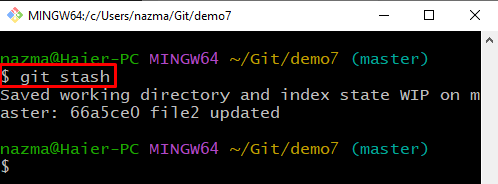
Step 9: Git Stash
Execute the “git stash” command to save the working directory and index state:
Step 10: Stash List
To display the list of stashes, run the “git stash list” command:
It can be seen that currently, we have only one stash record:

Step 11: Show git stash History
Execute the “git stash show” command to show the history of Git stashes:
The below output indicates that we have updated one file and deleted one file:

That’s all! We have demonstrated the method of listing and displaying the git stash history.
Conclusion
To list and show the git stash history, first, navigate to the Git directory and create a new file. Then, track the file to the staging area and commit changes. After that, save the working directory and index state with the “$ git stash” command and execute the “$ git stats list” command to display the stashes list. Lastly, to display the history of Git stashes. This manual guided the procedure for listing and displaying the git stash history.