Ubuntu is the most widely used Linux distribution that offers more useful features for system administrators to list all users and manage their daily tasks. Therefore, the administrator can easily grant privileges to a user on a file or folder and assign limited permission for each user to secure your system’s data.
We will explore in this article how to list all users in the Ubuntu Linux system using a command-line environment. All commands are implemented on the Ubuntu 20.04 LTS focal fossa in this article. Let us dive into the details!
Listing all Users in Ubuntu 20.04 LTS distribution
There are following two methods are available to list all users in the Ubuntu system:
- List all users by displaying the /etc/passwd file content
- List all users by using the getent Command
Method 1: List all users by displaying the /etc/passwd file content
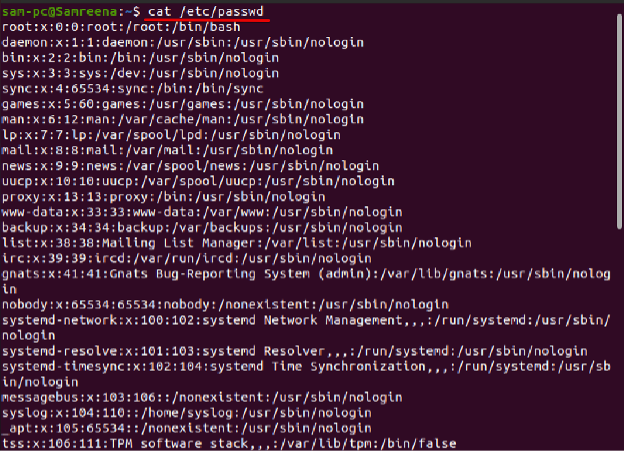
All local users’ details are stored in the ‘/etc/passwd’ file. Each line of this file contains the login information about one local user. Using two following commands cat and less, the user can view the content of the ‘/etc/passwd’ file:
To display /etc/passwd content using the ‘cat’ command, use the following syntax:
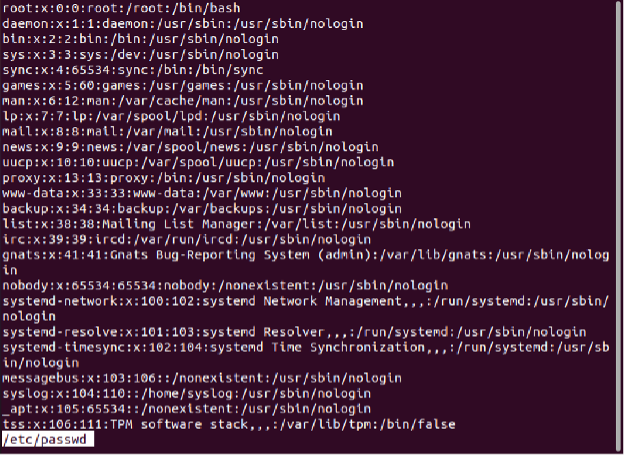
Similarly, you can view the ‘/etc/passwd’ file content using the’ less’ command.
In the /etc/passwd’ file, each line consists of fields separated by a colon. The following important information displays of each user:
- The user name represents the login name.
- This field represents the encrypted password (x represents the password that is stored in the ‘/etc/shadow’ file).
- UID represents the user identification number
- GID used to represent the User’s group ID number
- User’s full name (GECOS)
- User’s main directory or home directory.
- It represents the ‘Login shell’ that is set the default to /bin/bash.
Display only user name using Awk and cut commands
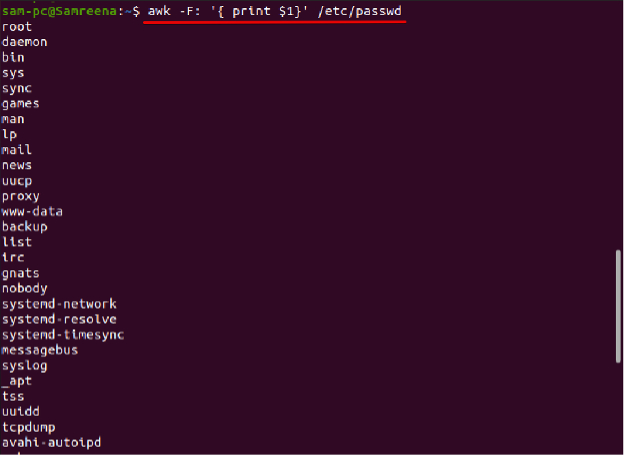
Sometimes, you only require print the first field or the user name. In this case, the two useful commands, ‘awk’ and ‘cut’, help you display the first field, which means the user name on the terminal.
In the Ubuntu Linux system, the ‘Awk’ is a powerful text manipulation utility that can easily get the only first field from the /etc/passwd file. The syntax of the ‘awk’ command for displaying the first field is given below:
You can also use the ‘cut’ command for the same purpose as follows:
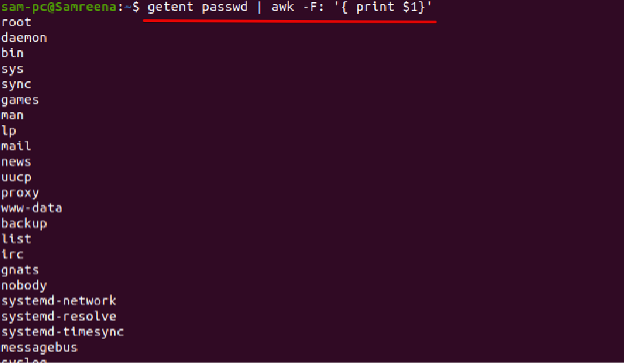
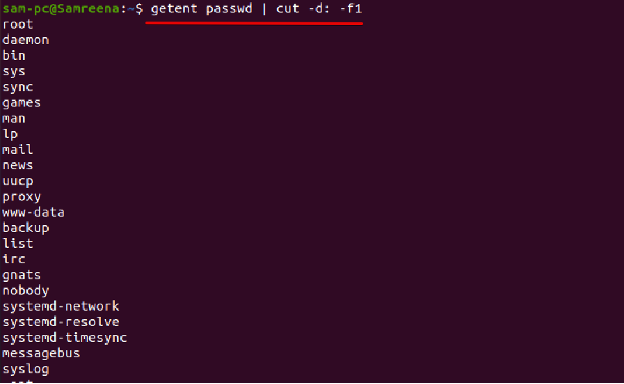
The above two commands will only display all user names on your terminal window.
Method 2: List all Ubuntu Users using the getent command
The getent command using Linux helps you to collect entries from the administrative database using specified search keys.
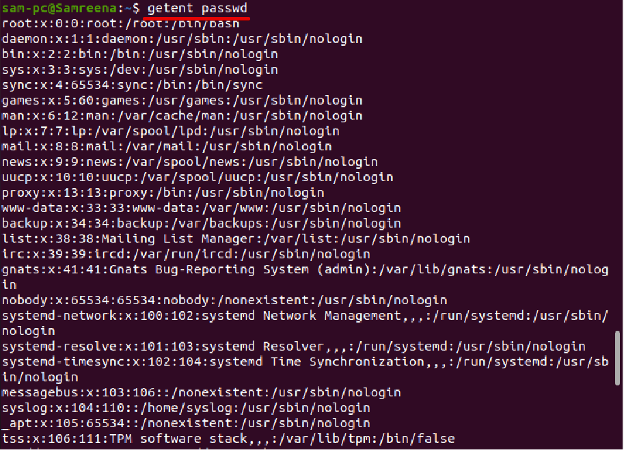
In the Ubuntu system, the getent command collects and displays the entries from the database configured in the ‘/etc/nsswitch.conf f’ file. Users can query to list all users by using the passwd database. So, to print the Ubuntu users list, use the ‘getent’ command in the following way:
You can also use the ‘awk’ and ‘cut’ parameters along with the getent command to only display the first field as follows:
Alternatively, to display the same output, you can use the cut command as follows:
Search for an existing Linux User using the getent command
Using the getent command, you can also find whether a user exists on your Ubuntu Linux system or not. To see the Linux user existence, use the getent command along with the grep as follows:
For example, we want to search for a user name ‘samreena’ that exists on our system or not. The above will change into the following form:
If the specified user exists on your Ubuntu system then, it will display the login information of this user. Otherwise, if no user with this name then, it will display no output.
You can also check the user exists or not without using the grep command as follows:
$ getent passwd Samreena
Display total number of Linux user’s accounts
If you want to search for how many numbers of accounts are available on your Ubuntu system then, you can use the ‘getent passwd’ followed by the ‘wc’ command as follows:
How differentiate between Normal and system Users?
A system user usually creates the normal users. The system user creates when you install a new Ubuntu or other Linux operating system. The system user is a root user. You can also create a system user for using particular applications. Whereas the normal users are those created by users who have sudo privileges or a root user. So, each normal and system user has a login account, home directory, and User ID (UID) number that automatically assigns between the range of minimum (UID_MIN) and maximum (UID_MAX) using the ‘/etc/login.defs’ file.
Check the Minimum (UID_MIN) and Maximum (UID_MAX) Limits
Using the following command, you can check the values range for normal users between the UID_MIN and UID_MAX:
The above output shows the normal users have a UID anywhere from 1000 to 60000.
List Normal Users in Ubuntu
The UID_MIN and UID_MAX help us to list the normal users in our system. So, UID ranges allow you to query the list of the normal user on your Linux system as follows:
Conclusion
You learned in this article how to list all Ubuntu or Linux users using the command line application. We investigated how to search for a specific user and the difference between normal vs. system users. Moreover, we discussed how to list normal using the UID ranges. The above commands can also apply to other Linux distributions such as CentOS, Debian, and LinuxMint for listing users.

