
Tools used in this article include TcpTrack, Nload, Iftop, Cbm and Iperf, which are all managed through the Linux console or terminal.
By reading this article, you also will understand basic concepts of network speed. This lecture is recommended for both beginners and experienced users looking for a simple way to measure their network speed in Linux.
All instructions in this tutorial include screenshots, making it easy for any Linux user level to apply them.
A Brief Introduction to Internet Speed Concepts
Before explaining how to carry out speed tests in Linux, there are some concepts you need to understand: download and upload speeds and latency; this tutorial focuses on the download speed.
- Download speed: the download speed is the incoming speed, the speed used by packets to reach your device; that’s the relevant speed when you download files, watch online videos or visit websites; it is the most relevant measure for home users.
- Upload speed: the upload speed is the outgoing speed, the speed to send traffic from your device to another device over the internet; it is the speed you see when uploading images or videos to any website or through any communication app. Usually, Internet Service Providers give an extremely low upload speed unless you pay an extra; it is especially relevant for servers.
- Latency: is the time traffic takes to arrive at the destination and get back to your device. This isn’t necessarily related to the speed since high latency may be caused by many hops or intermediating routers between your device and the destination; each routing device will have its own latency. As explained in the Traceroute with Nmap tutorial, if you notice low speed between your device and a specific destination, a way to diagnose the problem is to traceroute a packet all the way over the internet, trying to find a low intermediating device measuring the latency.
How to Run a Linux Network Speed Using TcpTrack
The first tool to measure your network speed in Linux described in this tutorial is TcpTrack.
TcpTrack can be installed in Debian-based Linux distributions like Ubuntu using the apt packages manager, as shown in the screenshot below.
You can download TcpTrack for other Linux distributions and BSD systems at https://pkgs.org/download/tcptrack.
As said previously, to install TcpTrack on Debian or Ubuntu, run the following command.

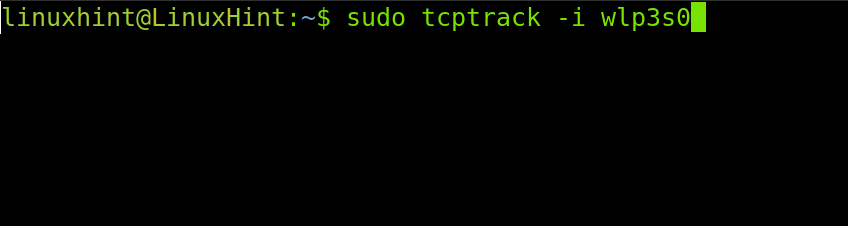
Once TcpTrack is installed, to run a speed test execute it (With privileges) followed by the -i flag and the network device whose speed you want to measure. In my case, my device is wlp3s0; replace it with yours.
Run the command below, replacing the network device name with yours.
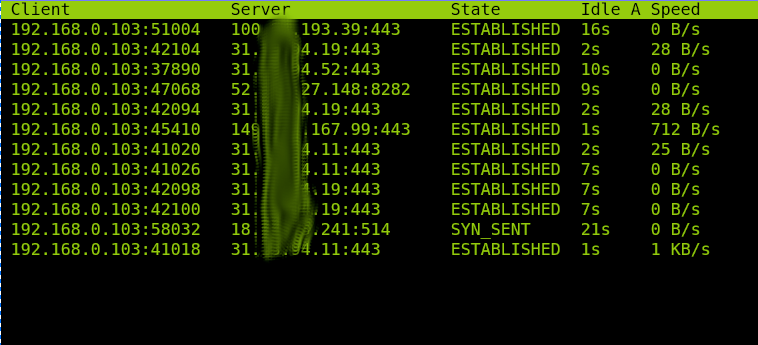
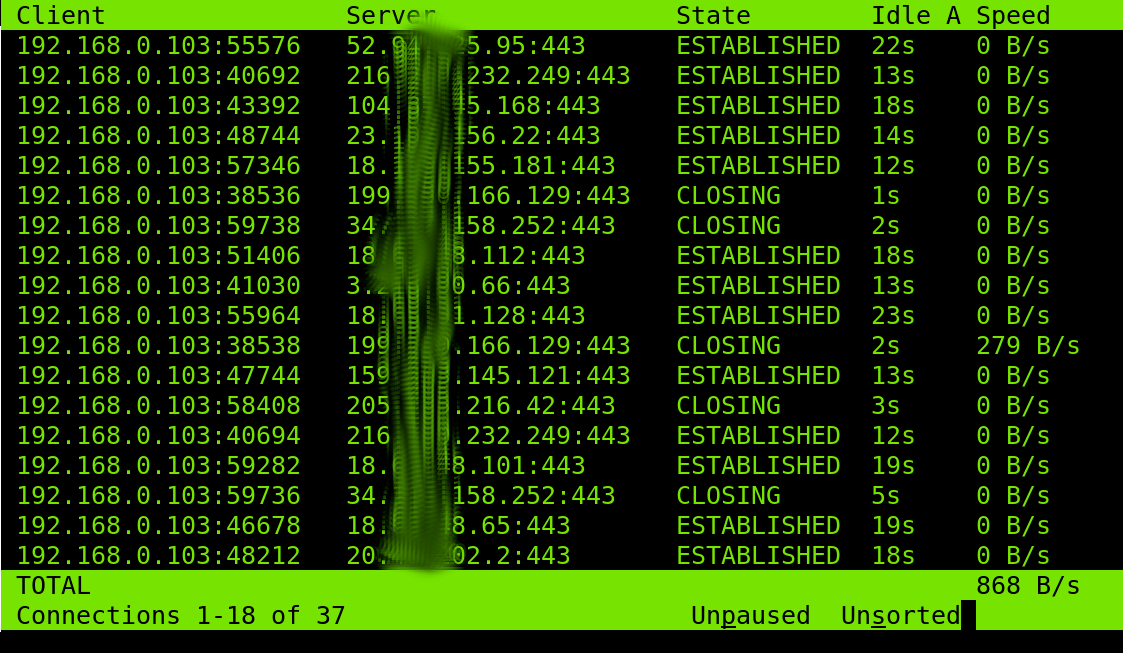
As you can see in the screenshot below, the output displays connections including your local address and port (First column), remote address and port (Second column), connection state (Third column), idle time (Fourth column) and speed for each connection (Last column).
TcpTrack shows the speed of each connection separately.
Note: Remote IP addresses in the screenshot were brushed.
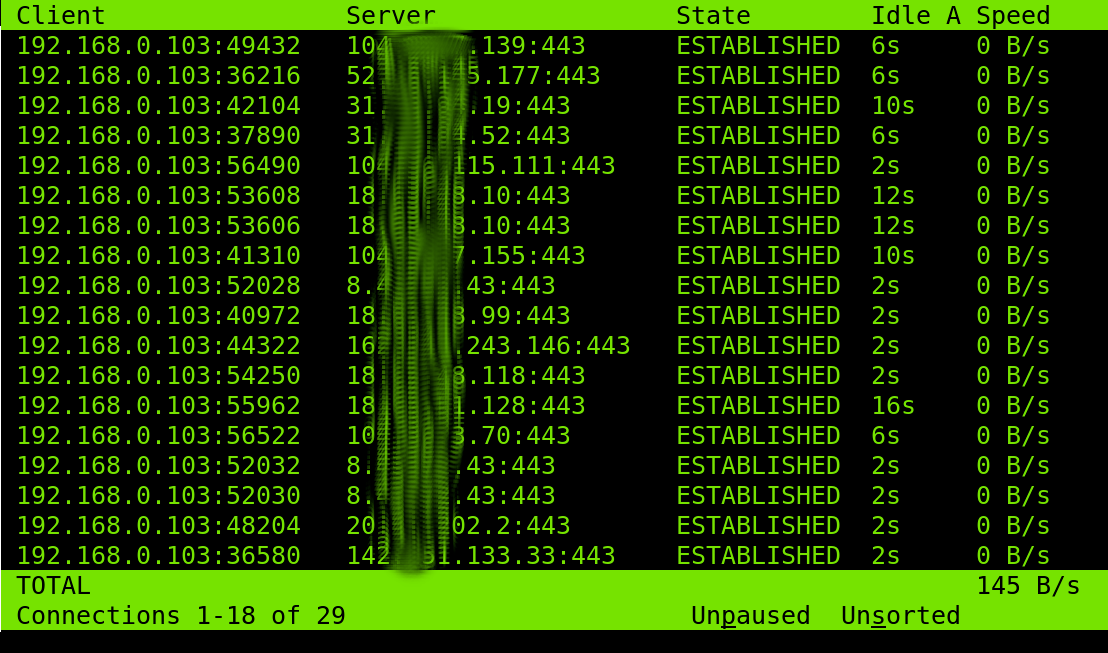
You also can check the speed for specific protocols by specifying their ports. In the example below, I instruct TcpTrack to display the speed of all connections through HTTPS (Port 443).
To specify a protocol or port, use the command used in the previous example, followed by the port option and the port number as shown below.
TcpTrack also allows you to check the speed of connections started after TcpTrack is executed. To do it, add the -d flag as shown in the following image.
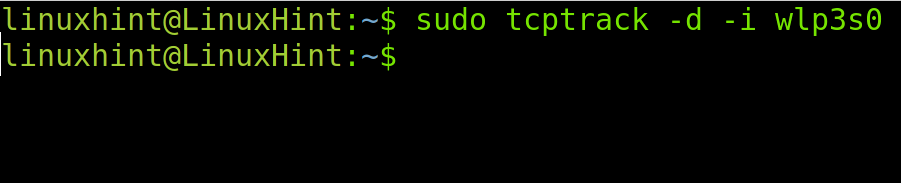
That’s how you can run test speeds using TcpTrack. There are additional options you can read on the man page. Keep reading below to know TcpTrack alternatives with different features.
Running a Linux Network Speed Test With NLOAD
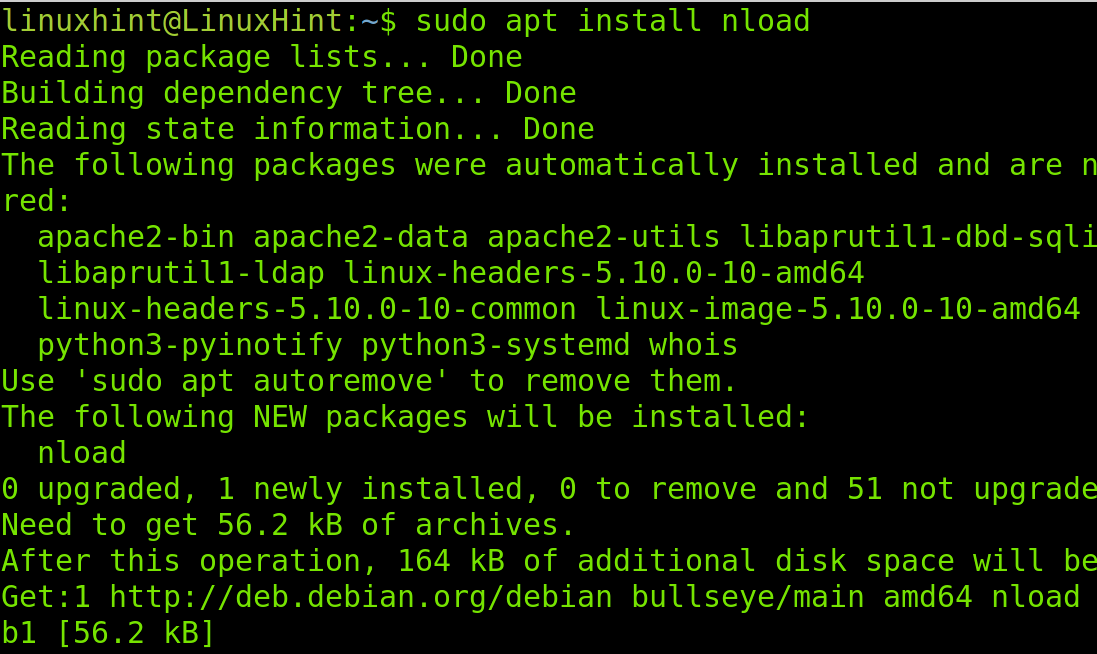
Nload is another Linux tool to monitor network traffic and bandwidth speed like TcpTrack. It also can be installed through apt on Debian and Ubuntu Linux distributions and is available as tar.gz for other distributions at https://sourceforge.net/projects/nload/. The advantage of nload is you can easily see the incoming and outgoing traffic on a divided screen.
To install nload on Debian or Ubuntu, run the following command.
Running a network speed test with Nload only requires you to execute the program followed by the network device whose speed you want to measure.
In the example below, I run Nload to check the speed of the network device wlp3s0. Replace the device name with yours.
As you can see below, Nload will return both incoming and outgoing speed, including the current speed, the average speed, minimum and maximum speed and TTL (Time to Live).
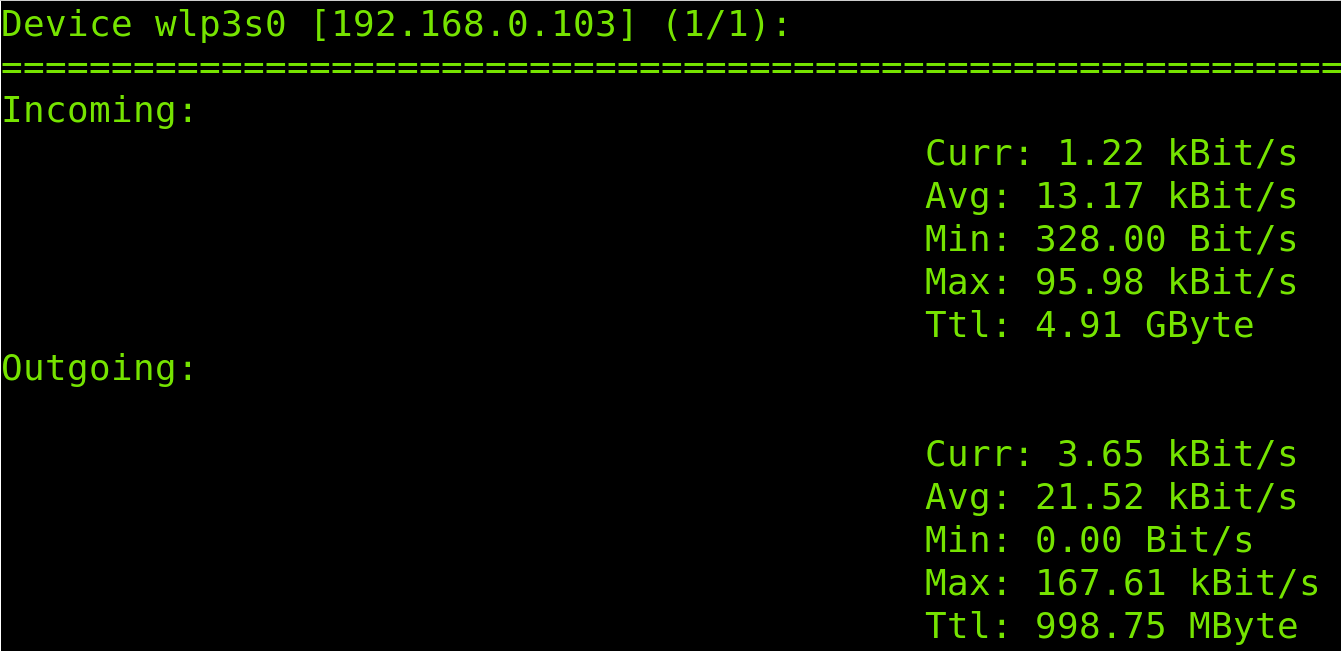
Nload output in general and very friendly. Below I will explain how to use a different tool to check the speed for each connection individually, like with TcpTrack.
Linux Speed Test With Iftop
The iftop command explained in this section is similar to the top command, adapted for network purposes. This command displays the bandwidth usage.
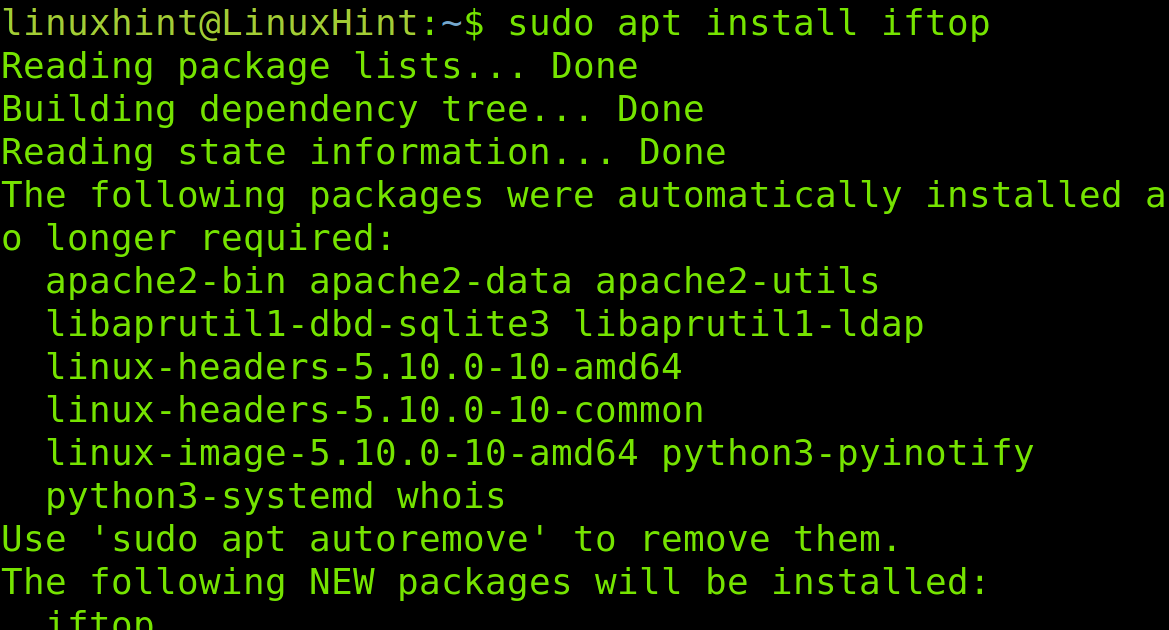
The iftop tool can be installed using the apt packages manager under Debian or Ubuntu-based Linux distributions, as shown in the screenshot below. It is also available for other distributions at http://www.ex-parrot.com/pdw/iftop/.
To install iftop on Debian or Ubuntu, run the command shown below.
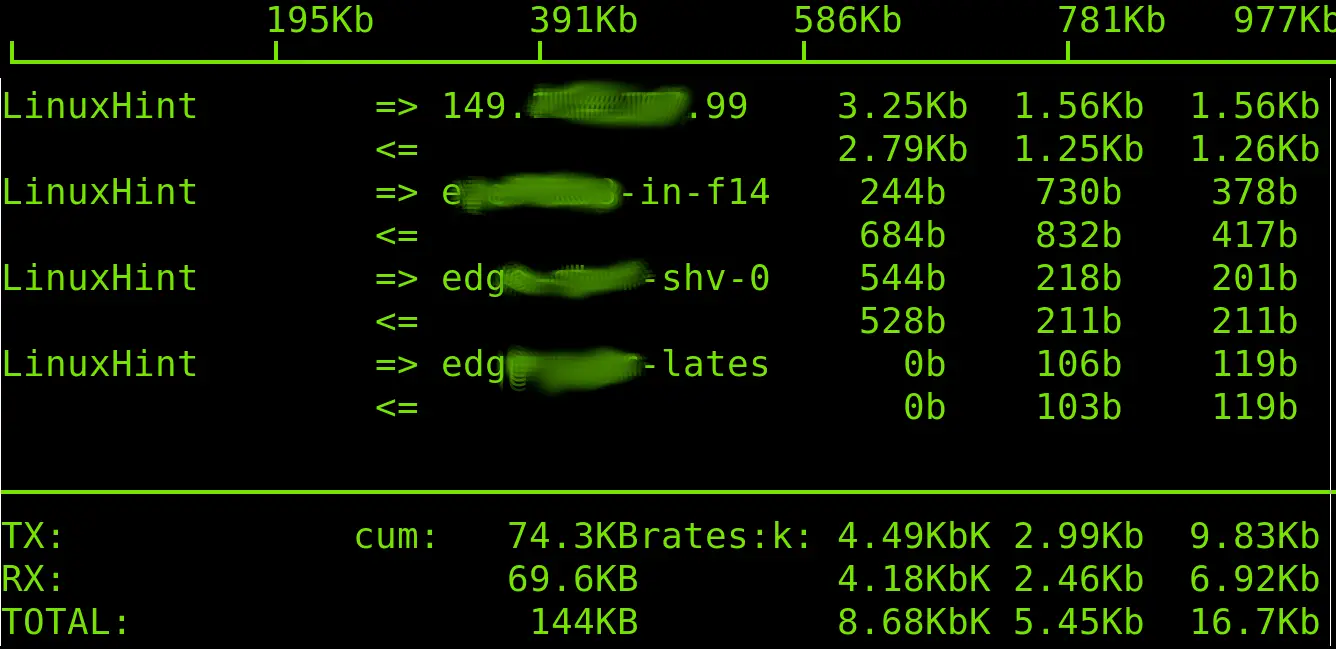
Once installed, run iftop with privileges (sudo) followed by the -i (Interface) flag and the network device name; in my case, the device name is wlp3s0, and you need to replace it with your network interface name.

As you see, this tool also provides information for each connection individually.
At the bottom of the live view shown in the screenshot below, you can see the transmitted traffic (TX) and received traffic (RX). The cum field (cumulative) shows the traffic since iftop was executed, peak rates and rates. The last line (TOTAL) shows the total value of all of them.
That’s how iftop works; now, let’s explore another alternative named CBM.
How to Run a Network Speed Test in Linux With CBM
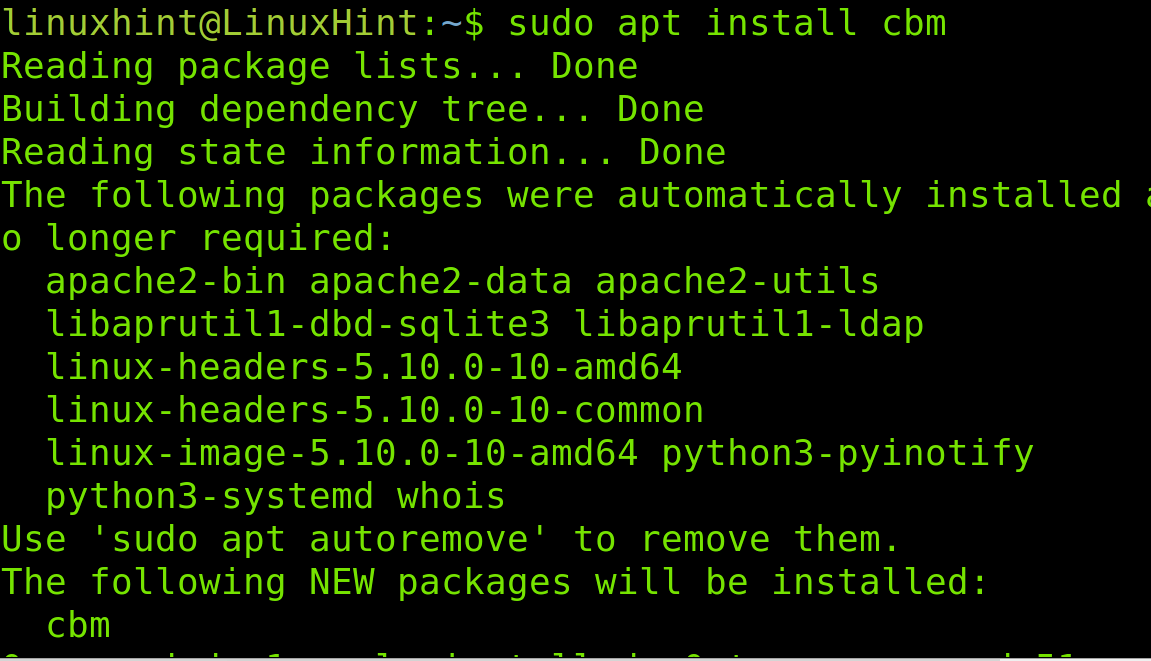
CBM is another available tool on Debian and Ubuntu Linux distribution repositories; you also can find it for other distributions at https://github.com/resurrecting-open-source-projects/cbm.
CBM is a colorful tool that can display all network interface traffic simultaneously without differencing between connections giving a total result. To install cbm on Debian or Ubuntu run:
To test the network speed using cbm, you don’t need to specify a network interface because it displays the speed for all interfaces at once. Just run the program as shown below.
As you can see, cbm will display the total network speed for each network device, including virtual devices. In my case, only the wlp3s0 interface is the only sending and receiving traffic.
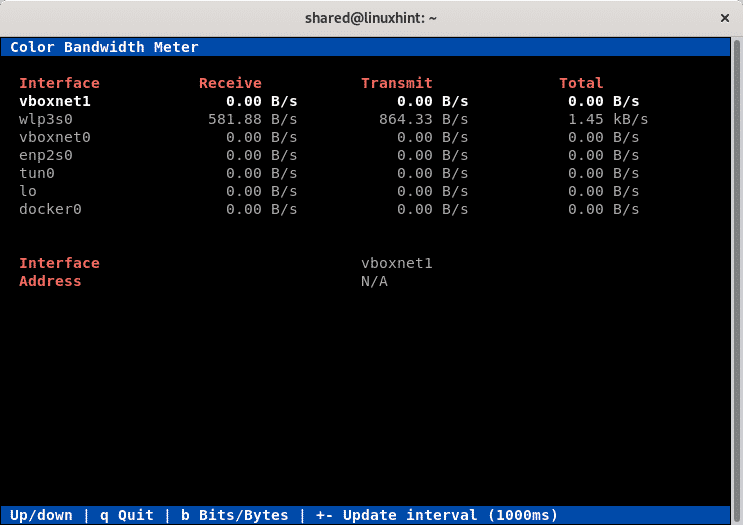
As shown in the previous screenshot, you can use up/down arrows to move between interfaces.
Test Your Bandwidth Under Linux Using Iperf
To finish this tutorial, I will explain how to use Iperf, which is a great tester to measure the bandwidth between two nodes; it supports TCP, UDP, SCTP, IPv4 and IPv6. Iperf prints timing, loss and more. This tool is included in Debian and Ubuntu repositories, too and is available for other Linux distributions at https://iperf.fr/.
It is important to remember that Iperf must be installed in both devices in which communication speed will be measured. The installation step shown below must be done in both server and client or in both nodes.
To install Iperf on Debian-based Linux distributions like Ubuntu, use the apt command as shown in the image below.

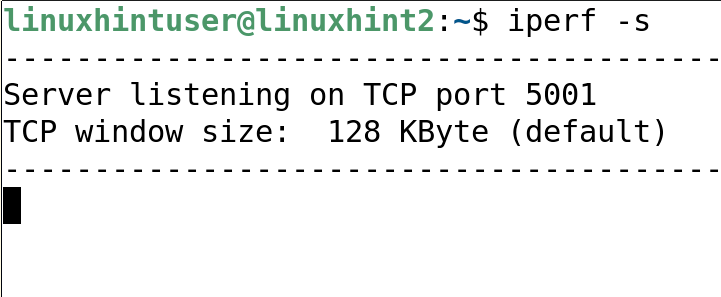
Once Iperf was installed in both nodes, from the server-side run Iperf was followed by the -s flag, as shown below.
From the client-side run Iperf is followed by the -c flag and the server IP address, as you can see in the following screenshot.

As you see in the screenshot above, Iperf will return interval, transfer speed and bandwidth. The reason behind the high speed shown is a server is a virtual machine.
Conclusion
As shown in this Linux tutorial, testing your network speed is pretty easy and can be done through different methods. All Linux users are able to do it independently of their knowledge level. The market offers many other alternatives you can explore, but the ones described above are the most popular ones. Except for Iperf, all programs described in this article offer a live view of the traffic speed. Some of those tools are also available for BSD systems.
Thank you for reading this article explaining how to do a Linux network speed test. I hope it was useful to you. Keep following LinuxHint for more professional tutorials.