Now, we have been using the apt package command with the sudo rights via the keyword “update” as shown below. The system has started being updated as below.
![]()
After the update has been completed, you need to upgrade your system using the same “apt” command with “sudo” privileges. It will be upgraded within no more than 10 seconds if your system has already been updated before.

After both the update and upgrade of our system, we need to take a look at all the already authenticated and registered users of our system. For this purpose, we need to execute the can cat command to output the data within the “passwd” file held in the folder “etc” of our root system. After the execution of this command on the terminal as shown below, we will get a list of all usernames along with their root directories and login info.

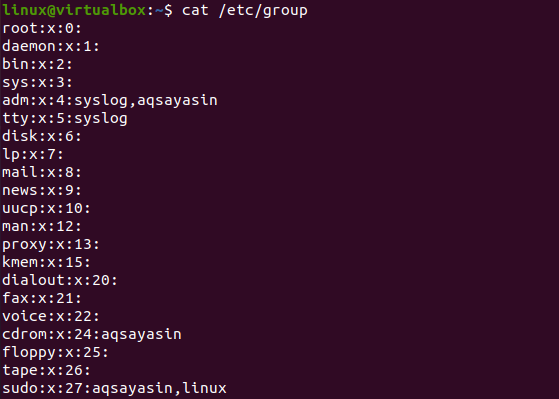
The same cat query can be utilized to fetch all the existing groups from our system at the terminal screen using the path “etc/group”. Here, “group” is a file where we have all the information regarding the groups. The list of groups from this file will be displayed beneath.
If a user wants to check the list of groups the current user has been related with, he/she can easily do it with a single word command. Therefore, make use of the keyword “groups” in the instruction area of the terminal shell and press Enter. You will see a list of groups our currently logged-in user has been attached to. You can see there are only 2 groups listed on the screen i.e., sudo and Linux. The “Sudo” group is the most privileged one. The group “Linux” is the main primary group of user “Linux” that is currently logged in.
![]()
Another way to see the groups to which our currently logged-in user belonged is to use the “id” command along with the username. So, we have tried it with the username “Linux”. It returns us the information of user “Linux” concerning its “id”. It shows the user id, id of primary group “Linux” to which it belongs, and the name of groups along with their ids it is related to. Let’s say, the user “Linux” doesn’t belong to any other group except “sudo” and “Linux” as per the “id” instruction beneath.
![]()
Let’s create two new groups using the groupadd command followed by the group name with sudo rights as below.
$ sudo groupadd test
![]()
Now, we will be using the “usermod” command with “-a” and “-G” flags to add this user to both new groups i.e., new and test. You have to use the group names separated by a comma after the “-G” flag followed by the username “Linux” as per the shown below command. It will return nothing. To see the changes, we have to again use the “id” command along with the username “Linux”. After executing this command, we will see a change in output. The group name along with their “IDs” has been listed in the output i.e., 1004(new), and 1005(test).
$ id linux

This is how we add a user to new groups. Let’s take a look at the way to delete a user from specific groups. To do that, we need to use the “gpasswd” command with sudo rights followed by the “-d” flag for deletion. After this flag, you need to add the username “Linux”, and the group name from which you are deleting it. We have been using this command for both groups i.e., new and Linux.
$ sudo gpasswd –d linux test

The user “Linux” doesn’t belong to both the groups now as per the “id” instruction below.
![]()
To remove a user from a specific group, you can also use the other way to delete a group first. If you delete the group itself, all the users belonging to this particular group will have no more relation with it.
$ id linux

As you can see in the image below, we have deleted both groups using the “groupdel” instruction. After that, we checked the user data via the “id” command and found that it doesn’t have “new” and “test” groups and the user “Linux” doesn’t belong to them anymore.
$ sudo groupdel test
$ id linux

Conclusion
Finally, within this guide, we have discussed different ways to add users to our primary or secondary groups. We have taken a look at how to create new groups, add users to them, delete users from the groups, and delete groups from the system as well. This was all about groups and users and we hope you will understand it as all the examples are quite simple to do.