Prerequisites
Before beginning this tutorial, first, complete the following tasks:
- Create a new Laravel project
- Set up the database connection
- Run the migrate command create a user table
- Set up the configuration for sending emails (SMTP is used here for sending emails.)
Implement Default Authentication
First, implement the default user authentication system of Laravel to complete the scheduling task shown in this tutorial. Run the following commands from the terminal to implement the default Laravel authentication using Vue.
$ php artisan ui vue –auth
Run the following command to compile the fresh scaffolding to get the updated content.
Run the following command to clear the route cache.
Run the following command to start the Laravel development server and check whether the default user authentication system is working.
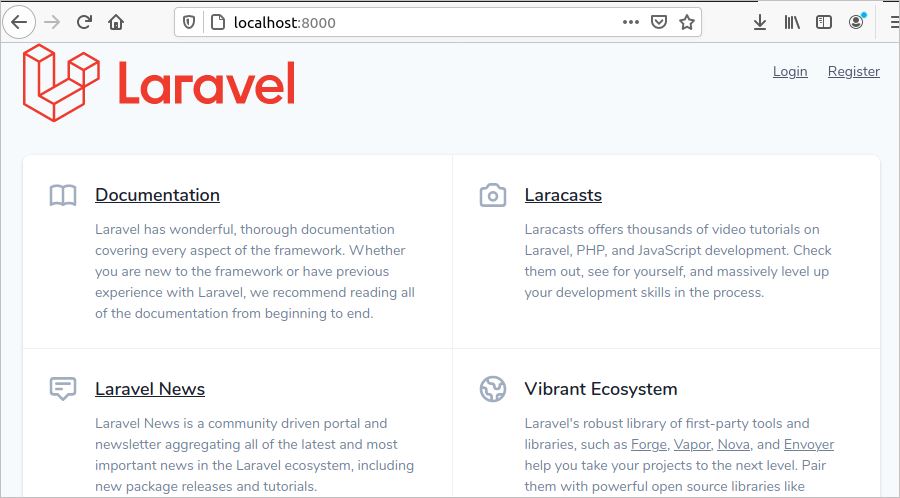
Open any browser and run the following URL in the browser. If the login and register link appears and works properly, then the implementation of the default authentication has been completed properly.
Create a Mailable Class and Artisan Command
Many new users will create accounts daily and will perform many tasks related to registered users when the project is online. Sometimes, the application needs to know how many users have created accounts each day. If this information is required on a regular basis, then it is better to execute a particular query after a regular interval. A Laravel command is used here to get the information of the currently registered users and a mailable class is used to send that information via email to the admin or a specified person.
Run the following command to create the mailable class for sending the email. It will create a file named SendUsersList.php in the location app/Mail.
Open the file and modify the content, as in the following code.
namespace App\Mail;
use Illuminate\Bus\Queueable;
use Illuminate\Contracts\Queue\ShouldQueue;
use Illuminate\Mail\Mailable;
use Illuminate\Queue\SerializesModels;
class SendUsersList extends Mailable
{
use Queueable, SerializesModels;
/* Declare an array variable */
public $userList= array();
/**
* Create a new message instance.
*
* @return void
*/
public function __construct($userList)
{
/* Initialize the array variable by the variable passed by the
object creation of the class. */
$this->userList = $userList;
}
/**
* Build the message.
*
* @return $this
*/
public function build()
{
/* Diaplay the view file with the values of the array variable */
return $this->view('registeredList')->with('userList',$this->userList);
}
}
Run the following command to create the custom Laravel command named RegisterUsersList, which will execute the query to get the list of registered users information in each day. The command will create a file named RegisterUsersList.php in the location app/Commands.
Open the file and modify the content with the following code to send the list of currently registered users of the current system to a particular email address.
namespace App\Console\Commands;
use Illuminate\Console\Command;
/* Import necessary packages */
use Mail;
use App\Mail\SendUsersList;
use DB;
use Carbon\Carbon;
use App\Console\Commands\DateTime;
class RegisterUsersList extends Command
{
/**
* The name and signature of the console command.
*
* @var string
*/
/* Add signature value */
protected $signature = 'registered:users';
/**
* The console command description.
*
* @var string
*/
protected $description = 'List of registered users';
/**
* Create a new command instance.
*
* @return void
*/
public function __construct()
{
parent::__construct();
}
/**
* Execute the console command.
*
* @return int
*/
public function handle()
{
/* Read the current system date */
$today =Carbon::now()->toDateString();
/* Get the list of users information who are registered
in the current system date */
$current_registered_users =
DB::table('users')->whereDate('created_at', $today)->get()->toArray();
/* Create the object of the mailable class with the array variable
that contains the currently registered users list */
$email = new SendUsersList($current_registered_users);
/* Send email using Mail class */
Mail::to('receiver email address')->send($email);
}
}
Set Up the Schedule to Execute the Command
Open the Kernel.php file from the location app/Console and modify the content with the following code. You can set different types of schedule frequency options. You can get the list from this link. Here, the hourly schedule is used.
namespace App\Console;
use Illuminate\Console\Scheduling\Schedule;
use Illuminate\Foundation\Console\Kernel as ConsoleKernel;
class Kernel extends ConsoleKernel
{
/**
* The Artisan commands provided by your application.
*
* @var array
*/
/* Intialize the $commands variable */
protected $commands = [
'App\Console\Commands\RegisterUsersList',
];
/**
* Define the application's command schedule.
*
* @param \Illuminate\Console\Scheduling\Schedule $schedule
* @return void
*/
protected function schedule(Schedule $schedule)
{
/* Set the schedule hourly */
$schedule->command('registered:users')->hourly();
}
/**
* Register the commands for the application.
*
* @return void
*/
protected function commands()
{
$this->load(__DIR__.'/Commands');
require base_path('routes/console.php');
}
}
Create View
Create the registeredList.blade.php view file with the following code.
Run the command:
Run the following commands to clear the cache.
$ php artisan config:cache
Run the following artisan command from the terminal to execute the previously created custom command and check the output.
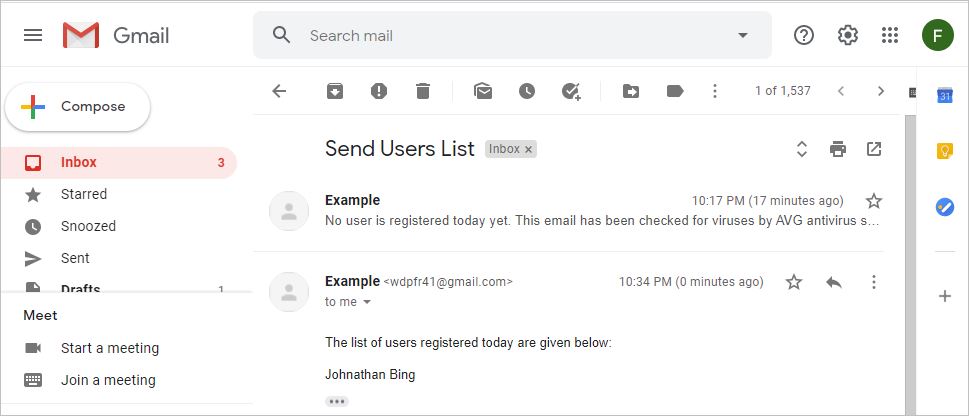
Check the receiver email address to find out the output. The following output will appear if no user is created.
Create a new user account and check the email again.
Conclusion
The Laravel Scheduler makes repetitive tasks easier to perform for the application. After reading this tutorial, readers should now have a clear understanding of the concepts of creating custom commands and implementing automated tasks using Laravel Scheduler.


