Pre-requisites:
You have to complete the following tasks before starting the steps of this tutorial.
- Create a new Laravel project named breezeProject. Here, the composer has been used to create the Laravel project. If the composer is not installed before, then you have to install it before executing the following command.
$ composer create-project laravel/laravel breezeProject
- Go to the project folder.
$ cd breezeProject
- All steps of this tutorial have been tested in Laravel version 9+. So, check the installed version of the Laravel project.
$ php artisan --version
- You will require npm to install the Laravel Breeze. If the npm is not installed before, then execute the following command to install the npm.
$ sudo apt install npm
Setup the database:
You have to create a MySQL database to implement the authentication using Laravel breeze. Complete the following tasks to create a database and set up the database for the Laravel project.
- Login to the MySQL server and run the following SQL command to create a database named db_breeze from the MySQL prompt.
mysql> CREATE DATABASE db_breeze;
- Open the .env file of the Laravel project and initialize the values for the following information based on the database.
DB_CONNECTION=mysql
DB_HOST=localhost
DB_PORT=3306
DB_DATABASE=db_breeze
DB_USERNAME='username'
DB_PASSWORD='password' - The users table will require implementing the authentication system in the Laravel project. The migration file of the users table created at the time of Laravel project creation is stored in the database/migration folder. So, you don’t need to create the migration file for the users table. Run the following migrate command to create the users table in the database.
$ php artisan migrate
Install Laravel Breeze:
Run the following composer command to download the auth scaffolding of the Laravel breeze package.
Run the following command to install simple auth scaffolding of Laravel breeze.
The following message will appear if the Laravel Breeze scaffolding is installed successfully.
Run the following npm command to create necessary assets for implementing a simple authentication system for the Laravel Project.
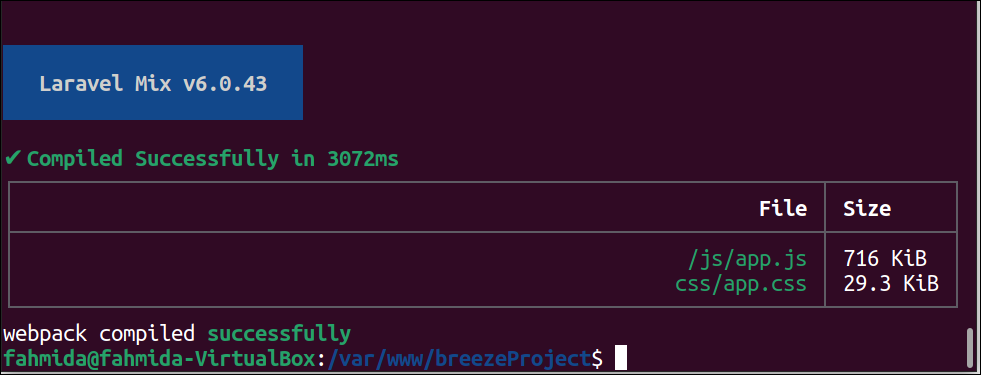
The following message will appear after executing the above command successfully.
Breeze Authentication Routes:
Route information of the Laravel Breeze authentication will be added in the routes/web.php file if the Laravel Breeze is installed properly. If you open the web.php file, you will get the following line for the Laravel Breeze authentication.
Check the Breeze Authentication:
The necessary controller and view files will be created automatically after installing the breeze package. Now, run the following command to check whether the Breeze authentication works properly.
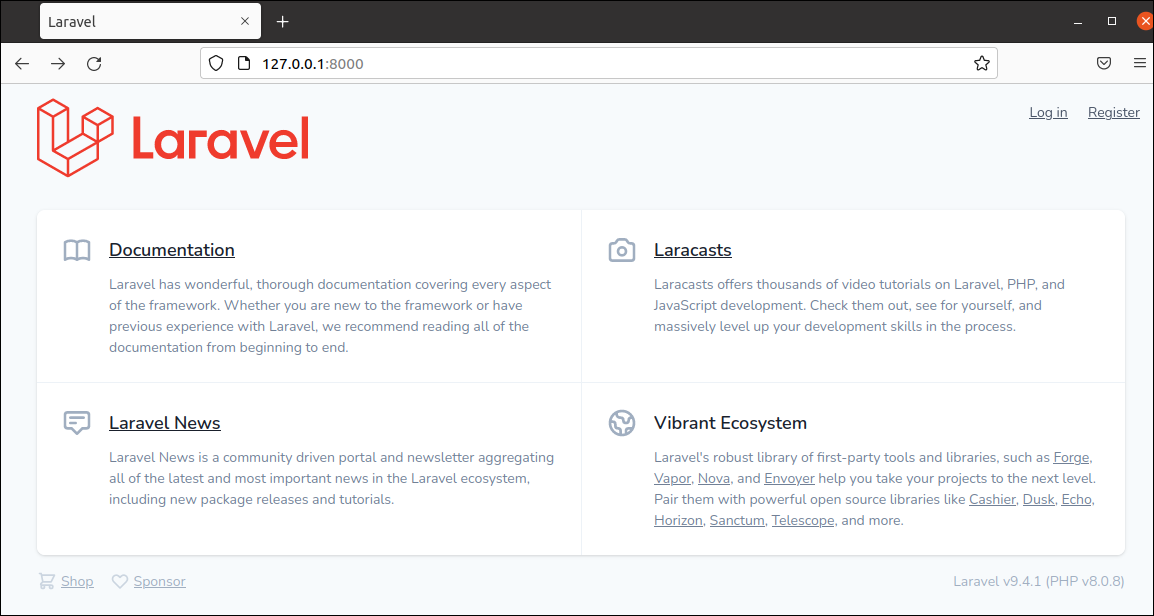
The Laravel development server starts at port number 8000 by default. Open the browser and go to the following URL.
http://127.0.0.1:8000
The following information will appear if the breeze authentication is implemented successfully. A Log in and Register links will appear on the right side of the page.
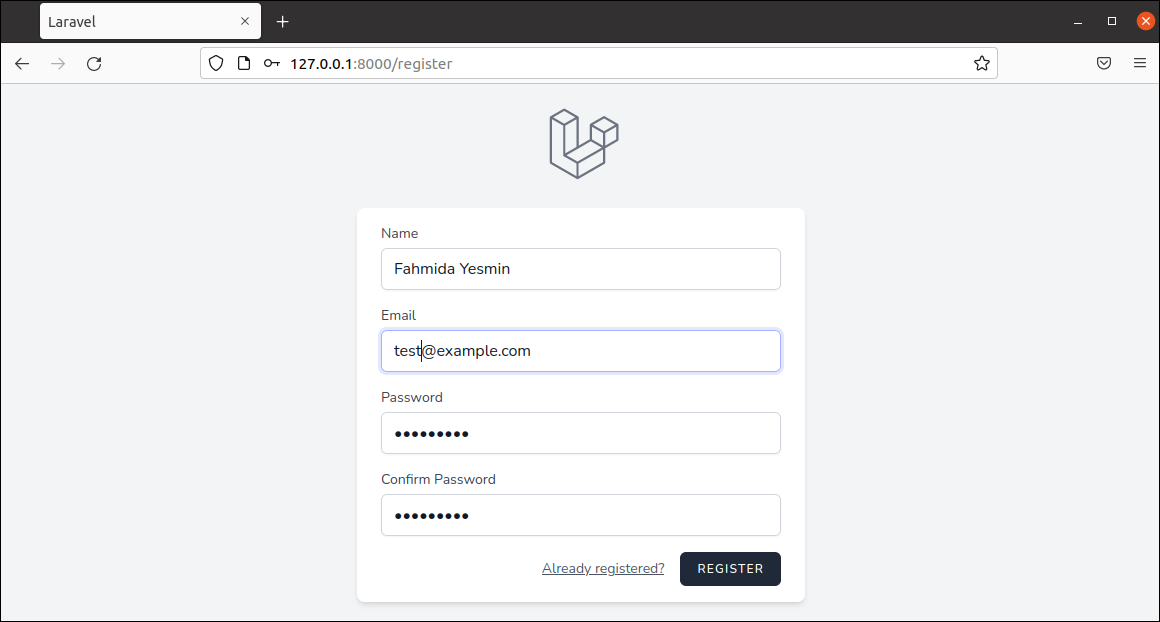
The following registration form will appear after clicking on the Register link. The form contains four fields for the user’s registration. If you want to change the fields of the registration form, then you have to modify the migration file for the users table before executing migrate command and the necessary controllers and view files of the authentication. The Already registered? Link is added in the form to open the Log in form if the user has an existing account. Fill up the form with the valid data and click on the REGISTER button to create a new user account.
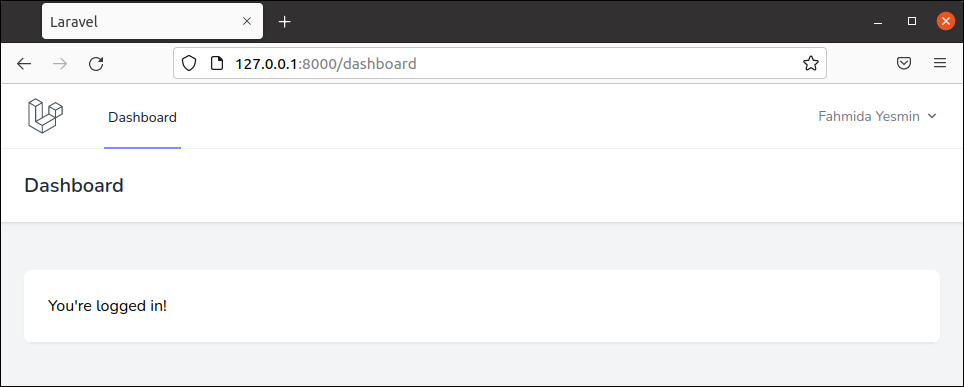
The following page will appear if the new user account is created successfully. It is a very simple dashboard for the logged-in user. The coder can add necessary content to this page based on the requirements of the project. The user can be logged out by clicking on the Log out option that exists under the user’s name.
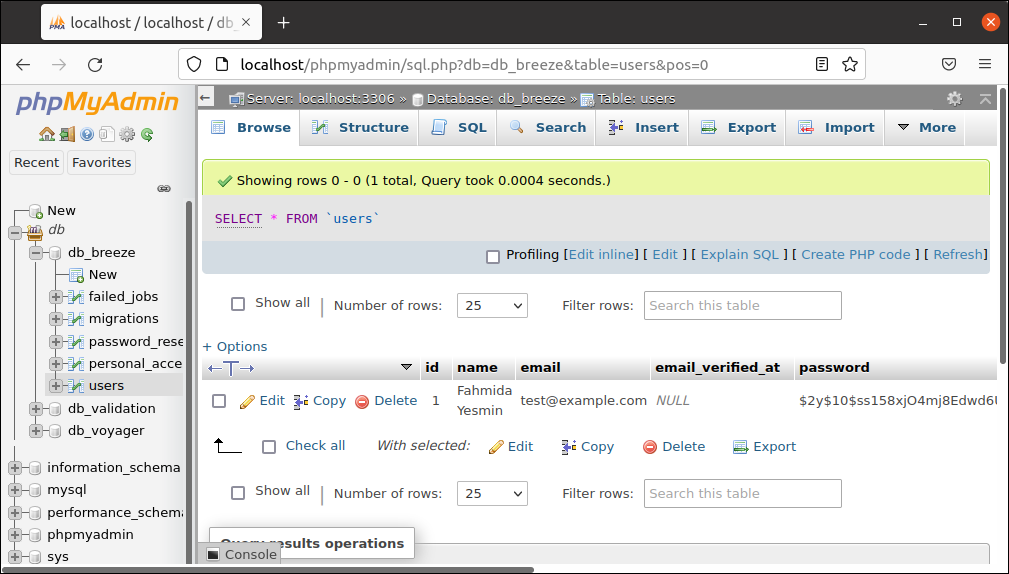
After creating a new user account using the registration form, open the user’s table from the database to check the new user information is added to the table or not. You will get the entry for the new user account in the users table like the following image if the registration is completed successfully. The password of the user has been encrypted before inserting into the database for security.
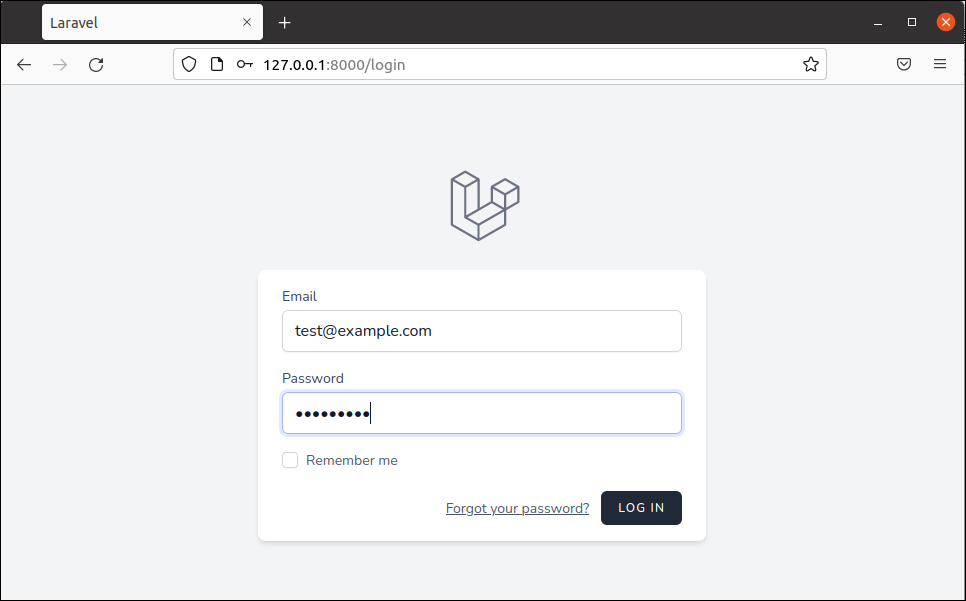
The following Login form will appear if the user clicks on the Log in link or Log out from the existing account. The existing user can log in by providing a valid email address and password before submitting the LOG IN button. The Remember me option has been added in the form to store the log in information for future use. The link, Forget your password? has been added in the form to recover the password if the user forgot his/her password and is unable to login into the system. A dashboard like the above image will appear if the user can successfully log in to the system.
Conclusion:
Laravel Breeze is a good option for implementing a simple authentication system for the Laravel project. The coder can add the required menu or other contents in the dashboard based on the requirement of the project after installing this package. Laravel has many different packages for implementing authentication with many built-in features. You can also try those packages.


