As a guide to the administrator, the primary configuration file in /etc/systemd/ comprises of commented-out entries indicating the defaults. Editing this file or generating drop-ins can be used to build local overrides. Programs can download drop-ins under /usr/ when they need to change the setup. The files in /etc/ are designated for the local administrator, who can utilize this logic to alter the supplier configuration files. Because the main configuration file took priority over package drop-ins, drop-ins must be used to override them. . We will configure the default lid close action in Ubuntu 20.04 LTS in this tutorial.
Method to Modify Laptop Close Behavior in Ubuntu with HandleLidSwitch
To go through it, you must have sudo rights and any Linux edition installed on your operating system. We have installed and set up Ubuntu 20.04, which will be used to carry out our tasks. Log in to the Ubuntu 20.04 Linux system and go to the activity area, where a search bar will appear. To get a command-line shell terminal, write the word “terminal” into it. When the terminal app appears, click it to open it. Enter the following command to modify the default login manager configuration file for Ubuntu 20.04 Linux System:
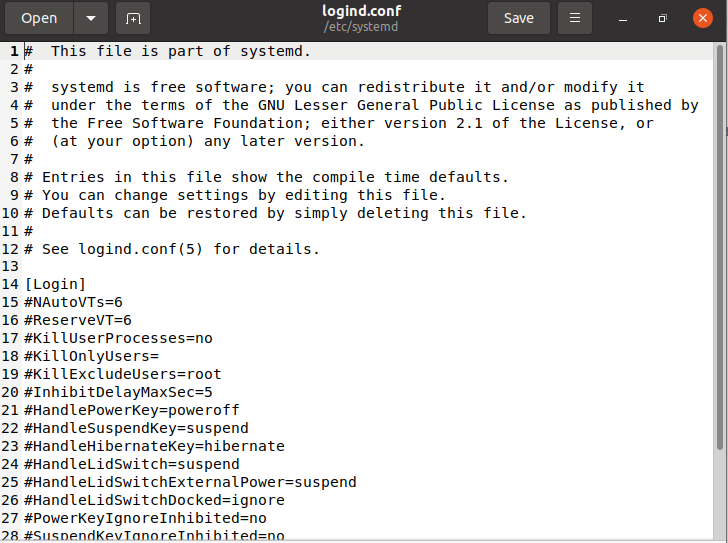
You will be asked to enter a sudo user password. Enter the password to proceed further. Once the file is up and working, you should see something as shown in the beneath screenshot.
You can view several options that are shown in the screenshot. We are going to explain few fields that are essential for users.
- HandleLidSwitch=lock – Whenever the lid will be closed, Ubuntu 20.04 system will be locked automatically.
- HandleLidSwitch=ignore – As the flag –ignore signifies that there will be no specific output after this instruction.
- HandleLidSwitch=poweroff – Whenever the lid will be closed, Ubuntu 20.04 system will be locked shut down automatically.
- HandleLidSwitch=hibernate – Whenever the lid will be closed, Ubuntu 20.04 system will be locked hibernate automatically.
We have another option as HandleSuspendKey=Suspend. We are going to use it in the following way.
As we have used “sudo” keyword, so upon execution, the system will prompt the user to enter the password. As soon as the password has been entered, the system will be automatically suspended as you can see from the attached screenshot.
We can now apply all the changes that we have made by the execution of the following command in the terminal of the Ubuntu 20.04 system.
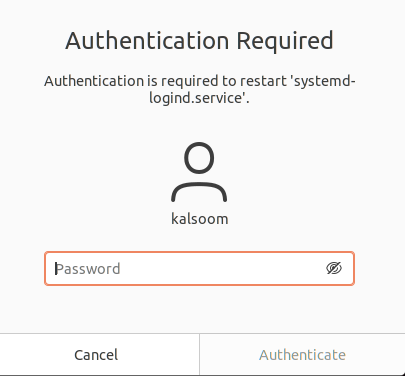
Because we used the “sudo” keyword, the system will request the user for a password when it is executed. As you will see in the attached image, as soon as the password is provided, the system will prompt you for the logged-in user’s password for authentication purposes.
This is how all the changes will be saved in the system.
Conclusion
In this guide, we have explained to you the main concept of logind.conf login manager configuration file on Ubuntu 20.04 Linux system. Also, we have shown you how you can modify laptop or computer close behavior in Ubuntu 20.04 Linux system with HandleLidSwitch.


