
At times, you may feel as though some unnecessary processes are running on your system, you might not need a process any longer, or a process may have started malfunctioning. In all of these situations, you will have to try to find a way of killing (or ending) the processes. You can kill a process in Linux either via the GUI or the CLI. This article explores some of the different ways in which to kill a process from the command line in Linux.
Note: The methods shown in this article are performed in Linux Mint 20.
Methods for Killing a Process using the Command Line
The following include three distinct forms of killing a process from the command line in Linux Mint 20.
Method # 1: Using the “kill” Command
To kill a process via the terminal using the “kill” command in Linux Mint 20, proceed according to the method given below:
First, launch the terminal by clicking on its icon present in the Linux Mint 20 taskbar. The Linux Mint 20 terminal is shown in the following image:

To use the “kill” command, you will need to know the process ID of the process that you want to kill using this command. This is also known as the PID, which is a unique identifier for every process operating on your system. To determine the process IDs of all currently running processes on your system, execute the following command in the terminal:
This command will fetch a list of all the processes that are currently running on your Linux Mint 20 system, along with their PIDs.
![]()
The list of all currently running processes on my system is shown in the image below:
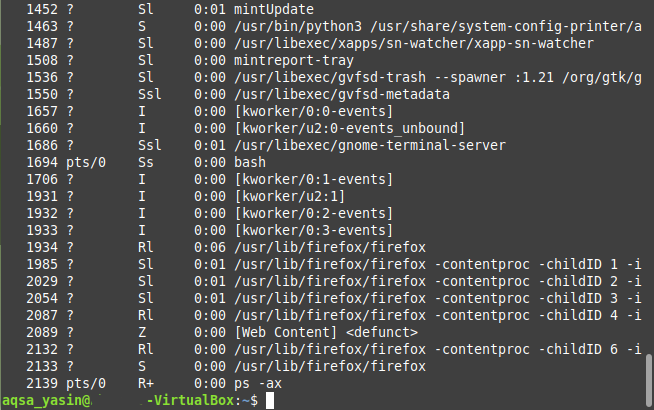
Now, after identifying the PID of the process that you want to kill, you will need to execute the “kill” command. For this scenario, we will kill the Firefox process with the PID “1934,” as you can verify from the image shown above.
Note that this PID will be different every time you run a new instance of a process. Moreover, in the image shown above, you can see multiple PIDs corresponding to the Firefox process. All of these are child PIDs, except for the first one. This is the reason behind using “1934” as the PID of the Firefox process, which is, in fact, its first PID.
The syntax of the “kill” command is as follows:
Here, you will need to replace the term “PID” with the PID of the process that you want to kill. In this example, we have replaced the term “PID” with “1934,” i.e., the PID of the Firefox process, as shown in the image below:
![]()
The successful execution of this command will immediately kill the Firefox process and you will no longer be able to find it in the list of currently running processes on your system.
Method # 2: Using the “pkill” Command
To kill a process via the terminal using the “pkill” command in Linux Mint 20, proceed according to the method given below:
The “pkill” command does not require the process ID of a process to kill it; rather, you can perform this action simply if you know the exact name of the process. In this scenario, we want to run the “ping” command, and then, during its execution, we want to kill the process using the “pkill” command.
First, ping a website using the following command:
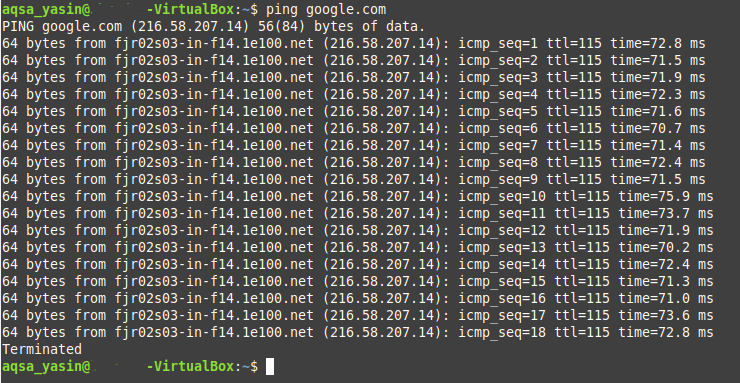
Here, replace the URL with the website URL that you want to ping. In this example, we wanted to ping Google.com, as shown in the following image:
![]()
As this “ping” command is executing in the terminal, launch another instance of the terminal, and then, execute the following command in the terminal:
Here, replace the term “ProcessName” with the name of the process that you want to kill using the “pkill” command. In this example, we have replaced the term with “ping,” since we want to kill the ping process.
![]()
After hitting the Enter key, go back to the terminal instance where the “ping” command was running, and you will notice that this process has been terminated, as shown in the image below:
Method # 3: Using the “killall” Command:
To kill a process via the terminal using the “killall” command in Linux Mint 20, proceed according to the method given below:
The “killall” command can kill a process, along with all of its child processes. Again, just like the “pkill” command, the “killall” command does not require the PIDs; rather, you can simply kill a process if you know its name.
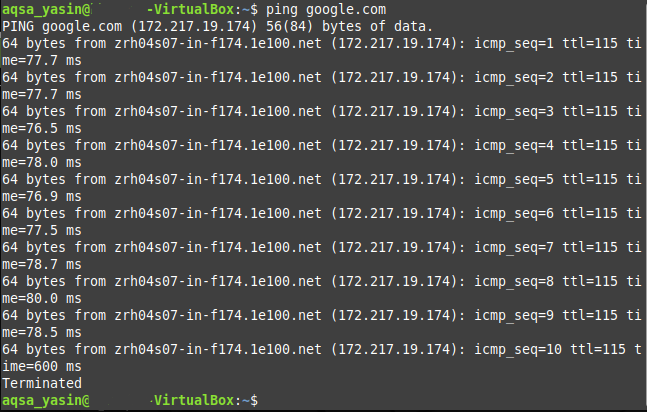
To demonstrate the usage of this command, we have replicated the same scenario again that we created above, i.e., we tried to ping Google.com with the “ping” command.
After doing that, launch a new terminal instance, and then, enter the following command:
Here, you can replace the term “ProcessName” with the name of the process that you need to kill using the “killall” command. In this case, we have replaced the term with “ping,” as shown in the image below:
![]()
After executing this command, you must go back to the terminal instance where you executed the “ping” command. You will notice that the process has already been terminated, as you can see in the following image:
Conclusion
By using any of the three methods described in this article, you can kill as many processes as you want while using Linux Mint 20, and hence, save all the system resources that these processes were occupying.