Elasticsearch will store the snapshot created in a location different from Elasticsearch in a repository. The repository defines properties such as the location of the snapshots, compressions, storage options, etc.
Therefore, Elasticsearch requires you to register a repository before creating a snapshot.
This post will concentrate on creating a snapshot in the Kibana Dashboard.”
Kibana Register Repository
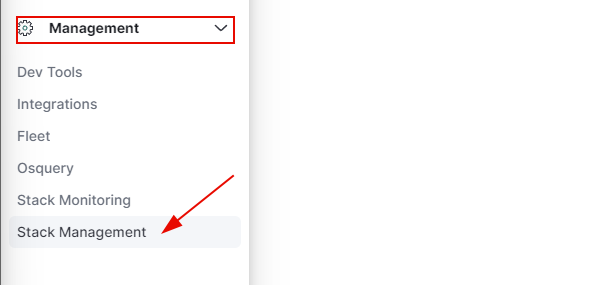
To create a snapshot, we need to start by creating a repository. In Kibana, open the main menu and navigate to the Management Section.
Locate the Stack Management option.
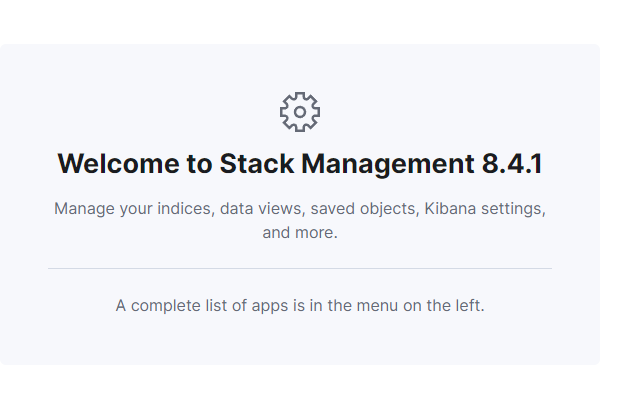
This should take you into the Stack Management dashboard, allowing you to administer your Elasticsearch cluster from the UI interface.
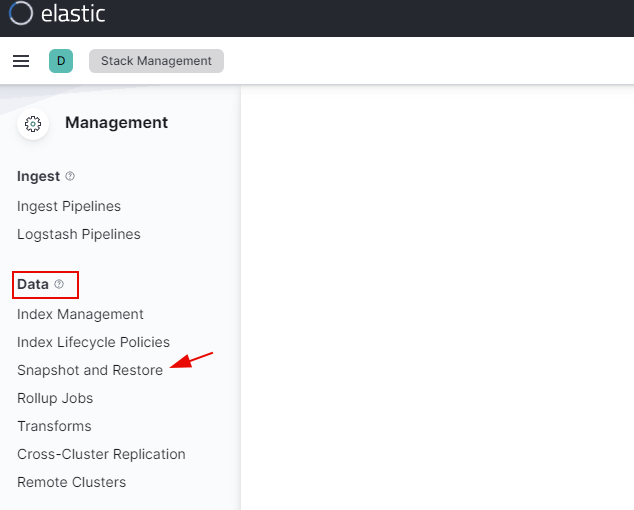
Next, navigate into the Data section and select the “Snapshot and Restore” option.
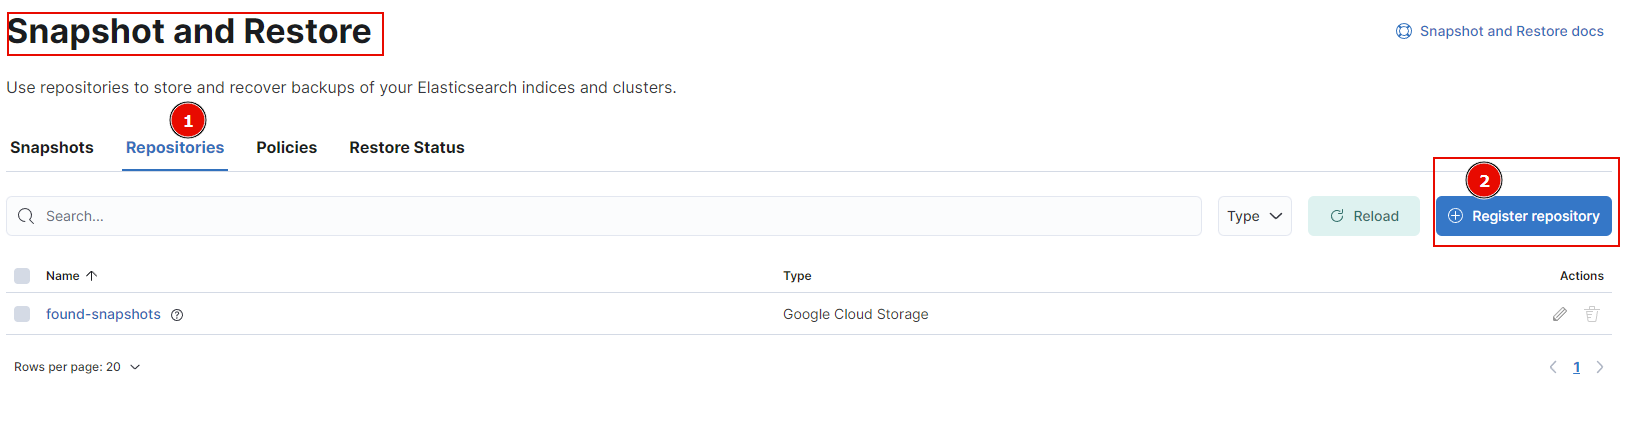
Under the “Snapshot and Restore” window, select “Repositories” and click “Register Repository”.
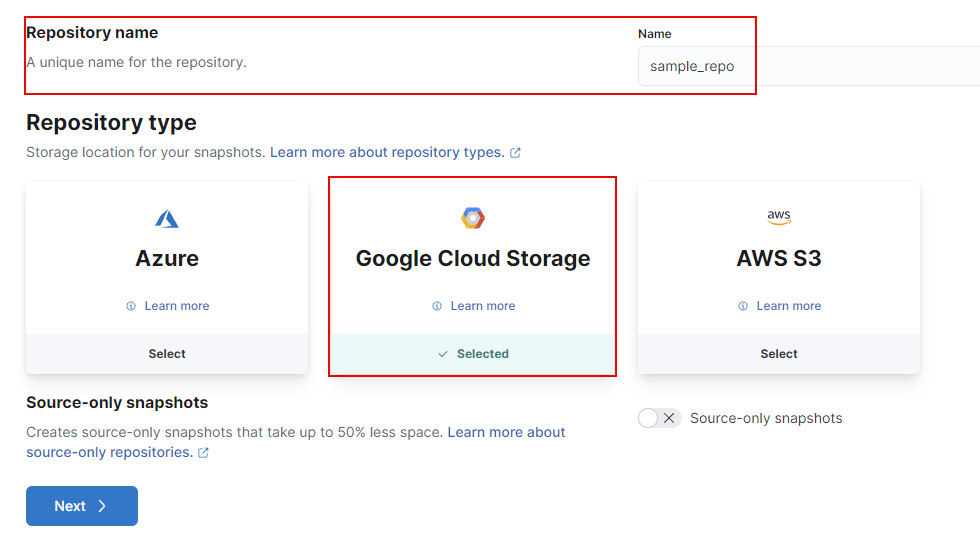
Add the repository name and select the Repository Type depending on where you wish to store your snapshots.
Click Next to add the repository details. Remember that the required details may differ depending on the repository type. Feel free to explore the documentation for the various repository types.
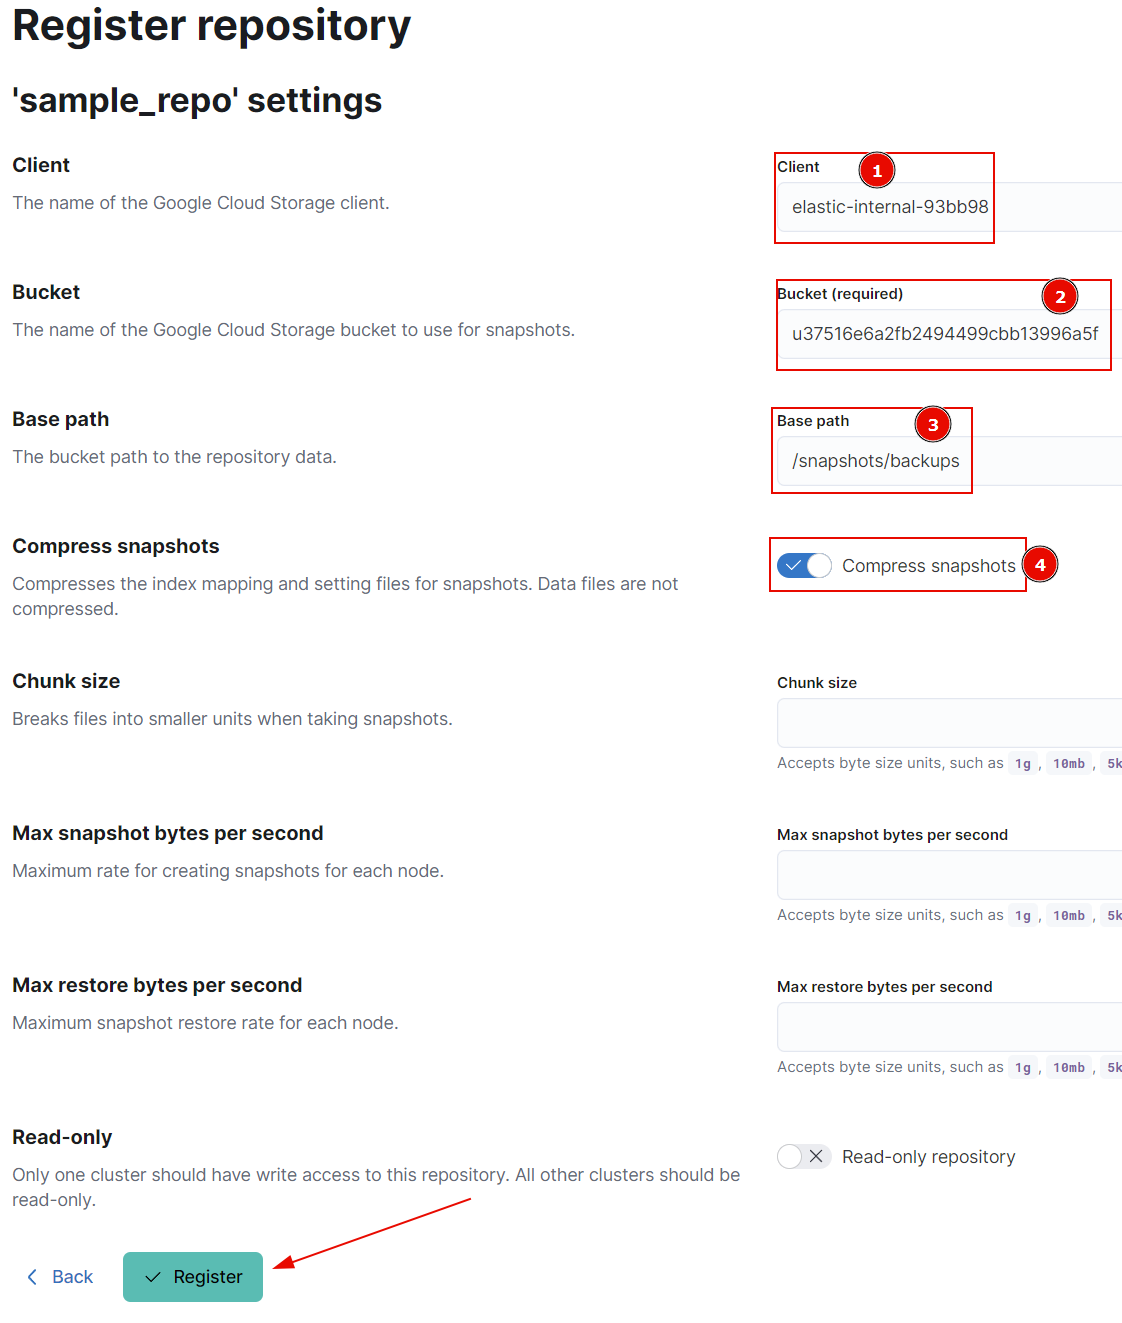
Finally, click create to issue a new snapshot repository.
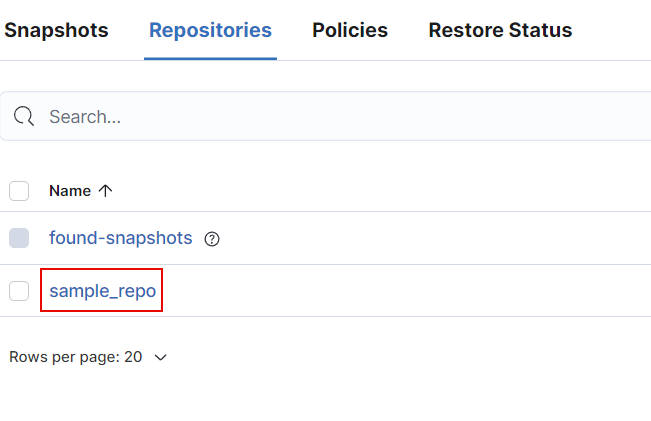
You should have a new repository in your cluster if the details are correct. Click the verify option to confirm that the repository is in a healthy state.
Once complete, you should see the newly created repository in the repositories section.
Create SLM Policy
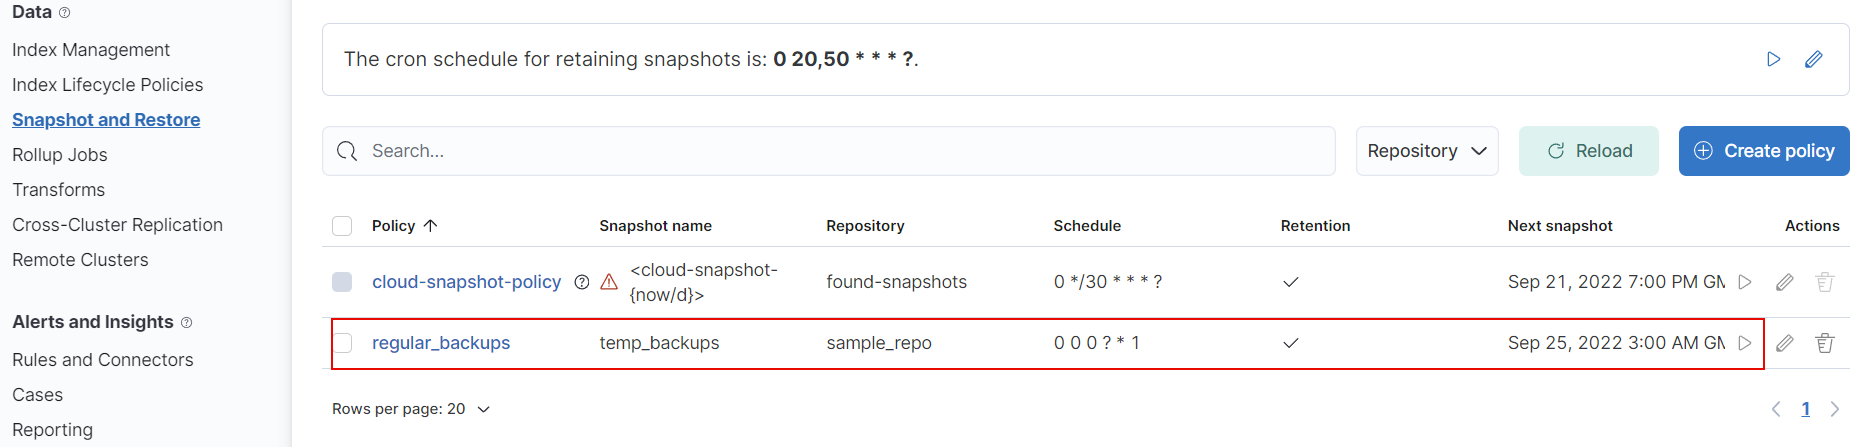
The next step is to create an SLM policy that allows to define of the rules for snapshots. Although this step is not required, it is necessary as it allows you to define the interval for snapshot creation, indices to backup, etc.
For this, we will create a simple policy with the rules as shown:
{
"name": "temp_backups",
"schedule": "0 0 0 ? * 1",
"repository": "sample_repo",
"config": {
"indices": [
"disney",
"netflix",
"netflix_copy",
"netflix_cp"
],
"ignore_unavailable": true,
"include_global_state": true,
"feature_states": [],
"partial": false
},
"retention": {
"expire_after": "30h"
}
}
Elasticsearch Create Snapshot
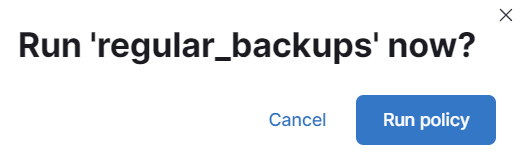
To create a snapshot in Kibana, go to “Snapshot and Restore” in the Kibana Stack Management section. Select the Policy you wish to issue and click Run Now:
Confirm Run Policy:
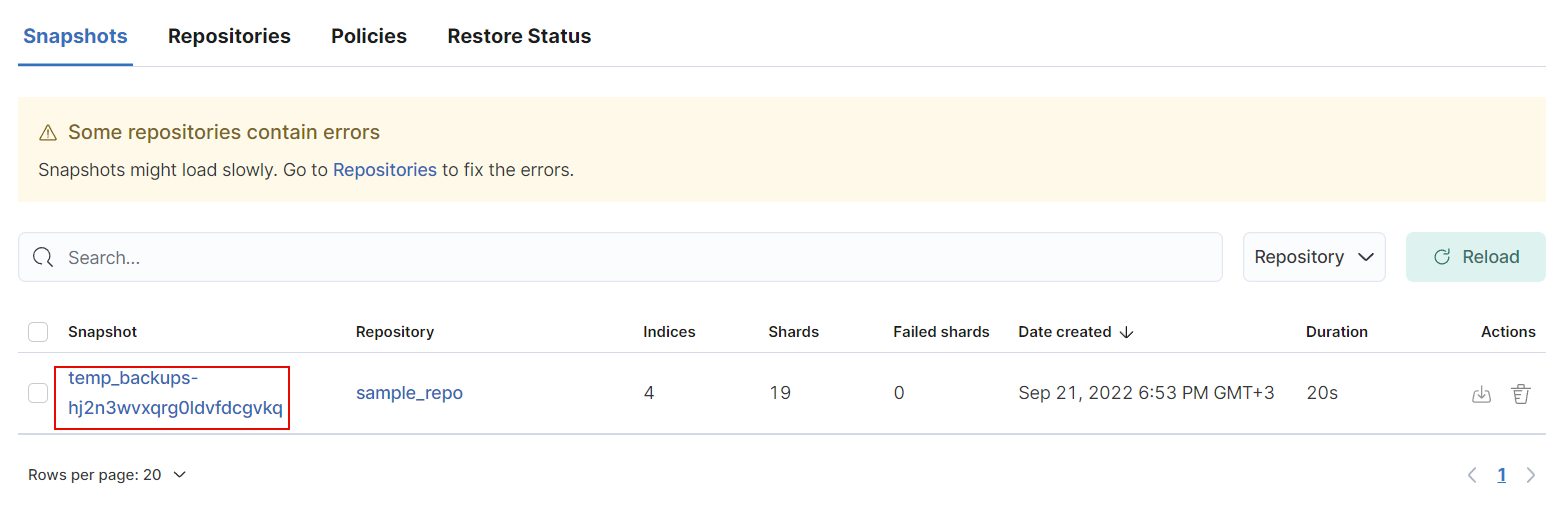
Wait for the snapshot creation process to complete.
NOTE: Keep in mind that the snapshot creation process will depend on the index to backup, the size of the indices, cluster resources, etc.
Upon completion, head over to the snapshots section to download and restore the available snapshots.
Conclusion
In this post, we discussed registering a repository, creating snapshot policies, and creating a snapshot in Kibana.
Thanks for reading!!