
However, our dependency on technology has also led to our privacy being more exposed than ever. Things like data breaches and cyber-attacks have become quite the norm and are growing in scale with time. Linux users have had less to worry about these issues as it has often been said that Linux systems are more secure than its counterparts, but it is important to remember that hackers are becoming more skilled, and thus, it still is not a hundred percent completely safe from malicious attacks. Therefore, it is essential for one to employ procedures with which they can protect their Linux systems. One excellent solution is to use a password manager, which shall also be the topic of our discussion in this article, where we will be focusing on one open-source password manager by the name of KeePassXC.
What is KeePassXC?
KeePassXC is an open-source & free password manager that has been based on KeePassX, the Linux port for the Windows supported software, KeePass. KeePassXC is cross-platform as it is available for operating systems like Windows, Linux, and Mac OS. KeePassXC allows users to store all types of sensitive data such as usernames, passwords, attachments, notes, and so on. It does this by storing this data inside encrypted databases, which itself is protected by a master password. This works quite efficiently as our data remains secure, and even if someone was able to get their hands on it, they would not be able to read it without the decryption password.
Installing KeePassXC
There are mainly two ways of installing KeePassXC on your Linux machine. Let us look at them:
1) Installing KeePassXC using AppImage
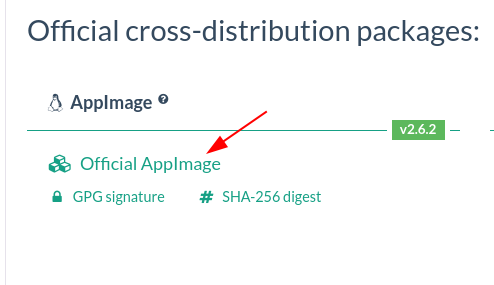
The first method involves installing KeePassXC using an AppImage. To download this, open the official website of KeePassXC, then select the Download option from up top, and under the Linux heading, click on the Official AppImage title.
Linux Header:
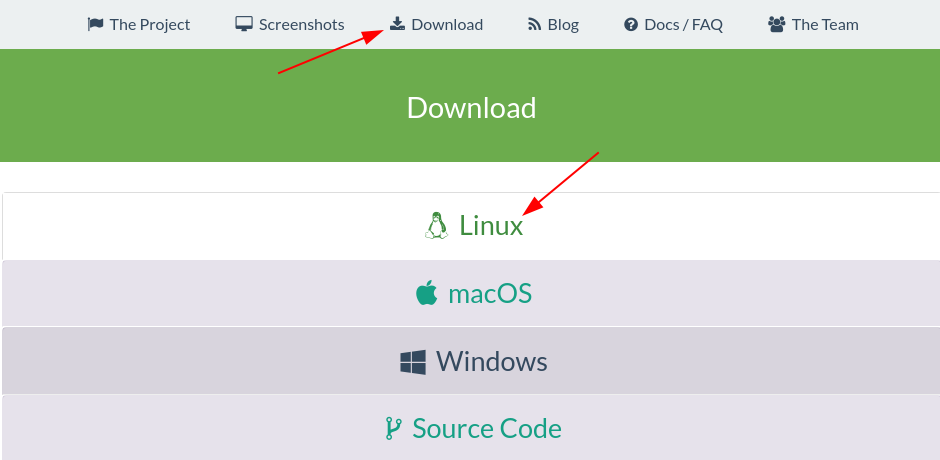
Official AppImage
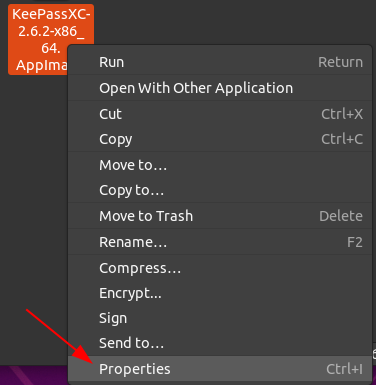
This will download an AppImage onto your Linux machine. To start using this, first, you must give it executable permission, which can be done by right-clicking on it and selecting the properties option.
Next, open the Permissions tab and click on the square box next to the line Allow executing file as a program to make your AppImage executable.

Now, KeePassXC can simply be opened by double-clicking the AppImage file.
2) Installing KeePassXC using Snap
Another way of installing KeePassXC on your Linux system is through the Snap Package Manager, which allows users to install small packages called snaps that already have all the requirements bundled inside of them. This saves time as now; there is no need to separately install dependencies of applications. To install KeePassXC from its Snap, enter the following command into the terminal and press enter:
Using KeePassXC
After downloading and opening KeePassXC, the very first thing you need to do here is create your own Vault or a password-protected database. To do this, click on the Create new database option, as seen in the option above. This will then open a window where you must enter the name and description of your Database:
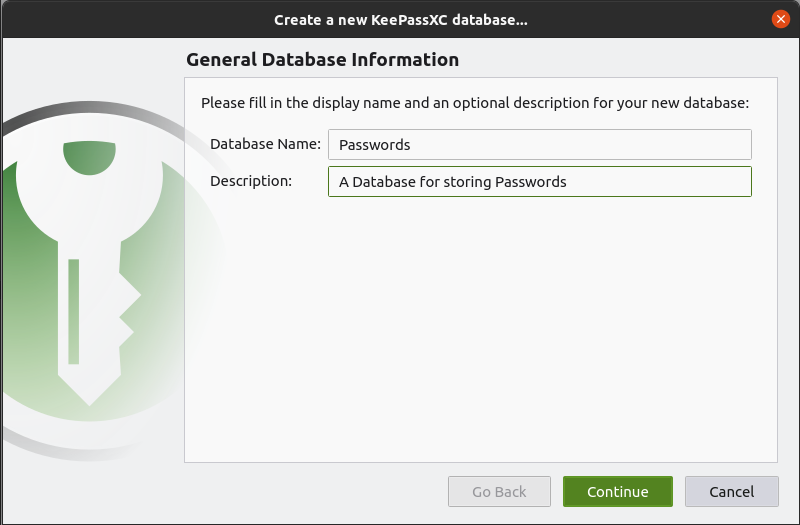
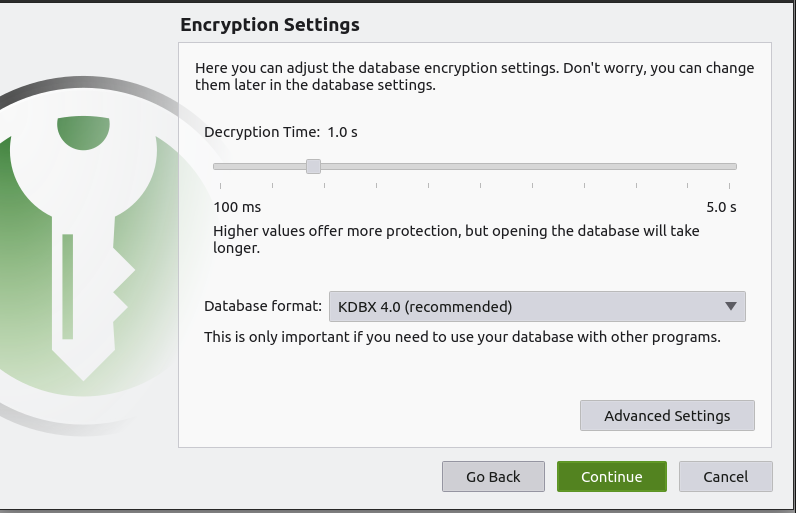
Fill in the blanks and then press Continue. In the next window, you can change the encryption settings, the database format as well as some other advanced settings.
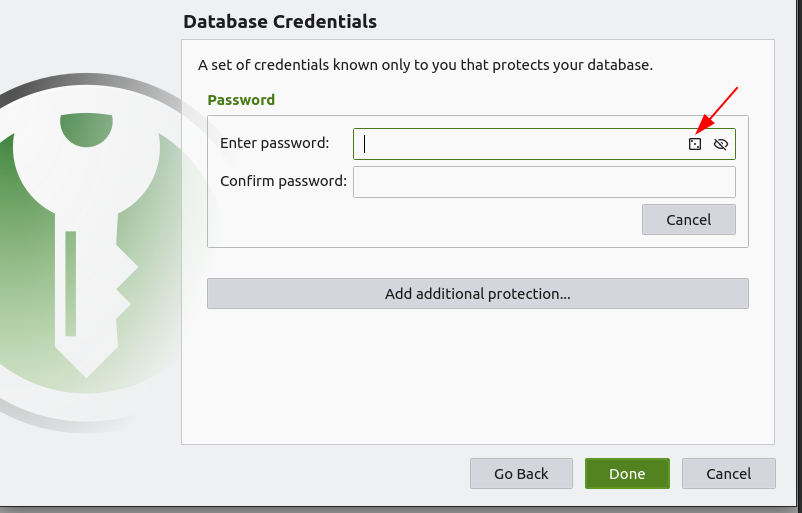
Next, you must enter your master password, which will be needed to decrypt and unlock your database. You can also use its built-in auto generator to generate a password for you, as indicated by the arrow in the image below:
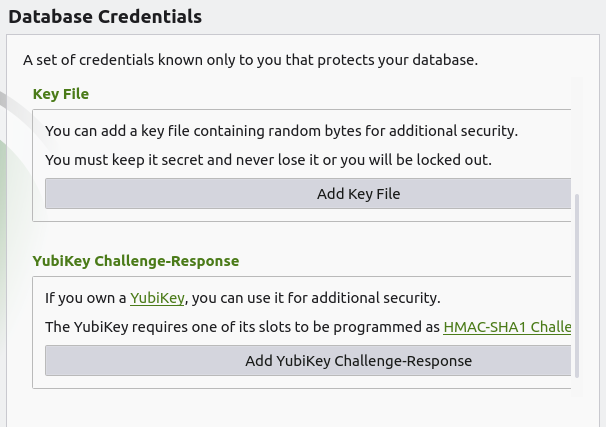
You can also add Key Files and YubiKeys for additional protection.
After pressing done, it will then ask you to save your password database. Finally, your Vault will appear, which will be empty in the beginning. To add items into your Vault, press the Plus icon in the toolbar, which will then open an entry page where you can fill in the details of your item. KeePassXC also allows users to put in expiry dates for your entries as well as an auto password generator as indicated by the circle in the image below:

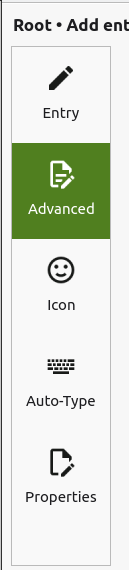
Along with this, you can add other elements to your entries, such as attachments, icons, and even change the properties of this. You can even enable the auto-type option, which can automatically fill in your passwords.
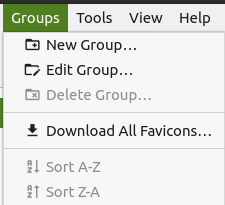
KeePassXC also allows you to create folders and subfolders of your passwords, which are called Groups. You can create and edit Groups from the Groups option available on the menu.
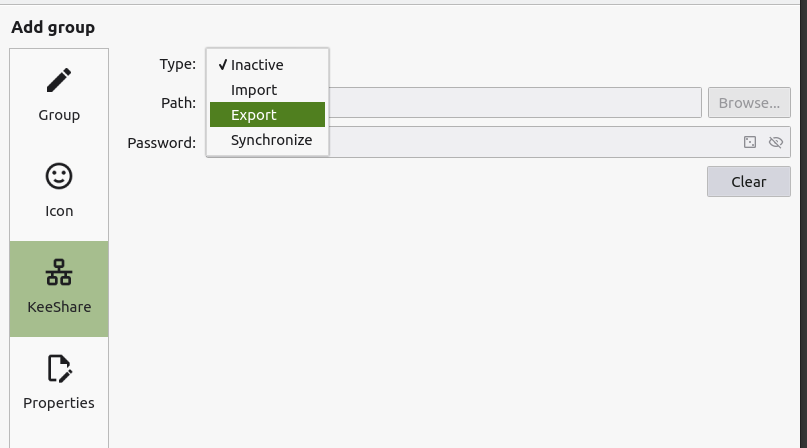
You can also import or export passwords into these groups from the KeeShare tab.
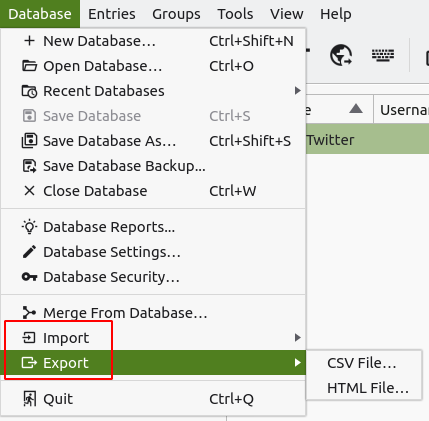
Similarly, you can import and export your password databases from the options available in the Database heading in the menu.
Another excellent feature of KeePassXC is the integration of browsers with your desktop application. You can turn this on by going inside Settings, selecting the Browser Integration option, and then checking the Enable browser integration on. You can then enable the integration for the specific browsers that you have.

Now, your desktop application will remain in sync with your browser extension.
So, Why Use KeePassXC?
Security concerns have risen in the past couple of years as with the demand for the internet increasing, more and more cases of privacy issues are emerging. Using KeePassXC helps to protect your machines from such events and keeps your data secure.