This guide will cover how to install the IPMItool on Linux and Debian systems and see several commands at your disposal when working with IPMI.
How To Install IPMItool
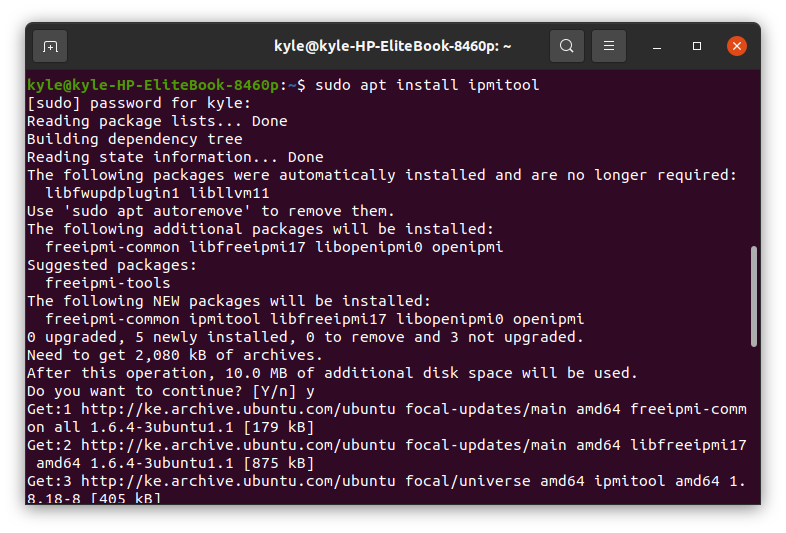
To install IPMItool on Ubuntu, update the package repository, then run the following command:
The IPMI daemon should automatically start.
For CentOS, start with updating the repositories.
Run the following command to install IPMItool:
Once installed, proceed to enable the IPMItool access using the following command:
Getting Started With the IPMItool
The IPMI Linux tool has multiple commands categorized in different sections, including chassis, sensor output, and more.
1. IPMI LAN Configuration Commands
When accessing remote devices and servers, the IPMItool allows creating a LAN channel, and all its configurations can be done on the terminal.
To set the LAN to use a static IP address, run the following command:
You now need to set the actual IP address for the LAN. Replace the following with your preferred one.
Next, set the netmask for the channel. In this case, we set our IP to a class C. Our netmask will be:
You must also configure the default gateway and MAC address, as shown below:
To enable BMC-generated ARP responses, run the following command:
The last step is to define your authentication rules.
You can check the set configurations using the following command:
The previous commands created one LAN channel, and the next thing is to define the users who will access the channel.
Use the following commands to set up a user named admin with the password test01:
$ ipmitool user set password 2
Here, 2 is the user ID of the admin user. You also need to enable and grant the new user admin access, as shown below:
$ ipmitool user enable 2
You can view the user list using the following command:
2. Sensor Output Commands
There is a command to list the different sensors on your system.
To list all the names of the sensors, use the following command:
To list all the types of sensors, use the following command:
To list all the sensors for fans on the system, use the following command:
To list all types of sensors for the power supply, use the following command:
To view the types of sensors for the temperature, use the following command:
3. Logging Commands
Generating and analyzing system event logs are part of an admin’s job, which can be simplified using the IPMItool.
Here’s a quick cheat sheet for most of the logging commands:
ipmitool sel info: it displays general system event log details.
ipmitool sel list: it shows the system event logs.
ipmitool sel clear: it clears the event logs.
4. Common IPMI Commands
The IPMItool has tons of commands. However, the common ones that you will encounter are:
To power on the server, use the following command:
To power off the server, use the following command:
To check the status of your server, use the following command:
To activate the SOL system console, use the following command:
Conclusion
This article discussed how you could install IPMItool on Ubuntu and CentOS. Besides, we’ve also discussed some basic IPMItool commands. However, those are simply several things you can achieve with the IPMItool. Using the man page, you can play with different commands, which help perform various tasks. Hopefully, this article has set the pace for you.


