
The benefits of a firewall need no explanation. When choosing which firewall to use, you can use a free and reliable option such as pfSense. It is a free firewall based on the FreeBSD OS and has numerous features including a web interface where you log in, access to all its components, and configuring the firewall to align with your needs.
With pfSense, you can integrate it with HAProxy for load balancing. Initially, pfSense had a default load balancer, but the new versions don’t have any load balancing option. Hence, the need to integrate it with HAProxy. If you’ve been using HAProxy and pfSense separately, integrating them is straightforward and does the same thing as you used to. This post shares the detailed steps to integrate HAProxy with pfSense for enhanced networking.
Detailed Guide on Integrating HAProxy with PfSense
Whether you want to use pfSense as a firewall for your home network or commercial use, understanding how to integrate it with HAProxy enhances your network’s reliability by distributing the traffic to your web servers while keeping you safe.
We divided this section into two: installation and configuration. Let’s get into it!
Phase 1: Installation
To get started with pfSense, you must first install it on your system. For this case, we are installing it as a Virtual Box machine. Visit the pfSense website, download the ISO, and create a Virtual Box machine.
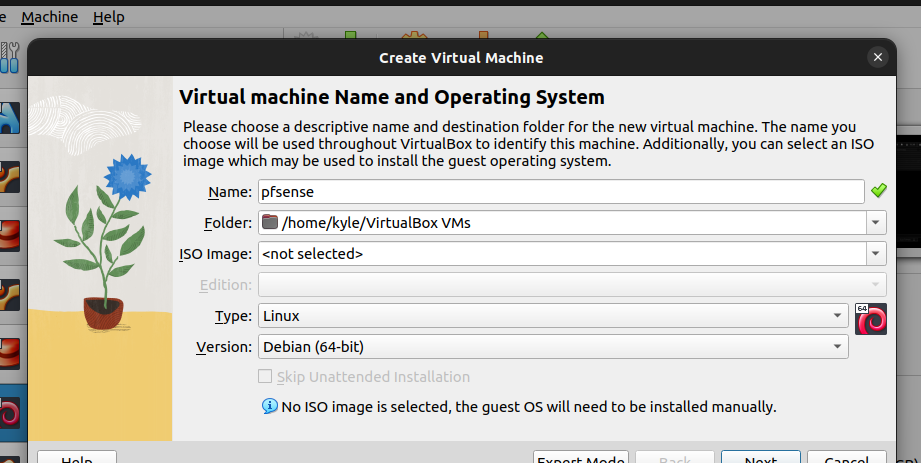
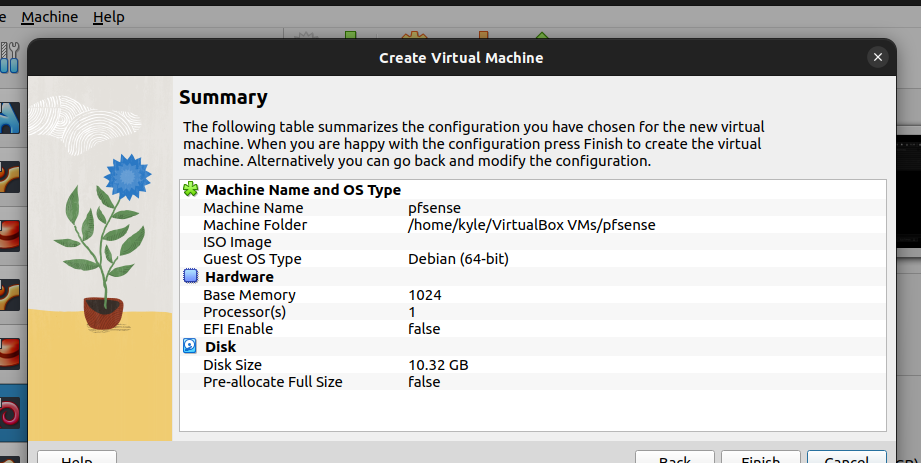
Set the accurate Virtual Box options that you wish to have for pfSense. Our summary information for pfSense is as shown in the following:
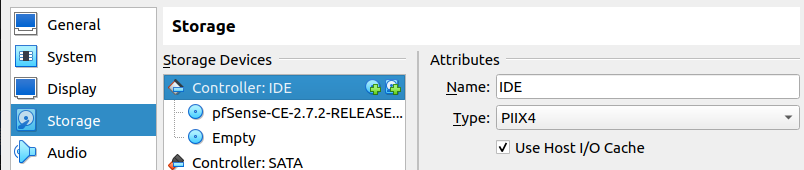
Once you created the Virtual Box machine, access the “Settings” section and add the downloaded ISO image under the storage > Controller IDE as shown in the following:
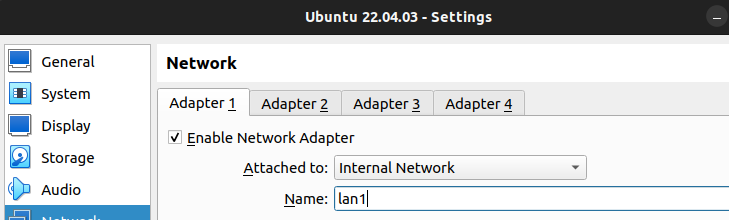
Under the “Network” section, leave the Adapter 1 to use NAT.

Under Adapter 2, select the option for internal network. Then, give it a name. We used “lan 1” for this case.
Save the changes and start the virtual machine.
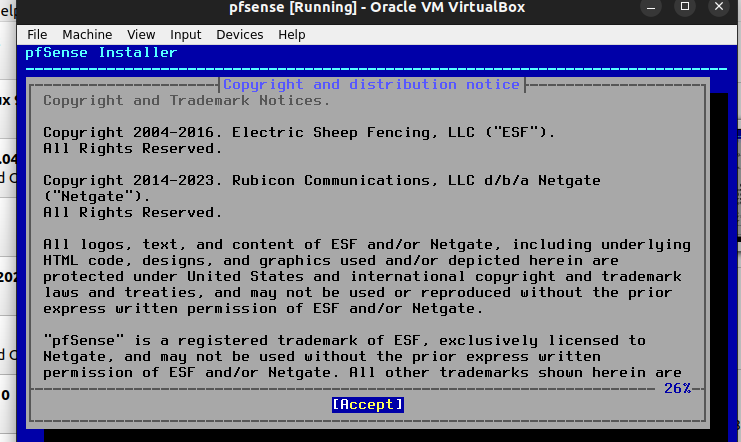
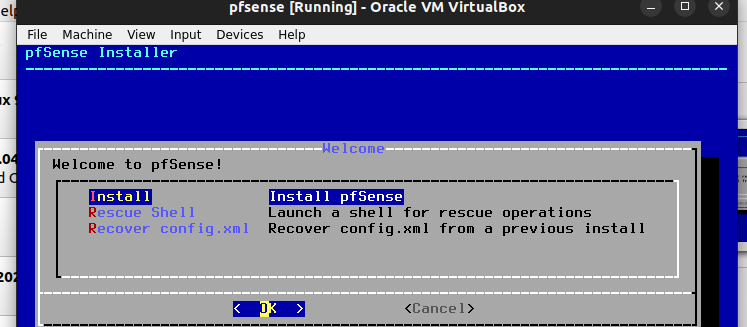
The installer wizard will open. Click on the “Accept” button that is displayed in the following image to start the installation.
Click on the “Install pfSense” option.
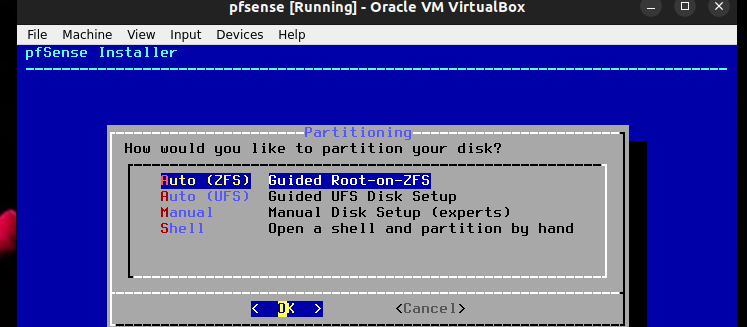
Select the partitioning option that you are comfortable with. We’ve gone with the first option for this case.
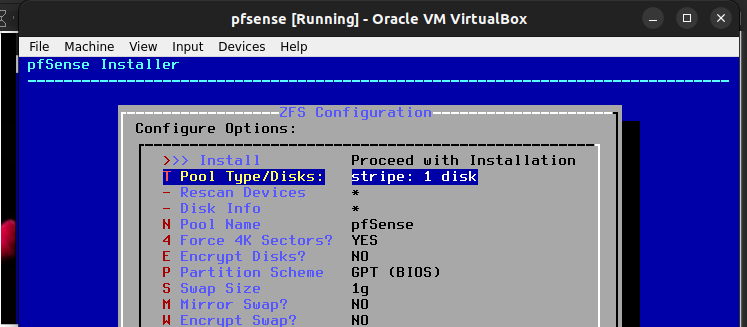
Next, select the stripe disk to use with the partitioning.
Confirm your action to wipe the selected disk and use the storage to install pfSense.

Now, pfSense will start writing on the selected disk.

Once the installation completes, select the option to reboot the system.

Phase 2: Configuration
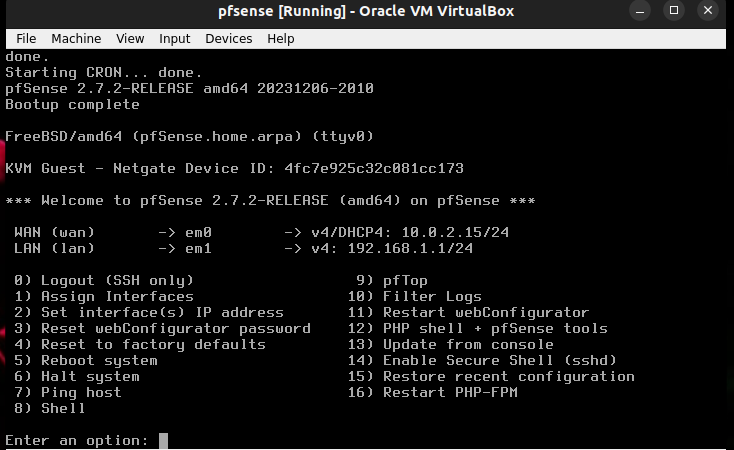
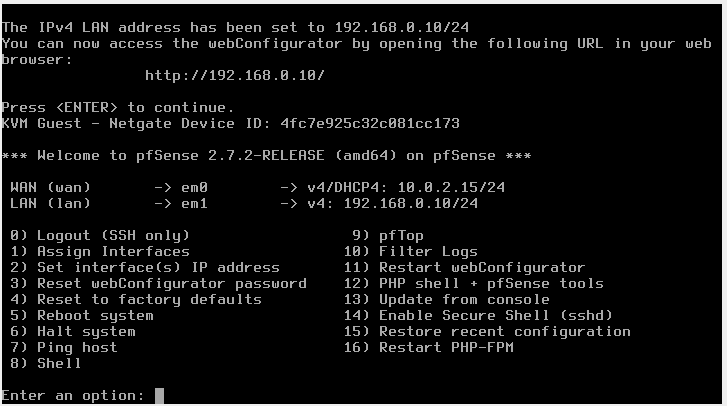
After installing pfSense, the remaining task is to configure the network and then integrate it with HAProxy. Once pfSense reboots, you will get the following window that shows all the options that you can use to configure it:
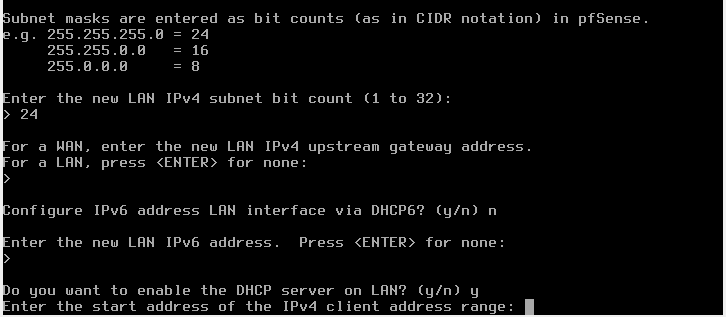
To set the interface, select “option 2” and specify which IP address you want to use for the IPv4. Set the subnet and define the start and end IP addresses for your network.
Once you set the interface, a URL that you will use to access the web interface will be displayed. For this case, the URL is http://192.168.0.10/.
We then need to connect to the adapter that we created using pfSense. On your Virtual Box, open another machine and edit the network section. Attach its “Adapter 1” to “lan 1” which we created earlier.
You can now start your machine and confirm that pfSense is working. For that, check the IP address to verify that the IPv4 format that we specified is what is being used. The following image shows that the pfSense LAN that we configured is active and is assigned with the IP address using the range that we created.

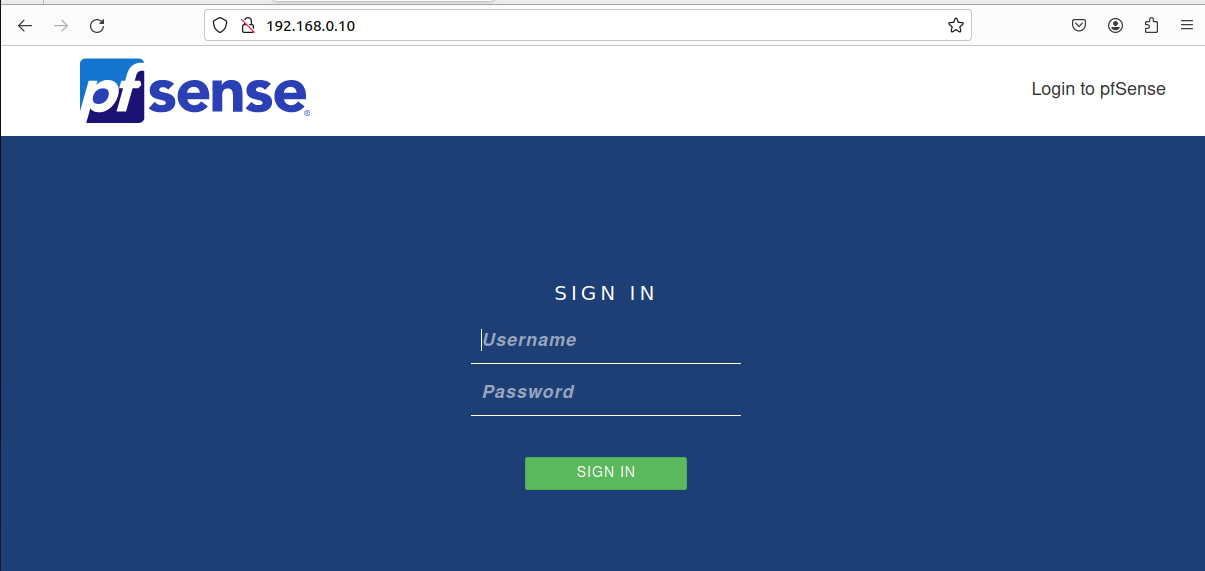
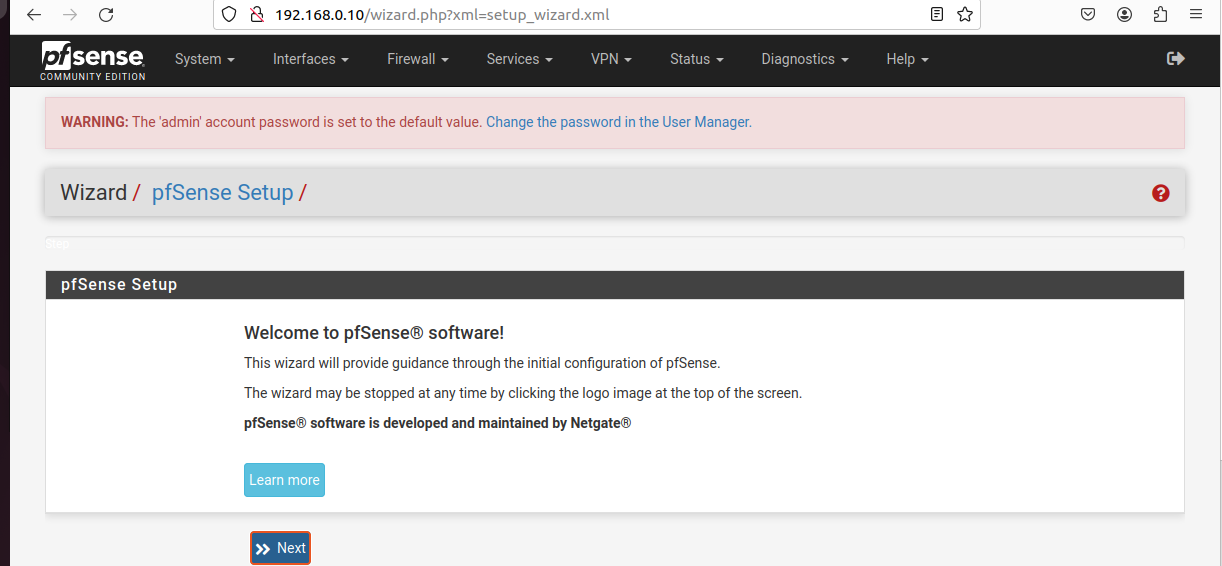
Open your browser and access the web interface using the URL that is generated with pfSense. Login using “username: admin” and “password: pfSense”.
Once logged in, you will be met with an interface that shows all the options that you can twerk to adjust how pfSense should work on your network.
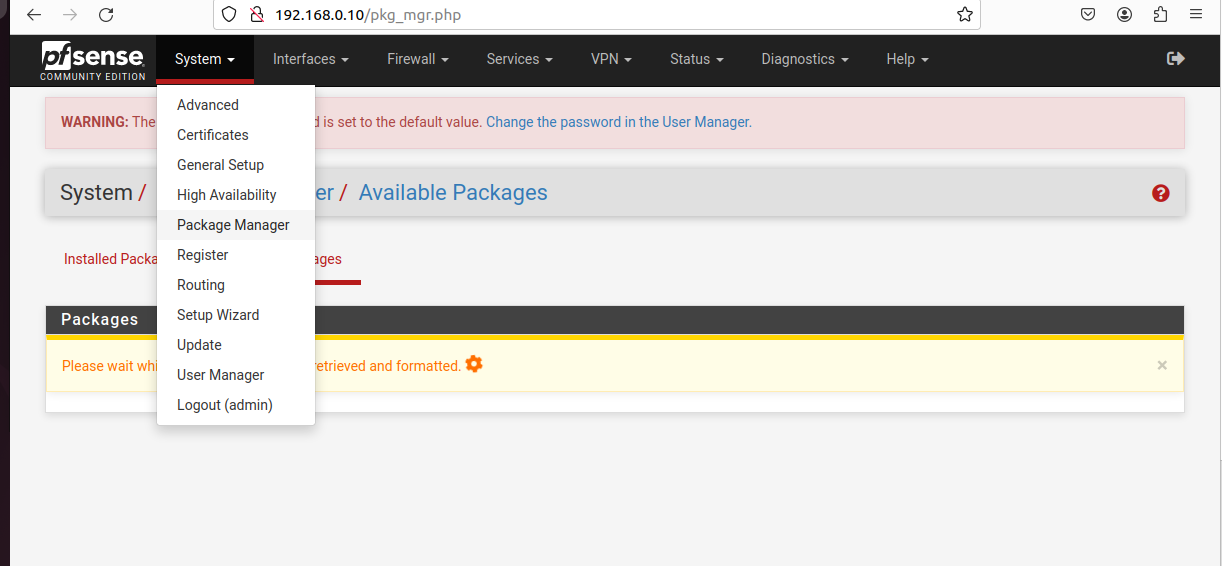
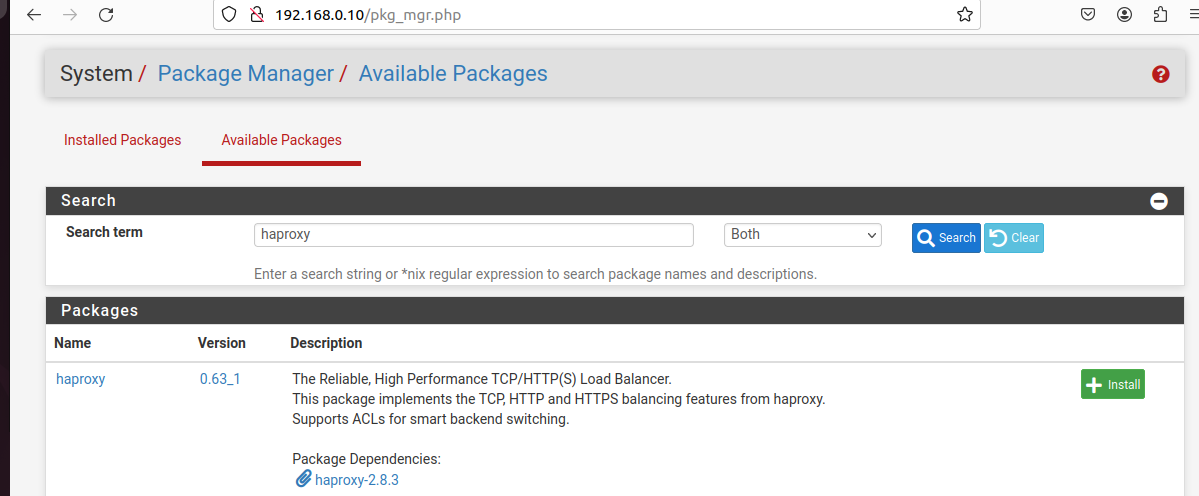
HAProxy doesn’t come preinstalled. Click on System > Package Manager > Available Packages. Then, search for HAProxy.
Click on the “Install” button on the right.
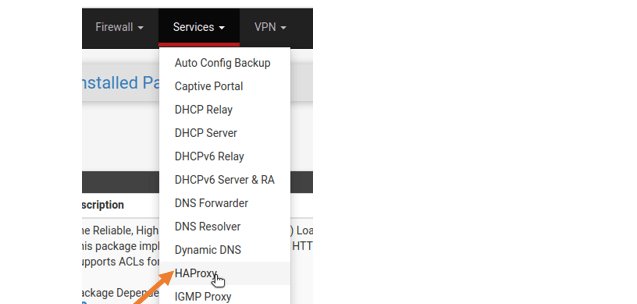
With HAProxy installed, click on “Services” at the top and verify that HAProxy is listed, confirming that we managed to integrate it with pfSense.
Click on the “HAProxy” option to start configuring it. The first thing to configure is the backend servers. Locate the Services > HAProxy > Backend section and add the backend servers that you want to use.
Ensure that you add the mode, name, address, and port for the backend servers. Keep adding the servers depending on how many you want to have.

Next, specify how you want your load balancing to occur. Choose the option that is ideal for your case such as round robin or any other that are listed below the server list.
We must then configure the frontend. Locate the Services > HAProxy > Frontend and click on the “Add” button to add the frontend section of your HAProxy.

Edit the settings to ensure that the frontend IP address listens on the specified port. The settings that you add here depend on your requirements. Feel free to edit the section to suit your network needs.
The last step is to link the backend with the frontend. Access the default backend, access the “Control Lists and Actions” section, and select the backend servers that you added. Save the changes to confirm linking them.
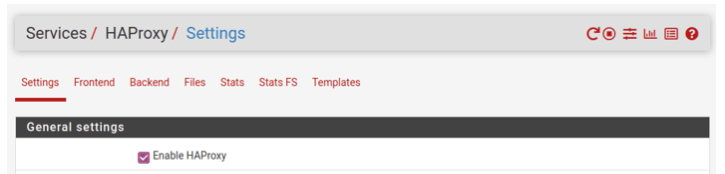
You can now turn on HAProxy and use it with pfSense on your network. Access the “Settings” section, enable it, and specify the maximum connections per process.
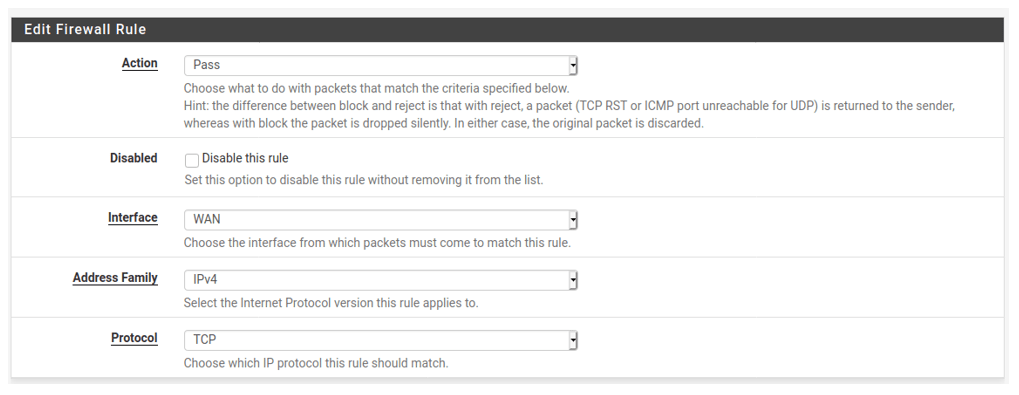
You should also edit the firewall rules and create new policies to use with your firewall.
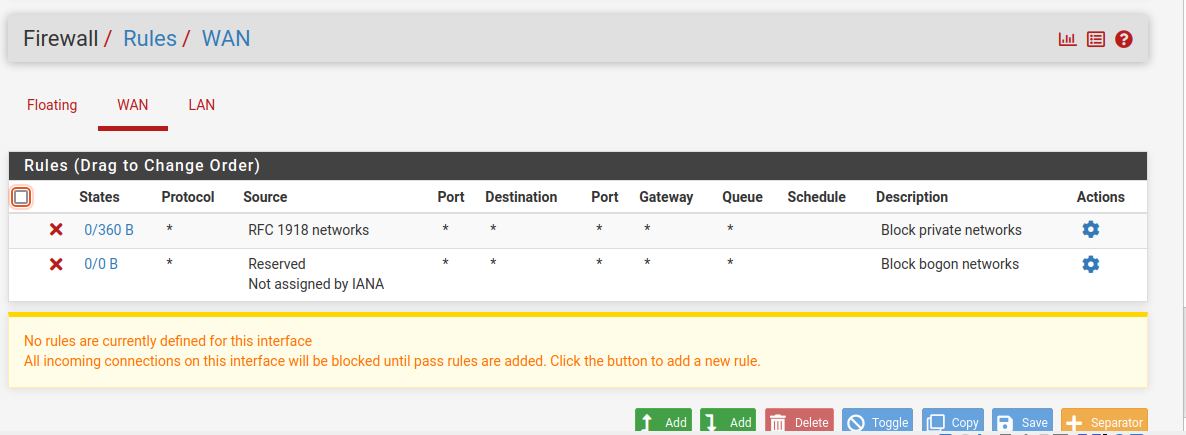
When setting the firewall rule, specify whether you want only one or multiple destinations and add their IP addresses.
That’s it. You integrated HAProxy with pfSense.
Conclusion
Integrating HAProxy with pfSense to handle the load balancing while implementing a firewall for your home or commercial network is possible. Begin by installing pfSense. Then, install the HAProxy package. From there, follow the steps that are covered in this post to configure how you want your HAProxy to work by editing the backend, frontend, and load balancing. Conclude by linking the backend with the frontend and enjoy using HAProxy with pfSense.