phpMyAdmin is a famous open-source tool designed to improve the management of MariaDB and MYSQL servers. It is written in the PHP language. As GUI apps and platforms are closer to users; therefore, accessing and managing databases on the command line is more difficult. But, Thanks to the phpMyAdmin web-based platform that enables us to use and manage databases using a graphical interface.
In this tutorial, we will discuss:
- Prerequisite: Install Apache, MySQL, and PHP on Ubuntu 20.04
- How to Install phpMyAdmin on Ubuntu 20.04?
Prerequisite: Install Apache, MySQL, and PHP on Ubuntu 20.04
For the installation of phpMyAdmin, it is necessary to first install Apache server, MySQL, and PHP on Ubuntu 20.04. Otherwise, the user will get errors during the installation.
To install essential components for the phpMyAdmin installation, look at the provided instructions.
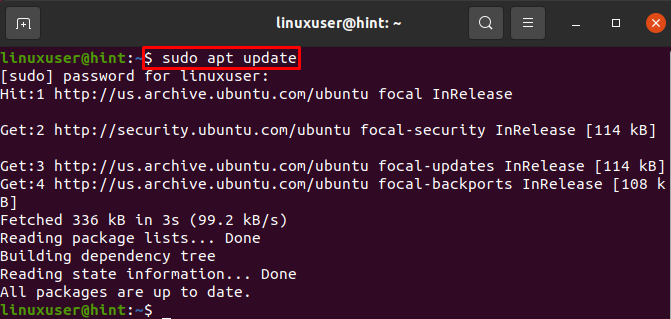
Step 1: Update System Packages
To update the system packages, first, launch the Ubuntu terminal through the “CTRL+ALT+T” key and update the package:
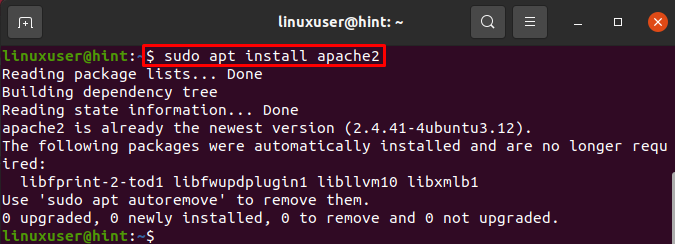
Step 2: Install Apache
Install the Apache on Ubuntu 20.04 by executing the “apt install” command with sudo privileges:
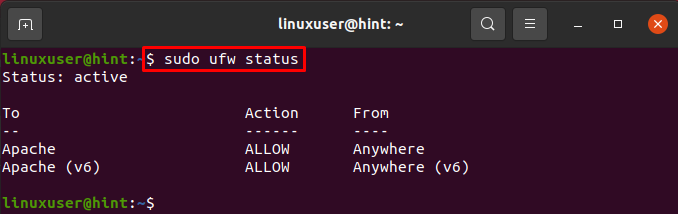
Step 3: Allow Apache on Firewall
Next, enable Apache services on the Firewall using the given command:

Check the status of the Apache service by utilizing the “ufw status” command:
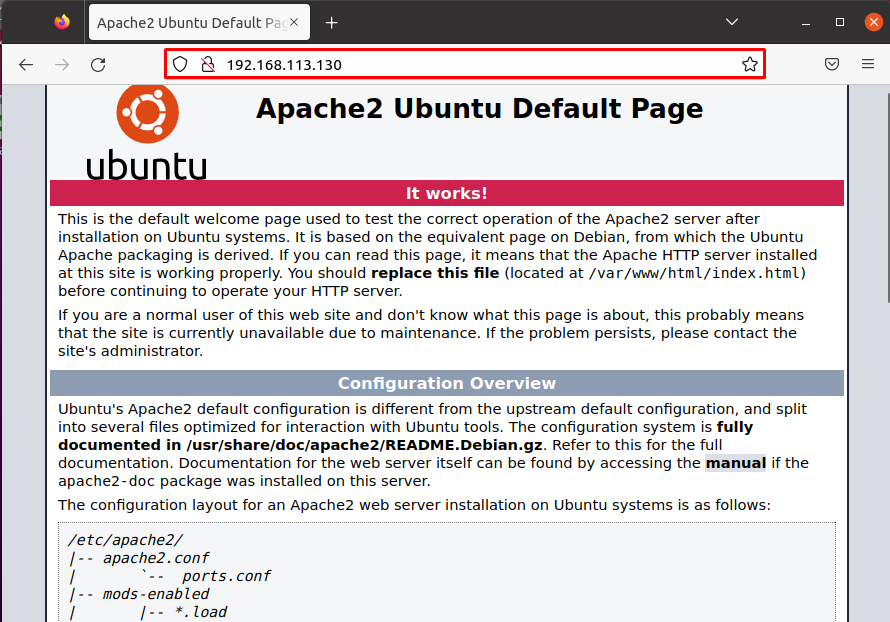
Verify if the Apache is working on Ubuntu or not by navigating to “http://<your IP address>” in the browser:
You can see from the below output that Apache is running on the local host:
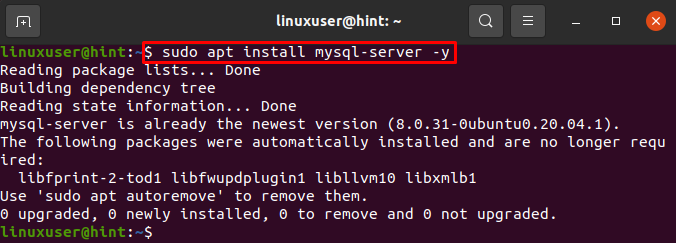
Step 4: Install MySQL Server
Next, install the MySQL server on Ubuntu 20.04 by utilizing the given command:
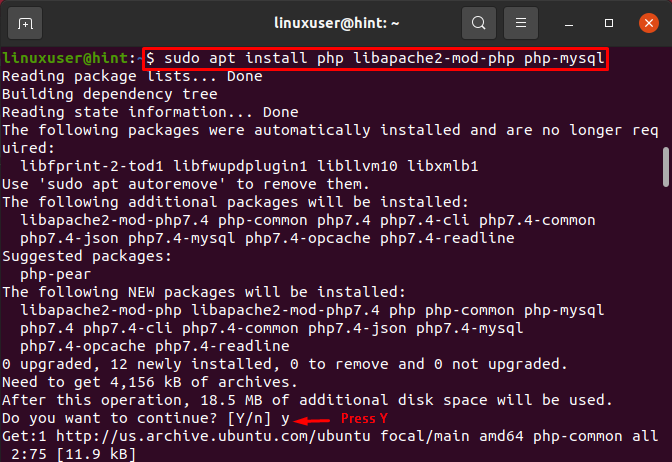
Step 5: Install PHP
For the PHP installation along with essential PHP libraries and packages, run the following command on the Ubuntu terminal:
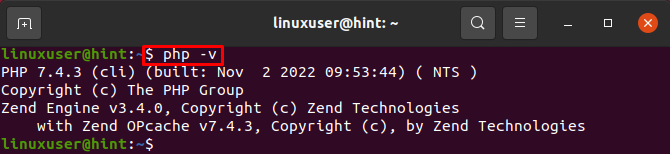
Confirm the PHP installation and its version using the “php” command with the “-v” option:
From the given output, it can be observed that we have installed “PHP 7.4.3” on Ubuntu 20.04:
How to Install phpMyAdmin on Ubuntu 20.04?
After fulfilling the prerequisites, install the phpMyAdmin database on Ubuntu 20.04 with the help of the offered instructions.
Step 1: Install phpMyAdmin
Install the phpMyAdmin on Ubuntu 20.04 using the “apt install” command with the “sudo” privileges:

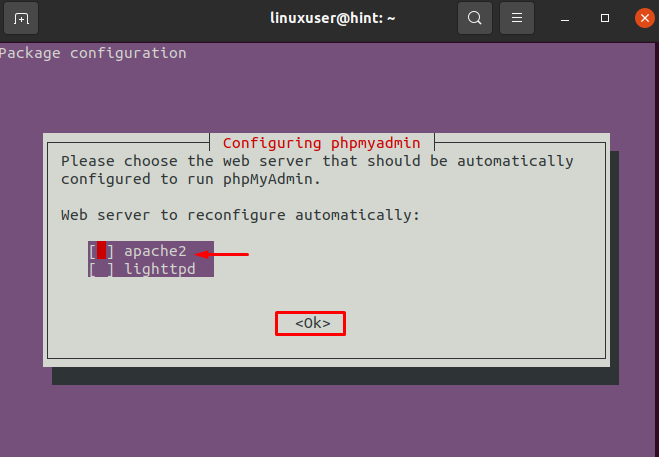
Upon doing so, the “Package configuration” wizard will appear on the screen. Select the “apache2” option and hit the “Enter” key:
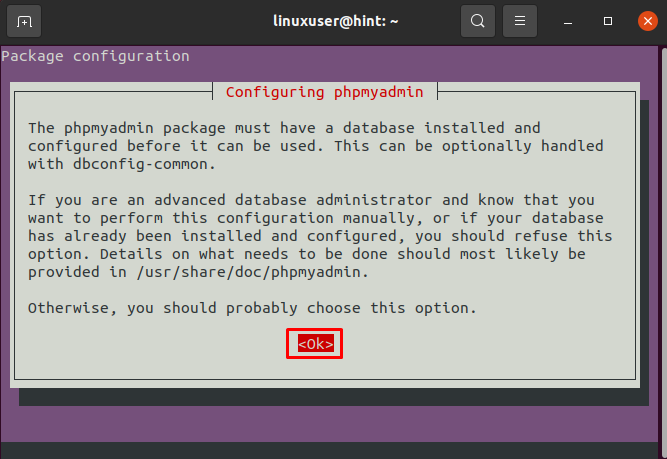
Again, hit the “Enter” key to proceed further:
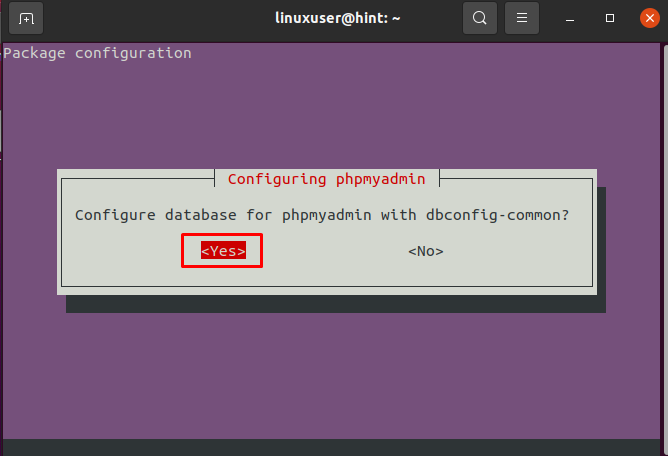
Configure the phpMyAdmin database on Ubuntu 20.04 by selecting the “OK” option:
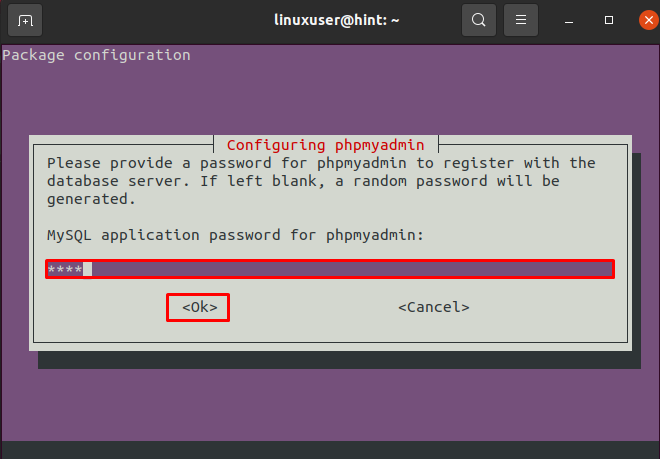
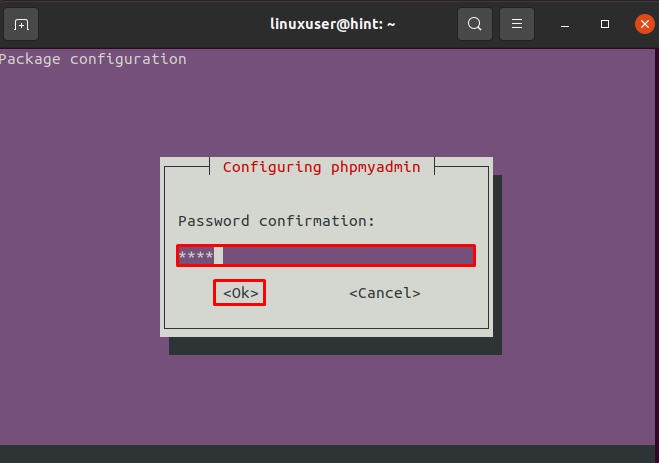
After that, you will be prompted to set a password for accessing the database. Enter the password and press the “Enter” key:
Again, retype the password and press “Enter”:
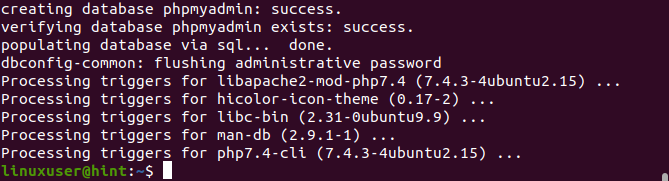
Here, you can see we have completely installed the phpMyAdmin database:
Step 2: Access phpMyAdmin on Ubuntu Terminal
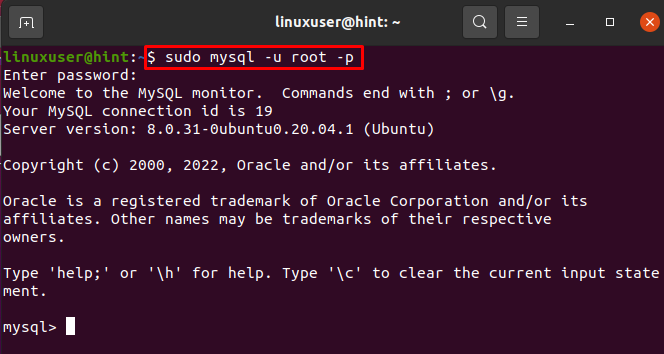
Next, access the phpMyAdmin database on the terminal through the given command. Here, the “-u” option is used to specify a username, and “-p” is utilized to add the password. By default, the username of the database is set as root:
Enter the password that you have set during phpMyAdmin installation:
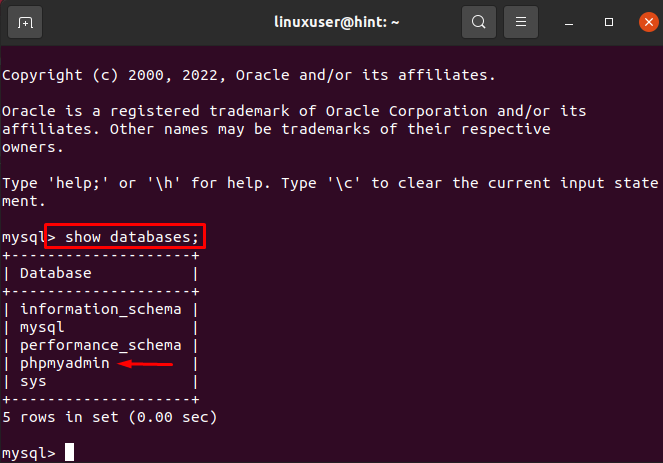
To view all databases linked with MySQL database, utilize the below command:
Step 3: Grant LocalHost Privileges to phpMyAdmin Database
Next, grant all the local host privileges to the phpMyAdmin database:

To exit the command line, first, flush all privileges and utilize the “Exit” command:
> Exit;

Step 4: Access phpMyAdmin on the Local Host
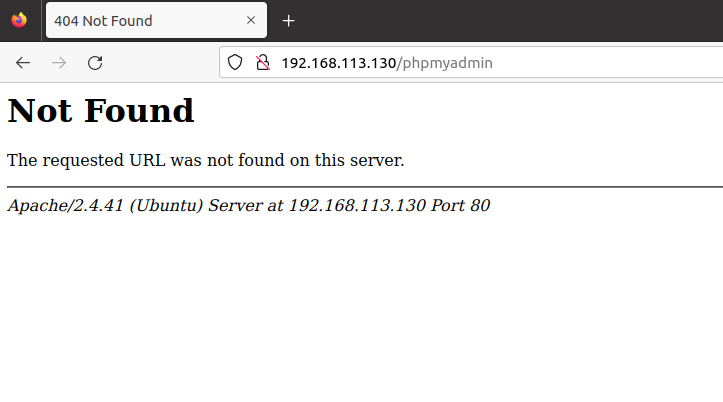
Now, try to access the phpMyAdmin database on the localhost by navigating to the “http://<ip-address>/phpmyadmin” URL in the browser:
At this point, you may get the following error:
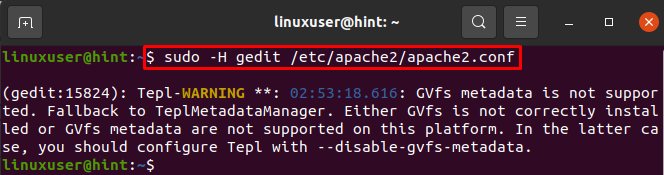
Step 5: Open Apache Configuration File
To resolve the stated error, open the Apache configuration file by processing the following command on the terminal:
Step 6: Include phpMyAdmin Configurations
After that, add the phpMyAdmin configuration in the file at the end, and press the “CTRL+S” key to save changes:

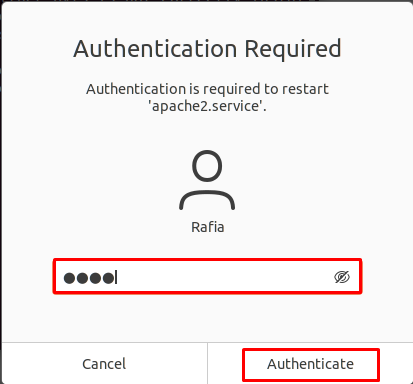
Step 7: Restart Apache
Now, restart the Apache services through the mentioned command:

While doing so, the “Authentication Required” wizard will appear on the screen. Add your password and hit the “Authenticate” button:
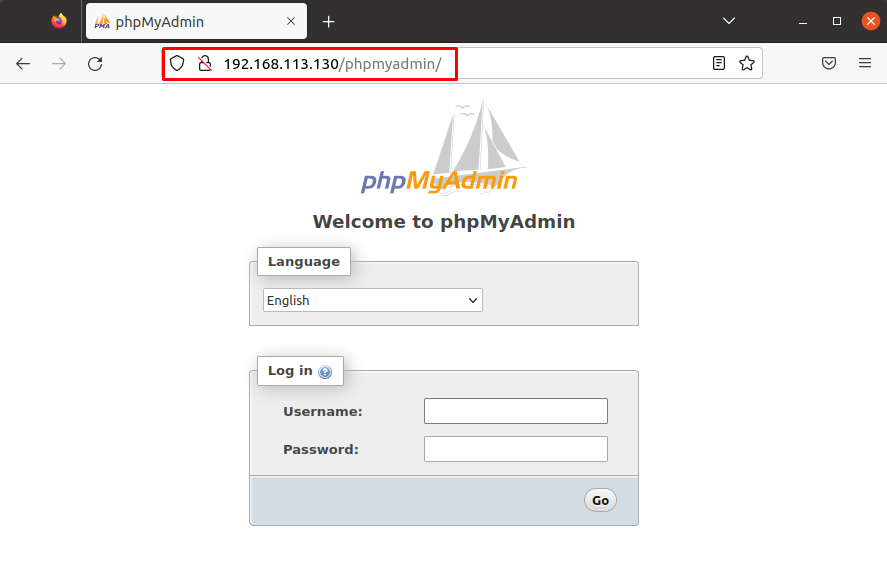
Again, try to access the phpMyAdmin on the local host by visiting the “http://<ip-address>/phpmyadmin” URL on the browser:
The below output shows that we have successfully resolved the error and accessed the phpMyAdmin database on the local host:
Here you go! You have learned the method for installing phpMyAdmin on Ubuntu 20.04.
Conclusion
To install the phpMyAdmin on Ubuntu 20.04, first, you are required to install “MySQL”, “Apache” and “PHP” on the system. After that, install the phpMyAdmin on Ubuntu 20.04 by utilizing the “$ sudo apt install phpmyadmin” command. Next, grant all localhost privileges to phpMyAdmin and access it on the browser by navigating to the “http://<ip-address>/phpmyadmin” URL. This article has demonstrated how to install phpMyAdmin on Ubuntu 20.04.