
You can download Zoom package from the Zoom website or executing the command from the terminal. Both ways are shown here.
[adthrive-in-post-video-player video-id=”vHUMZbrO” upload-date=”2020-03-13T14:23:51.000Z” name=”How to install Zoom in ubuntu” description=”How to install Zoom in ubuntu” player-type=”collapse” override-embed=”true”]
Install Zoom by GUI
If you are a new Linux user then it is a better option to install zoom by following the steps. Go to the following URL location to download the zoom package file of Linux according to your operating system and computer configuration.
https://zoom.us/download?os=linux
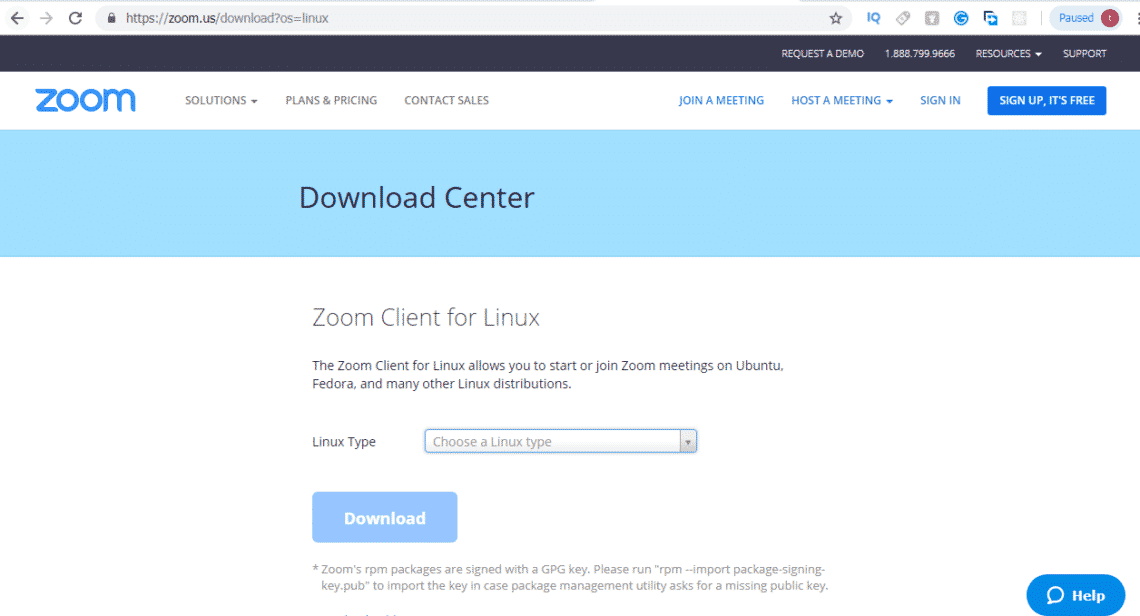
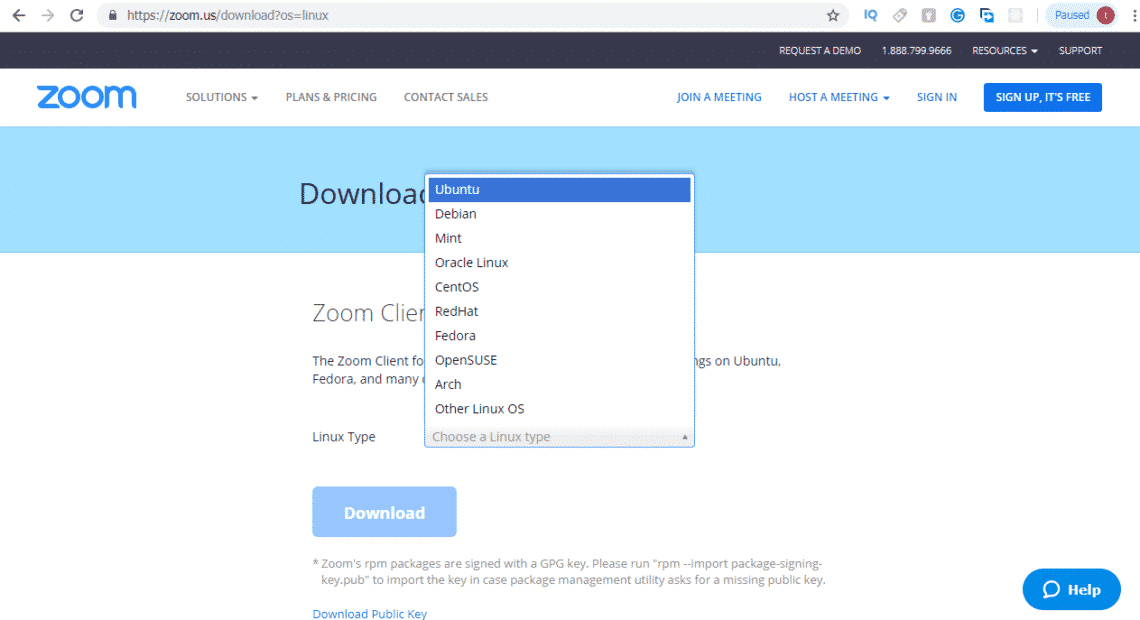
Select your Linux operating system from Linux Type dropdown list.
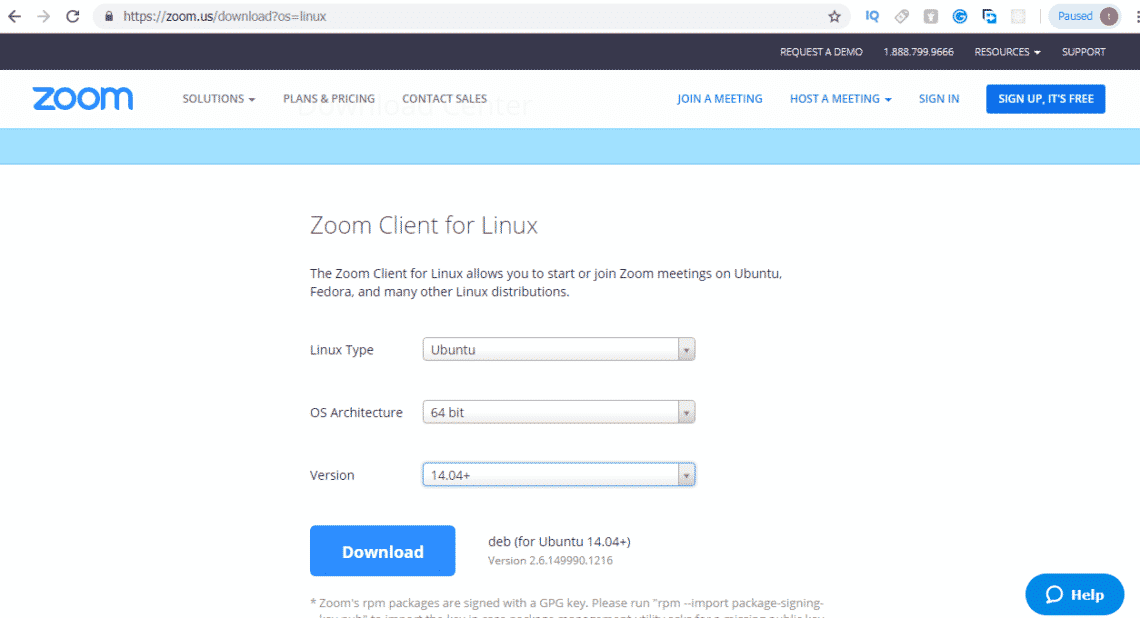
Select OS Architecture and operating system version after selecting Linux operating system. Click on the Download button to download the package.
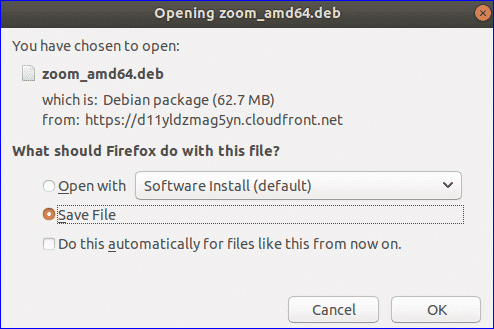
Click on Save File radio button and press OK button to start the download.
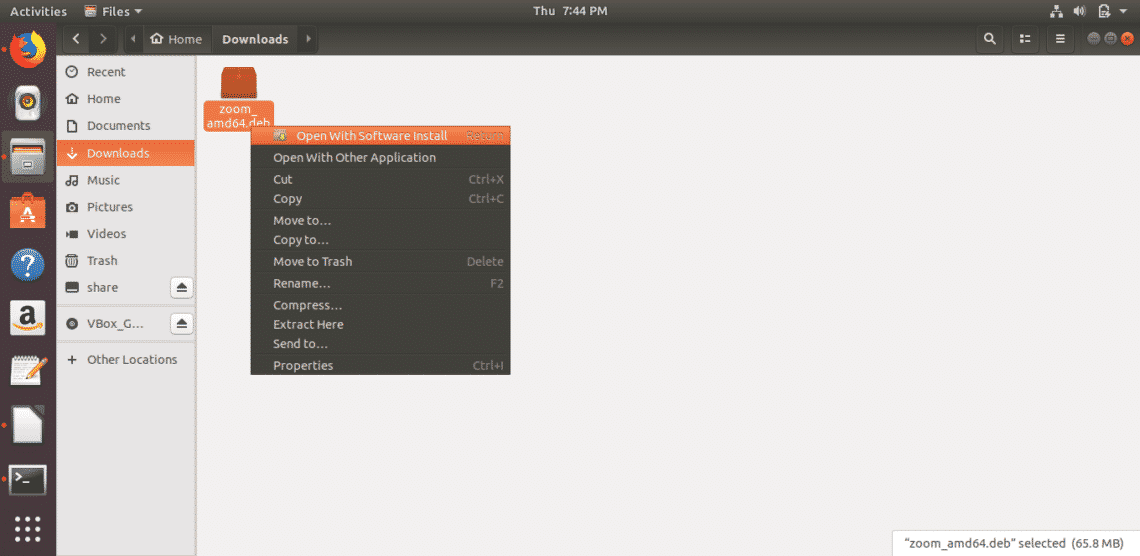
Go to the download location, select the file and right click on it. Click on Open With Software Install from the pop-up menu to open the installation dialog box.
Click on Install button to install Zoom.

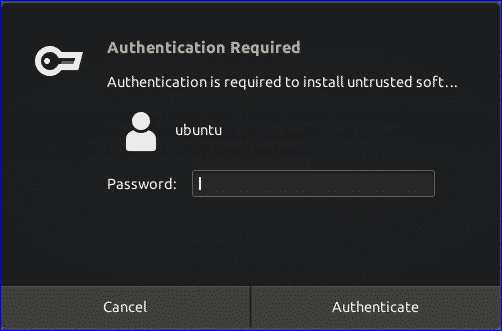
Provide your root password to start the installation process.
Install Zoom from the terminal
If you are familiar with Ubuntu operating system then you can run the following commands from the terminal to install Zoom more quickly. Click Ctrl+Alt+T to open the terminal and run the following command to download Zoom package.

Go to the download location and run the command to install the package.
$ sudo dpkg -i zoom.deb

Running Zoom
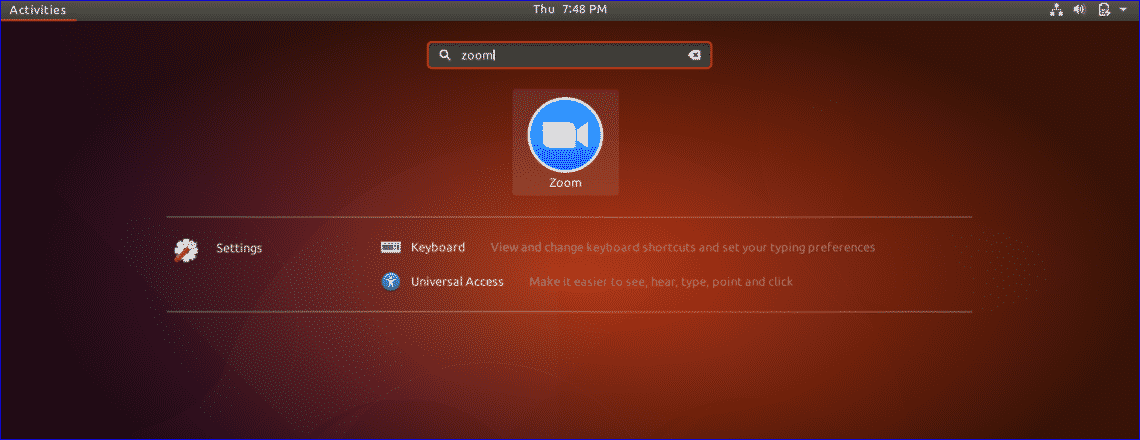
After completing the installation process, search Zoom in the search bar of Show Application page. If the following icon appears then Zoom is installed properly. Click on Zoom icon to open the Zoom application.
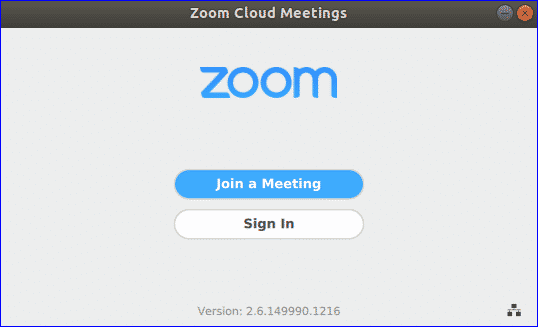
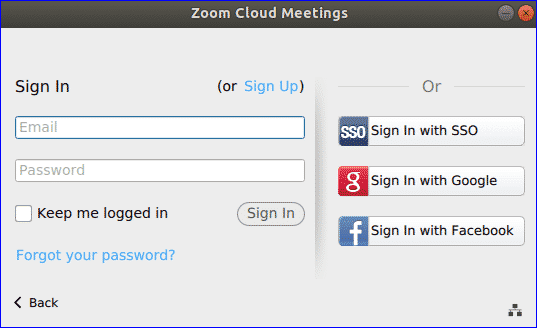
The following dialog will appear when Zoom application launches. Click on Sign In button to use this application.
You can use SSO or Google or Facebook or Zoom account to log in to this application. If you don’t have Zoom account and don’t want to use other options to log in then you can create a free Zoom account from Zoom website or click on Sign Up link.
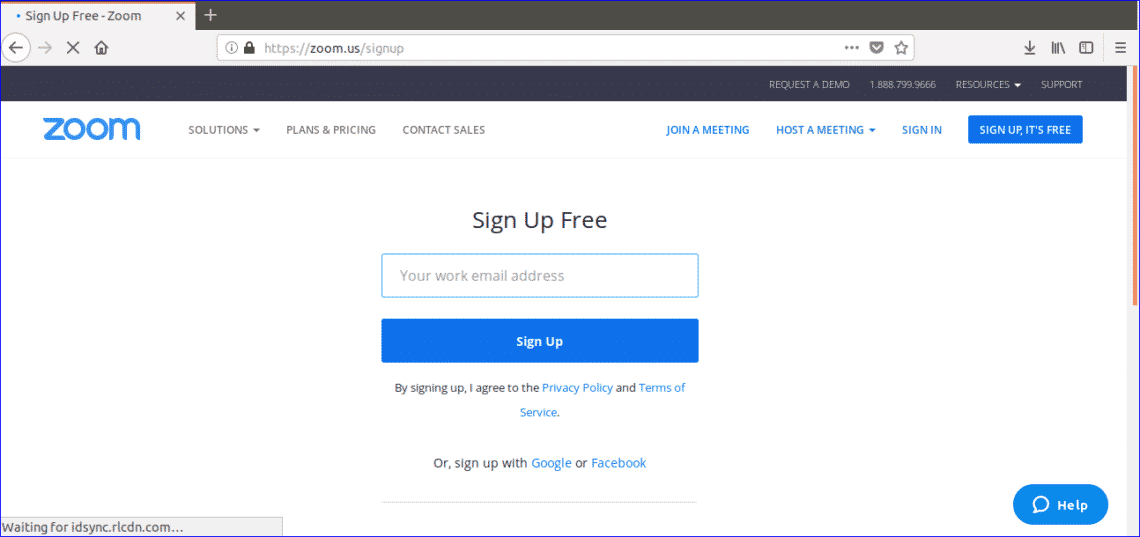
Go to the following URL link to open a free Zoom account from Zoom website. Click on ‘SIGN UP, IT’S FREE‘ button of this page to open the account. Enter the email address that you want to use for opening the account and click on the Sign Up button.
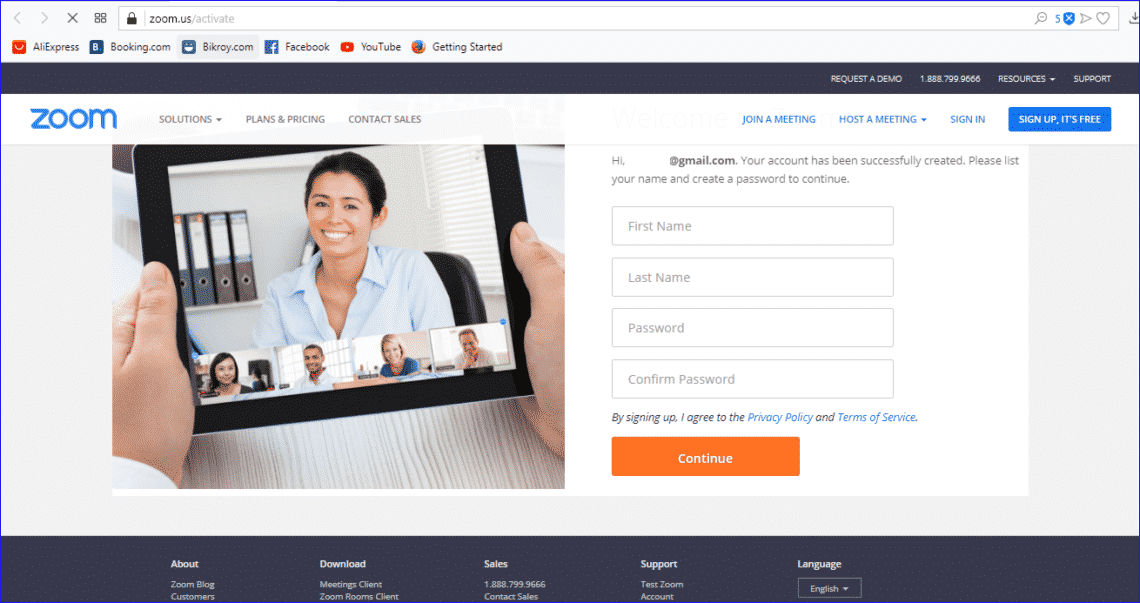
You will get an activation email from zoom site to activate your account. So, check your email address and click on ‘Activate Account’ Button to complete the next steps of account creation. The following screen will appear after clicking the button. Fill up the following form and click on ‘Continue’ button to go to the next step.
If you want to invite some others to communicate with this tool then click on the Invite button. You can skip this step by clicking on ‘skip this step’ button.
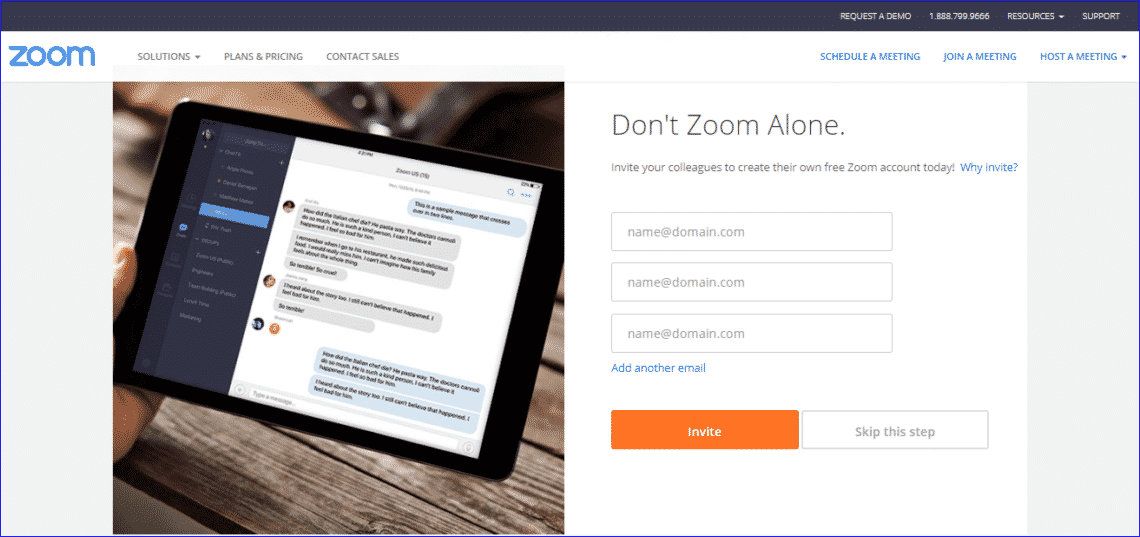
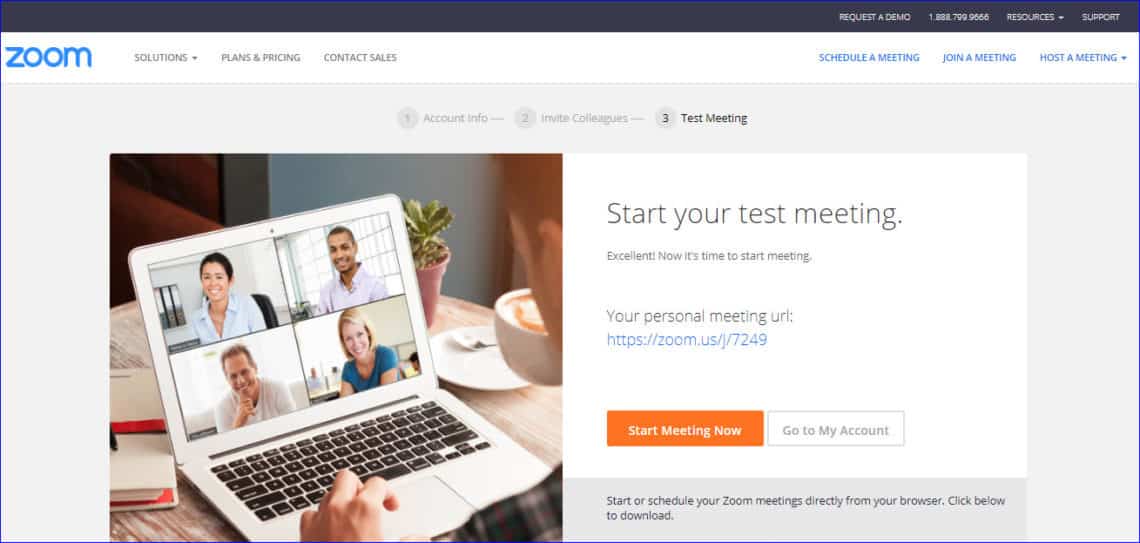
If you get the following page then your account is ready to use.
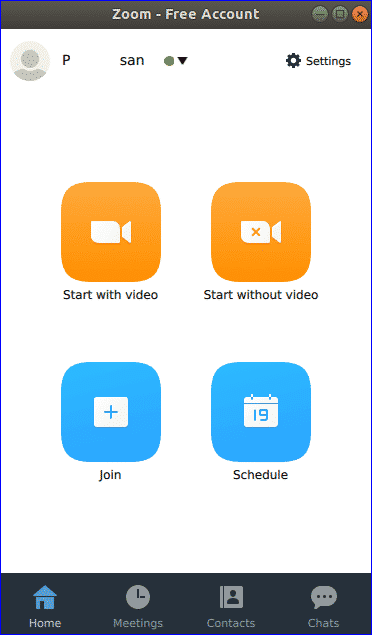
Now, Sign In to your Zoom application by providing valid email address and password that you have used at the time of Zoom account creation. The following screen will appear if you able to sign in successfully in your zoom account. The four main options of this application are ‘Start with video’, ‘Start without video’, ‘Join’ and ‘Schedule’. ‘Start with video’ option is used for video chatting or video conference. ‘Start without video’ option is used for the phone call or audio chatting. You can use ‘Join’ option for joining any meeting. ‘Schedule’ option is used for setting the meeting schedule.
How you can do audio chatting is explained in this part of the tutorials. The following screen will appear when you click on ‘Start without video’ option. You can do audio call by using your phone or computer. Use ‘Computer Audio’ tab if you want to do an audio chat by using your computer.
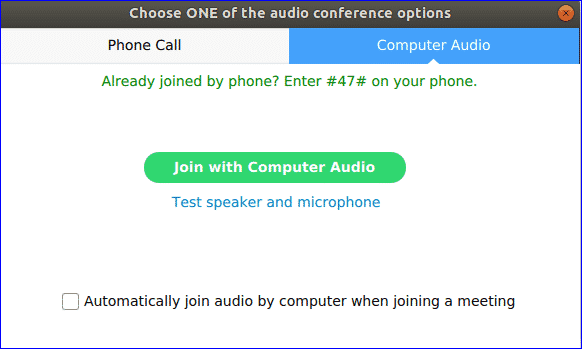
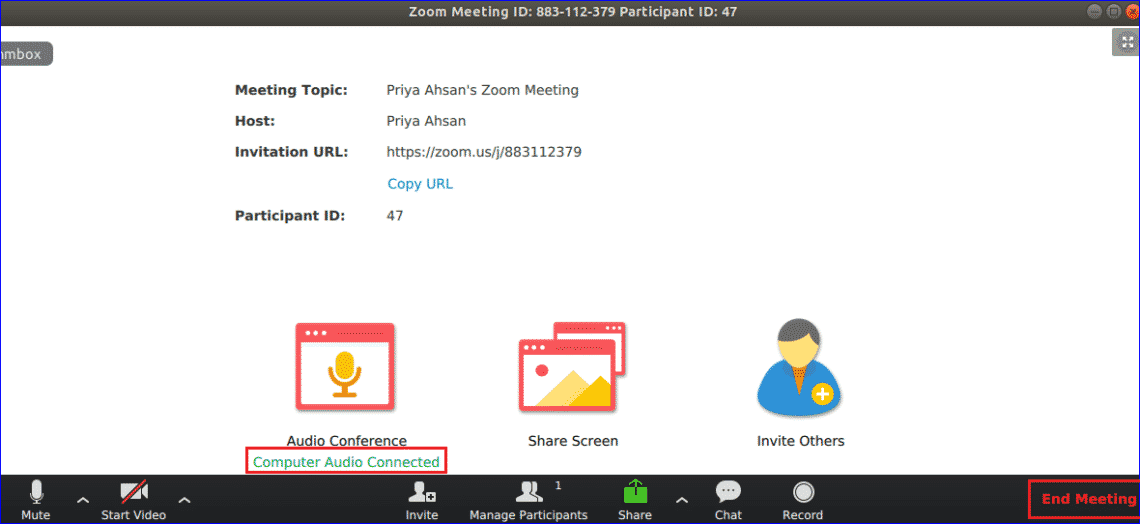
Before starting the chat, it is better to check your speaker and microphone of your computer by clicking ‘Test speaker and microphone’ link. After checking sound, click on ‘Join with Computer Audio’ button to join the audio meeting. You will get the following similar screen. Here Participant ID is 47 which will be used for communicating with others. Click on ‘End Meeting’ link to exit from the meeting. You will get an invitation URL that you can use to invite your friends or colleagues to join this meeting by clicking ‘Invite Others’ option.
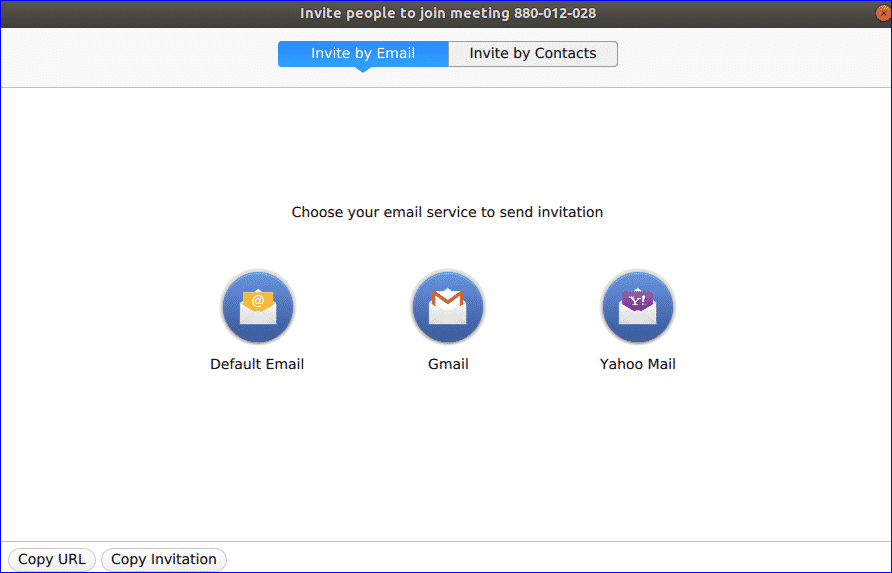
When you will click on ‘Invite Others’ option then the following screen will appear. You can invite others by email or contacts. If you select ‘Invite by Email’ then your selected email service will be used for sending the invitation and if you want to send the invitation to the particular contacts then select ‘Invite By Contacts’.
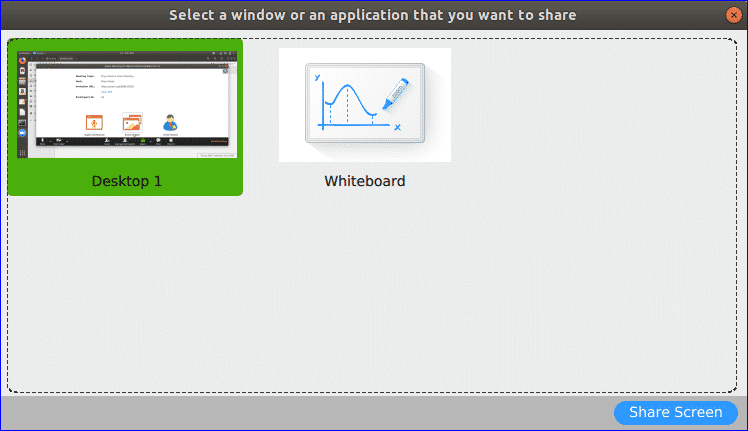
You can also share your screen from here. Click on ‘Share Screen’ option from Join Meeting dialog box to share the screen with other participants of the meeting. You have to click ‘Share Screen’ button after selecting the window or application that you want to share.
You can use the Zoom tool to communicate with your friends, family members and colleagues. One feature of the Zoom tool is explained in this tutorial. This tool has many other useful features those you can use to do your regular personal or official tasks in a more easy way. Hope, this tutorial will help you install and use Zoom tool in Ubuntu.