
Xrdp is an open-source and free realization of the Microsoft Remote Desktop Protocol (RDP) algorithms that allows you to control a remote system or virtual environment over a secure network with a GUI interface. Xrdp essentially brings together the aspects of an RDP and X Windows system to communicate graphics and controls between the client and the system.
This walkthrough will show you how to set up an Xrdp server on an Ubuntu 20.04 remote desktop system.
Part 1: Installing Xrdp
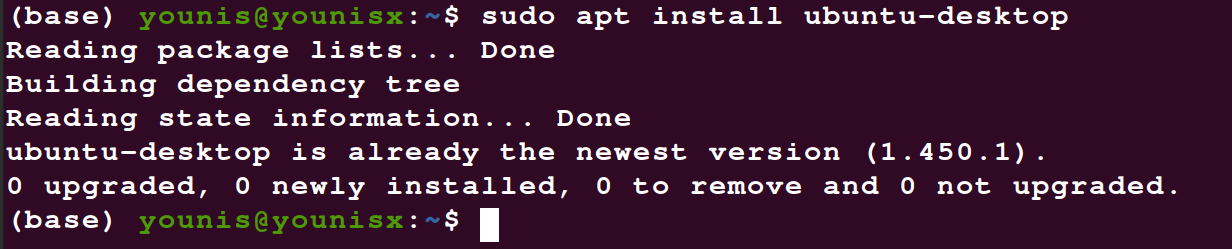
Step 1: Install a Desktop Environment
Unless you are using Ubuntu for desktop (in which case you may ignore this step), you will need to download an externally available desktop environment to get started. For this demonstration, Gnome will be used as the desktop environment, as it is the default environment for newer versions of Ubuntu. So, this guide will be easy to follow for those who are already using an Ubuntu desktop.
Enter the following commands to install Gnome:

Wait for the installer to finish, then proceed to install Xrdp in the next step.
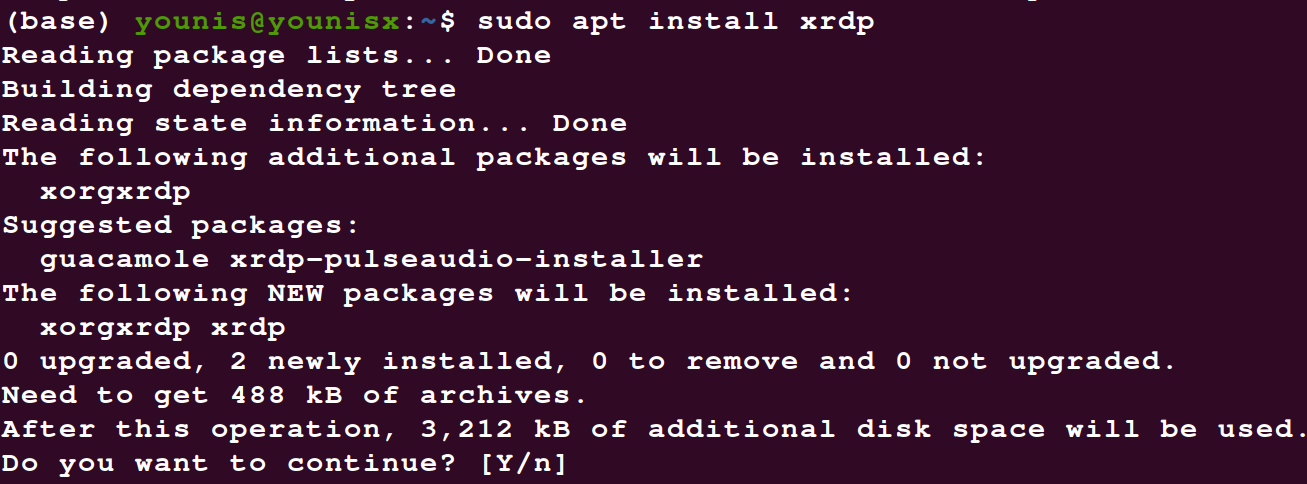
Step 2: Install Xrdp
To download and install Xrdp from the standard Ubuntu repositories, enter the following command:
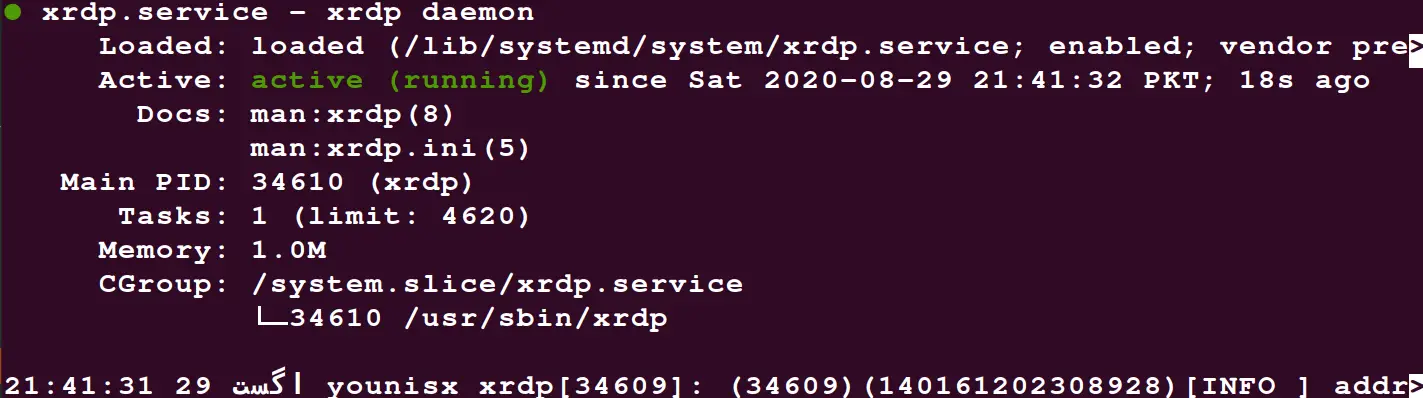
Verify the install by entering the following command:
There is a file in the /etc/ssl/private/ directory named ssl-cert-snakeoil.key that is fundamental to the functions of the Xrdp services. This file must be made readable for an xrdp user. To do so, use the following command:

To make these modifications permanent, reboot the Xrdp service:

Xrdp has now successfully installed on your Ubuntu server.
We will discuss some of the basics of the Xrdp service to help you get started.
Part 2: Getting Started with Xrdp
Configuring Firewall with Xrdp
We will now open up the Xrdp port, which is port 3389, by configuring the firewall. Enter the following command to allow access from a certain IP range:

This authorizes access privileges to the IP range 192.168.33.0/24.
To dial up the security parameters a notch, configure the Xrdp service to use the localhost and set up an SSH tunnel.
Connect to the Xrdp Server (for Windows OS)
With the installation and firewall configurations taken care of, you may now connect to the Xrdp server. The following steps show you how to connect to the Xrdp server:
- Head over to the windows search bar.
- Type in ‘remote.’
- Select ‘Remote Desktop Connection’ to load the RDP client.
- Navigate to the field labeled ‘computer.’
- Paste the server IP address.
- Hit the connect button.
- The login screen will display, into which you will put your user credentials.
- Click ‘ok.’
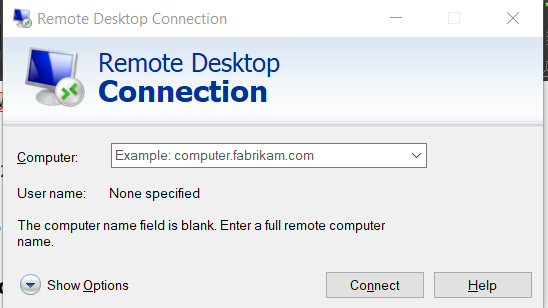
You have now successfully connected to the official Xrdp server.
In Summary
In this article, you learned how to download externally available desktop environments, install the Xrdp service on a remote desktop, configure firewall settings to grant access to users from a certain IP range, and establish a connection with the official Xrdp server. You can use Xrdp to administer your server with a local desktop machine and a nice GUI interface.