
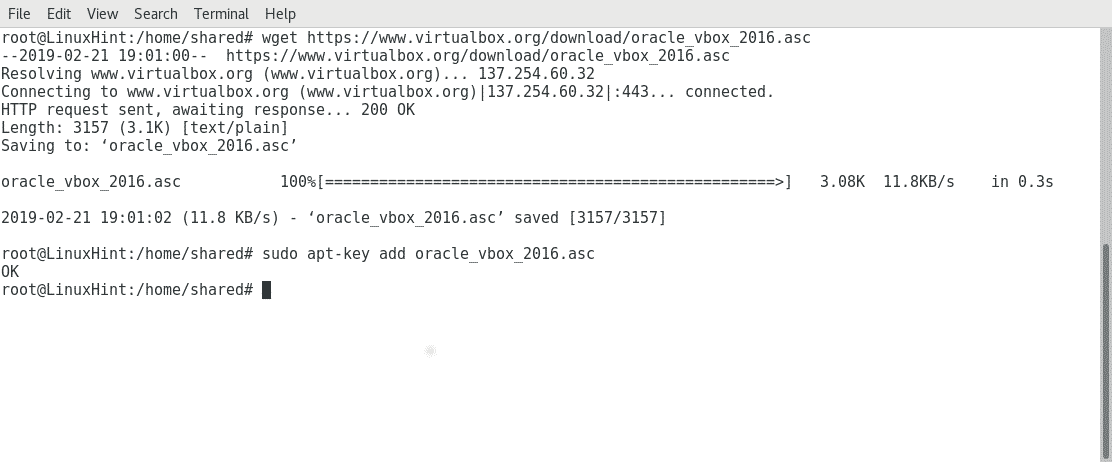
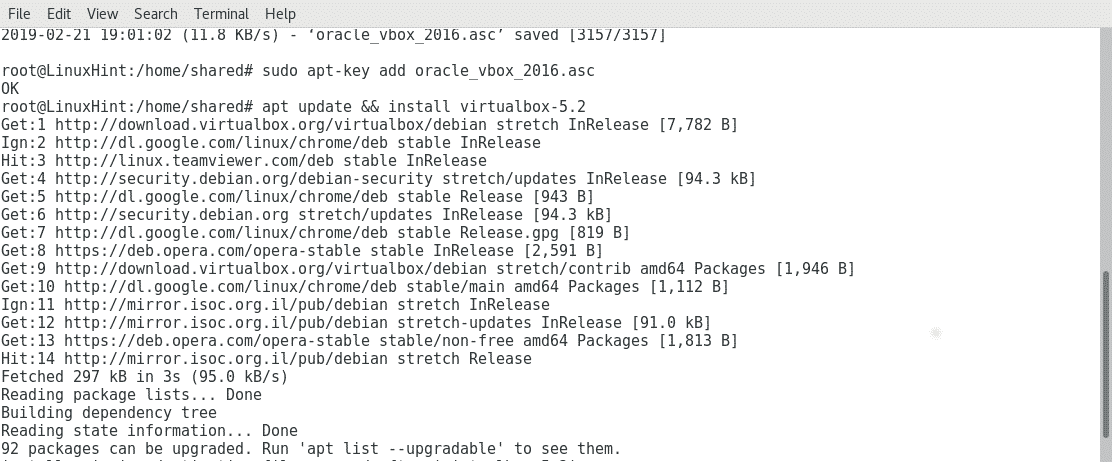
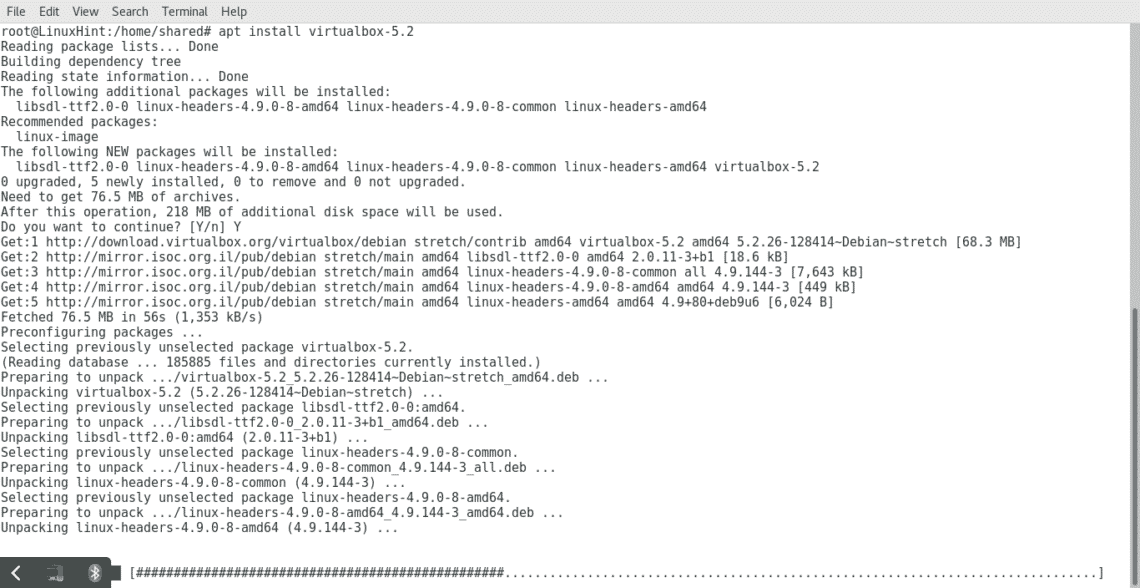
The first step is to download and install Virtualbox by editing the repositories’ file and running “apt install virtualbox” as root.
First run
and edit the file by adding the line
as shown in the following image

Then run
And
Now we can run
After getting the error above I just ran “apt upgrade && install –help” and then I executed
Once our VirtualBox is installed lets get an ISO for the system we want to use, in this case Windows XP 32 bits, you will need to find the location for your self based on your situation.
Once your ISO is ready, move or copy it to the subdirectory /root/VirtualBox \VMs/
In my case the VM was previously created under Windows\ XP-32, where “root” is the username executing the virtual machine.

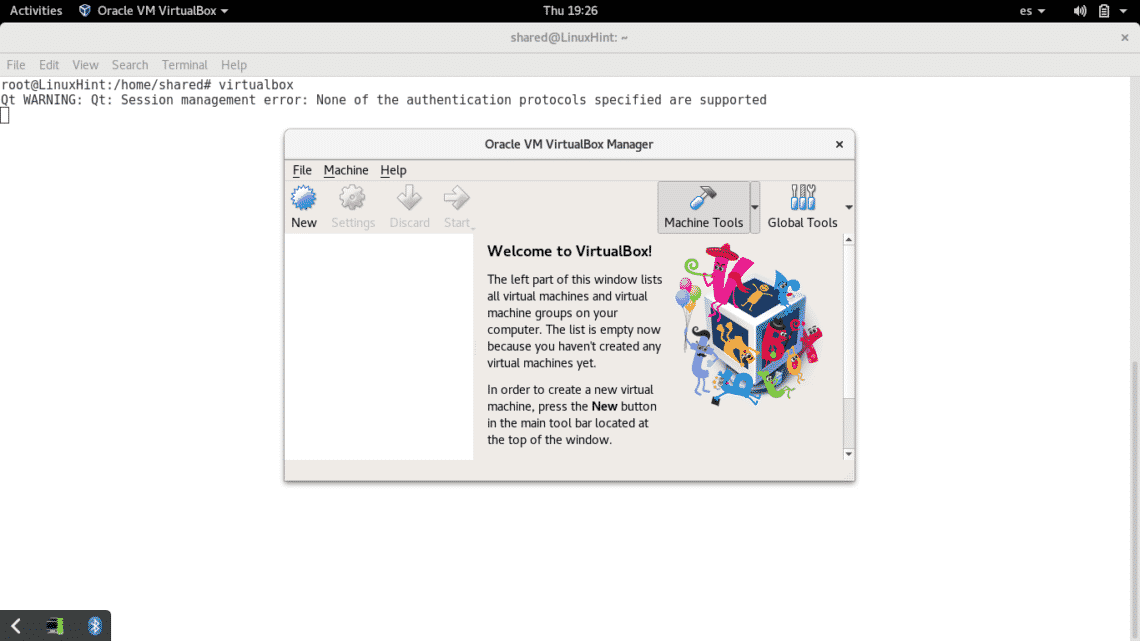
Run Virtualbox for first time:
Click on NEW and fill the required information
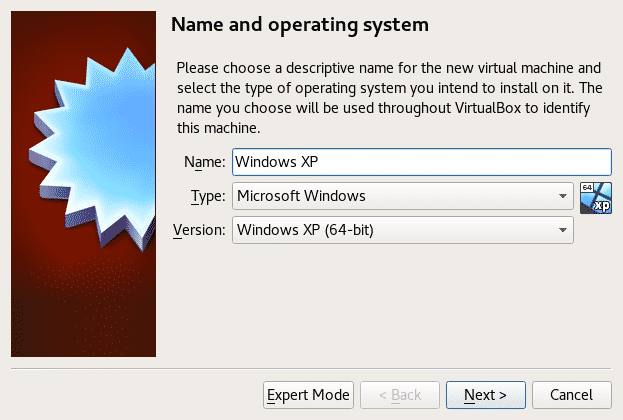
In this case we’ll use a Windows XP environment, fill using the information fitting your settings, the field Name is free.
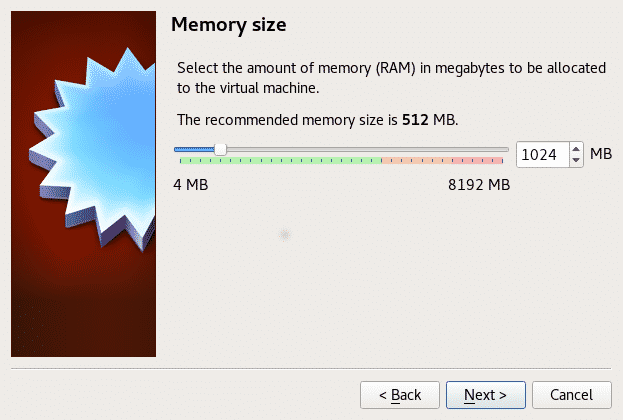
Select the amount for your virtual machine ram memory.

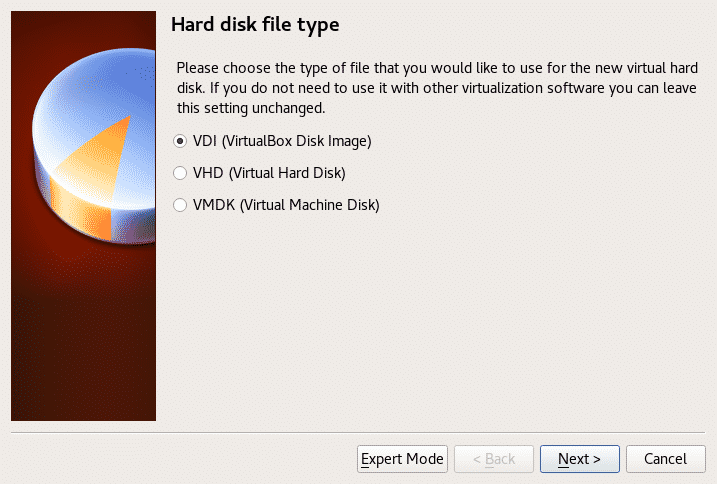
Assign an amount and space from your hard disk for your VM.
We’ll use a VirtualBox image based on an ISO we’ll download.

The last screen is for confirmation, confirm and finish creating the VM.
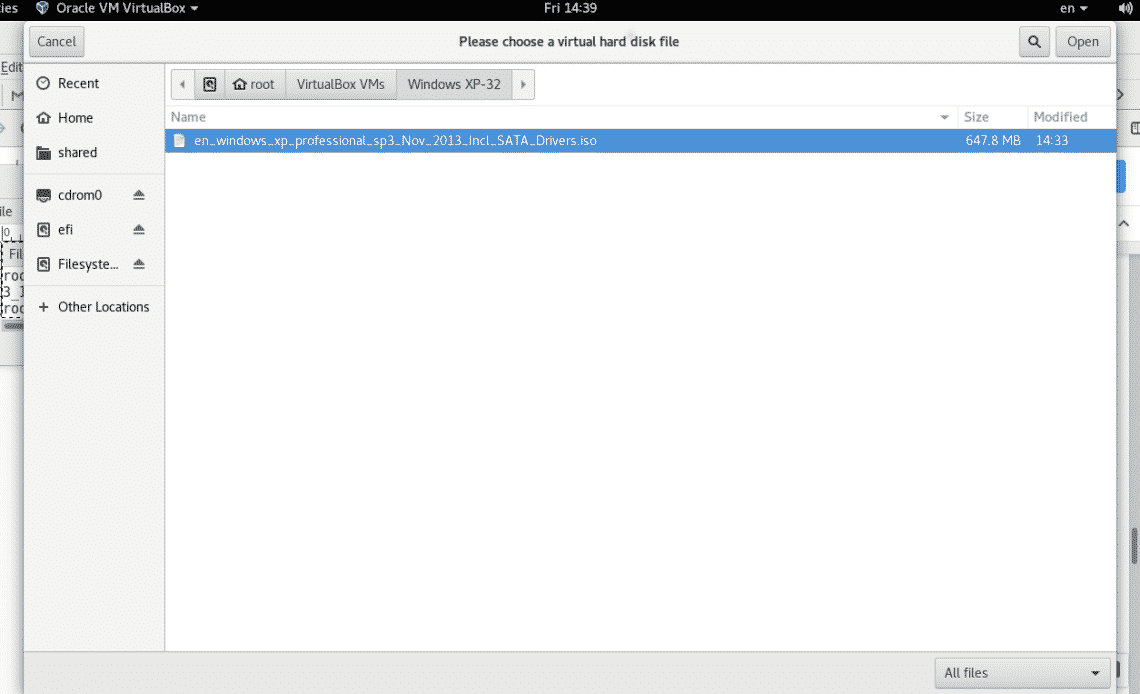
When starting the VM for first time it will ask for an optical device with the OS installator,

Click on the folder’s icon with the green arrow and select the Windows ISO you got as shown in the following image
The Windows installation process will start, in this tutorial I assume you know how to install Windows, since Windows XP installation is completely intuitive.
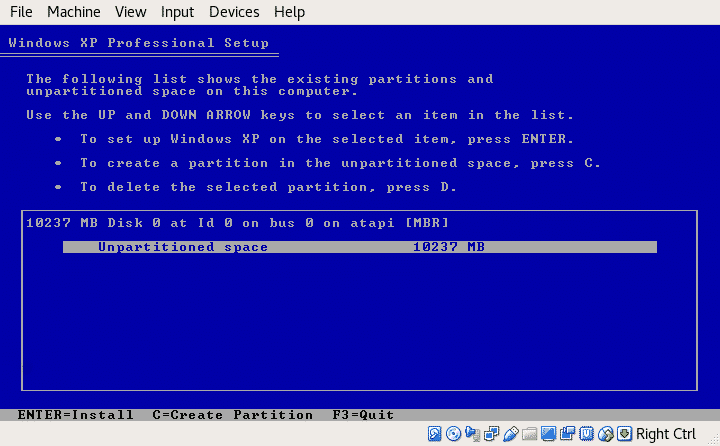
Press enter and select the first option Quick NTFS format

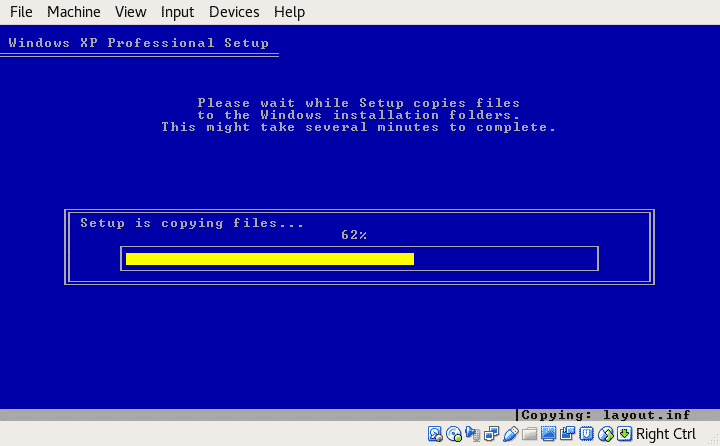
It will start formatting and copying system files
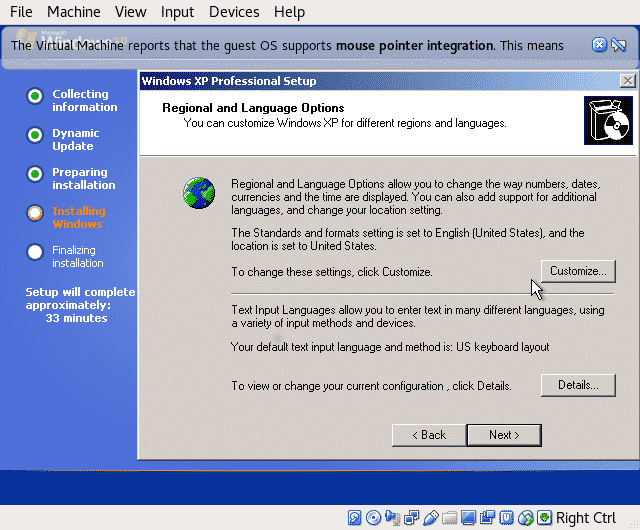
After installing initial files the installation process will ask for little information.
Press Next and select Device and Organization names, you can write whatever you want in the fields.

Next field will ask for an optional password and time zone, finish the steps letting the installator to continue. You will be asked about a WORKGROUP name, fill it freely.
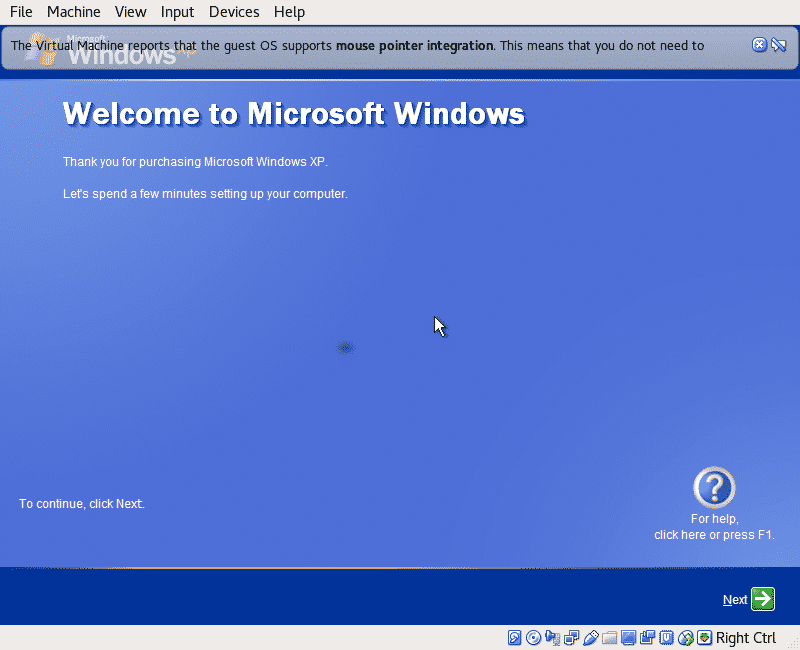
After finishing the installation Windows will show the Welcome Screen, click on Next, select your security level and let the installator to setup your internet connection, try the “local network” or “ home network” options first.

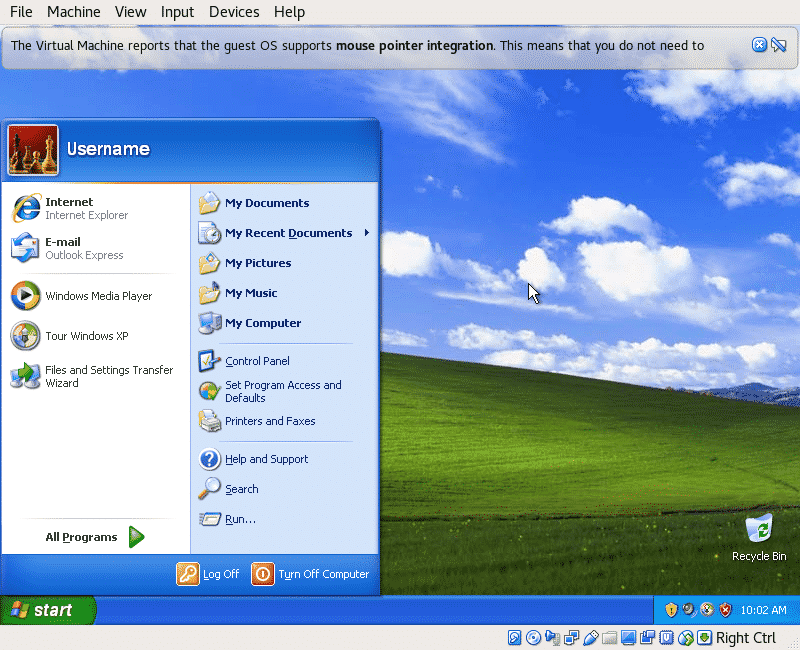
Then it will ask for username and our Windows will start!
That’s how we get a clean Windows XP virtual machine running on Linux, you can replace the ISO for any other system and choose different OS type repeating this process to virtualize almost every existing OS.
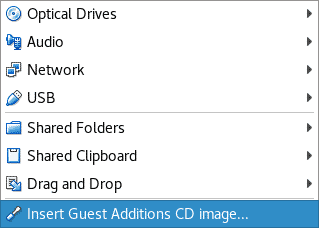
Guest Additions:
“Guest Additions” improve the guest’s operativity by enabling functions like mouse-pointer integration or sharing files between the host and the guest, it will make your virtual machine easier to manage and ind increase it’s productivity.
On the main menu click on Devices and on the last option, “Insert Guest Additions CD image”
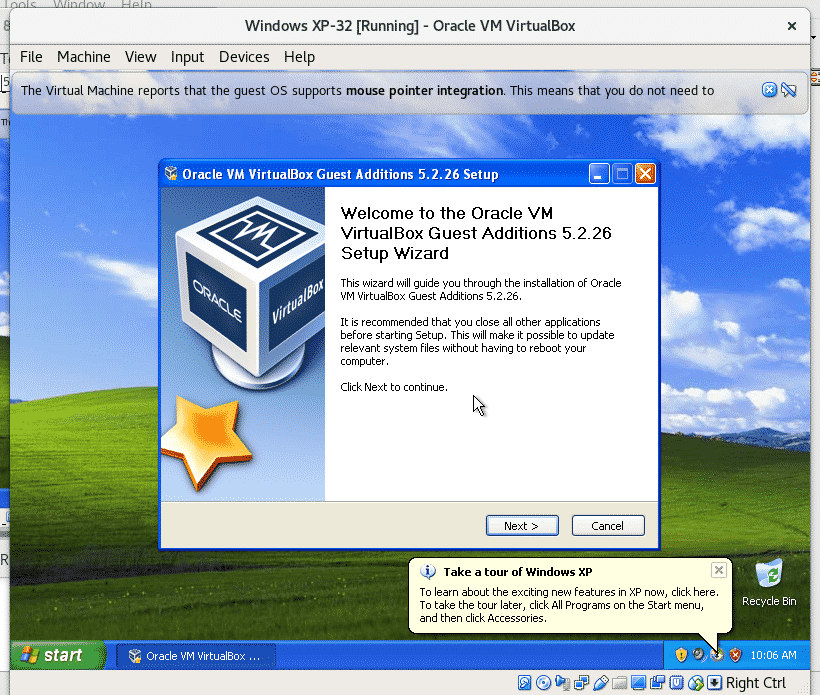
Click on Next

Next again…optionally you can edit your destination folder.

Select all options you want and click on Install, then allow your system to reboot when asked as shown below.
At this point we have a flexible virtual machine to start working, it will require updates to solve drivers issues, the first recommendation is to run Windows Update and let it work including hardware updates.
I hope you found this tutorial easy and helpful, thank you for reading it.