Despite many open-source media players available for Linux users, most of the users prefer VLC media player for playing multimedia files in their system. VLC is a must-have application that exists in majority of the systems. It is a cross-platform multimedia player that can play almost every audio and video format. The latest available version of VLC is 3.0 that can be installed in any OS.
This article will explain how you can install the VLC media player on the Ubuntu OS via graphical and the command-line way.
Note: We have performed the procedure explained in this article on a Ubuntu 20.04 LTS system.
Installation of VLC Through GUI
In the following method, we will be installing the VLC media player through the snap store. Snap store is the same Gnome based Software Center but now available as a snap package in the Ubuntu 20.04.
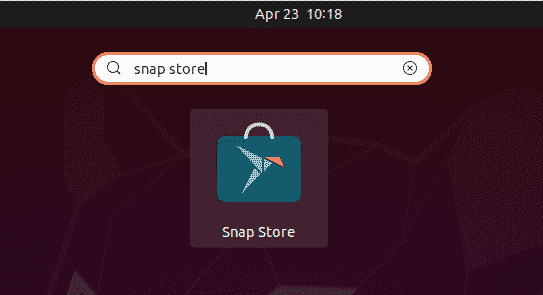
To launch the Snap Store in Ubuntu 20.04, press the super key and search for snap store using the search bar. From the search result, open the snap store as follows:
In the snap store window, search the VLC application using the search button as follows:
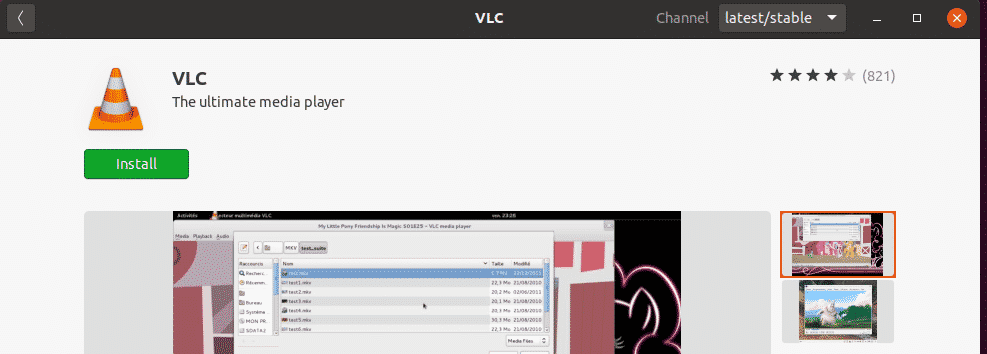
From the search result, click on the VLC icon. When the following window appears; click the Install button to install the VLC media player.
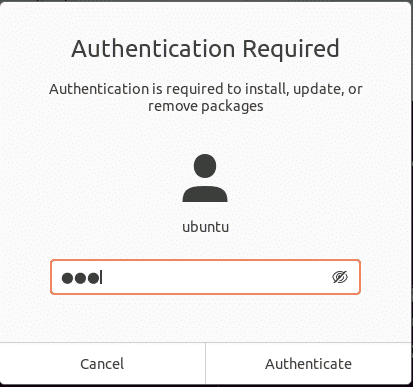
Now the following dialog box will appear asking you to provide the authentication details. Enter the required password and click the Authenticate button.
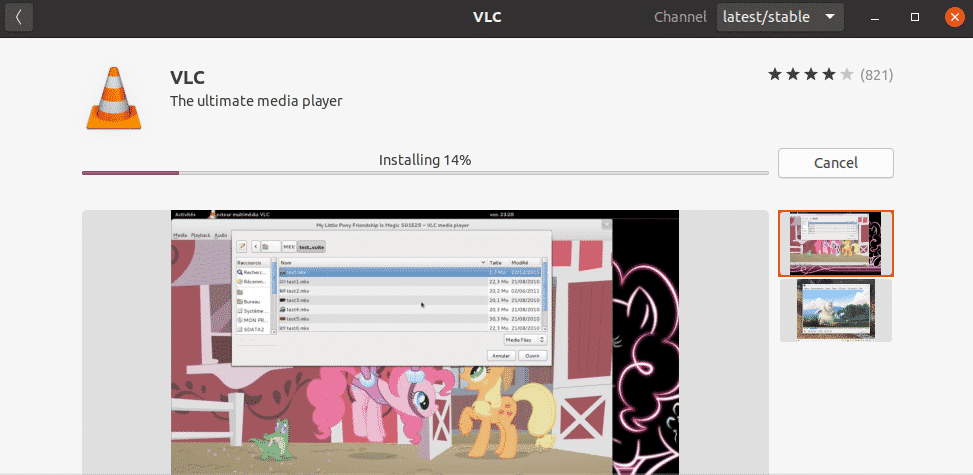
After authentication, the installation process will be started as follows:
Launch VLC
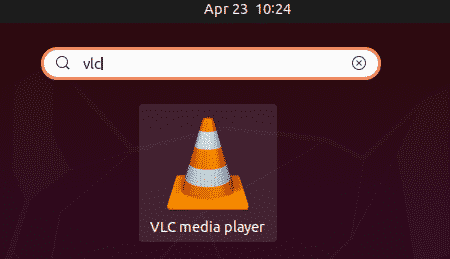
Once the installation is completed, you can launch the VLC player by hitting the super key and searching for it using the search bar.
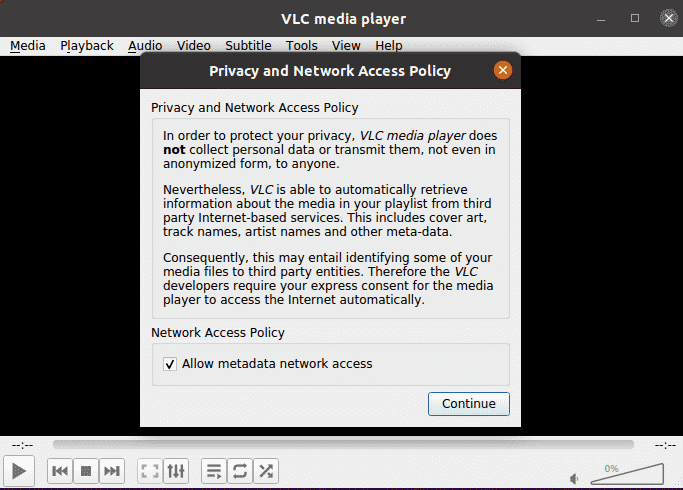
When the VLC player is opened for the first time, the following message appears. Check the box Allow metadata network access and click Continue.
Now the VLC media player is ready to be used.
Set VLC as a Default Media Player
In Ubuntu, the Rhythmbox is the default media player used to play audio and video files. However, if you want to play every media file in VLC media player and set it as the default media player, you can do so as follows:
Right-click on your desktop and select Settings option from the menu.
Then from the left panel, switch to the Default Applications tab. In the right-panel, you will see some default applications configured for different services. Set the VLC player as the default application for Music using the drop-down arrow.
Similarly, set the VLC player as the default application for Video as well.
Close the Settings utility. After configuring the above settings, every audio and video file will now open by default in the VLC media player.
Remove VLC
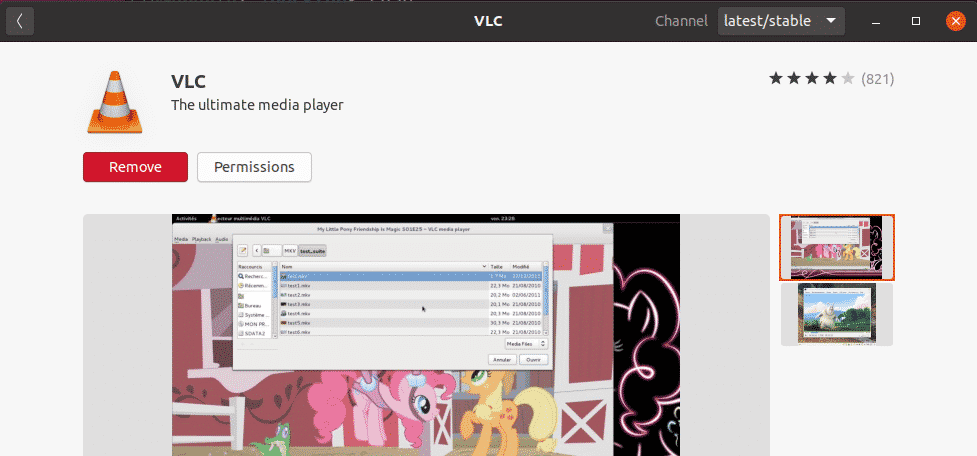
In case, you want to remove the VLC media player from your system, open the Snap store from the Ubuntu Dash menu. Then search for VLC using the search bar and open it. When the following window appears, click the Remove button.
You will be asked for confirmation with the following dialog. Click the Remove button.
Now the following dialog box will appear asking you to provide the authentication details. Enter the required password and click the Authenticate button. After that, the VLC media player will be removed from your system.
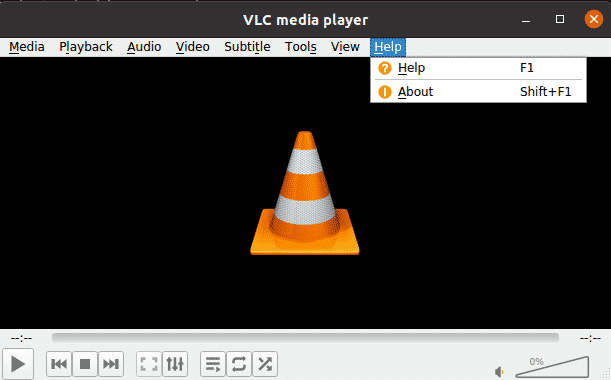
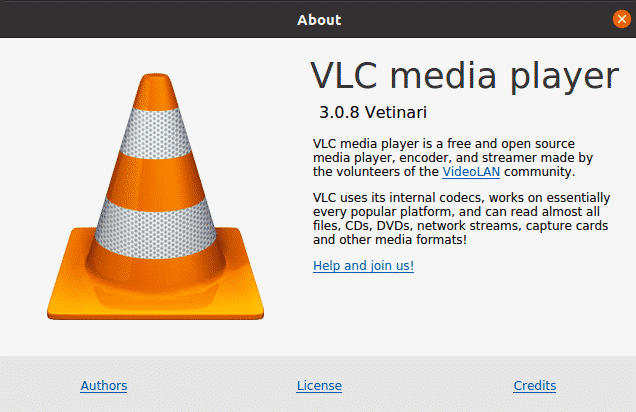
To view the version of the VLC player, go to Help > About from the top menu bar.
Here in the About window, you will see the version number for your VLC player.
Installation of VLC through Command Line
If you want to install VLC through the command line, there are two ways to do so:
- Using the PPA
- Using the snap package
Installation of VLC via PPA
VLC is available in the official Ubuntu repositories, so we can install it simply with apt command. In the Terminal, execute the below command to update the system repository index:
Then install VLC media player as follows:
Remove VLC
In case, you want to remove VLC from your system, execute the following command in Terminal:
Installation of VLC via Snap package
VLC player is also available as a snap package. In order to install VLC as a snap package, you first need to have snapd enabled on your system.
First, open the Terminal and update the system repository index as follows:
Then execute the following command to install snapd tool:
Now install VLC snap package as follows:
The above output shows the VLC player with version number 3.0.8 has been successfully installed.
Remove VLC
In case, you want to remove VLC from your system, execute the following command in Terminal:
If you do not want to keep the snap utility, you can remove it too as follows:
Launch VLC via Command Line
In order to launch VLC form command line, execute the following command in Terminal:
In this article, you have learned how to install VLC media player on Ubuntu 20.04 LTS system and set it as the default player for playing every audio and video file. Based on your convenience and ease of installation, you can either use the graphical or the command line method of installing VLC media player.

