
Visual Studio Code has support for many programming languages and Git integration by default. You can also install extensions to extend the functionality of Visual Studio Code.
Visual Studio Code also has many color themes and icon themes which you can use to customize it and make it look just the way you like.
In this article, I am going to show you how to install and use Visual Studio Code on Debian 10 Buster. Let’s get started.
Downloading Visual Studio Code:
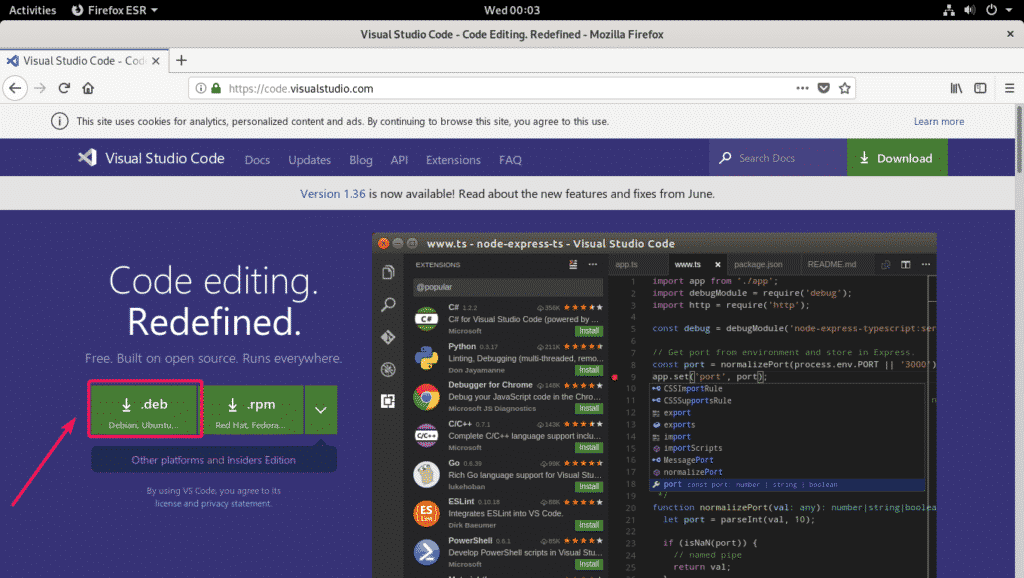
Visual Studio Code is not available in the official package repository of Debian 10. But, you can easily install it from the official website of Visual Studio Code. Just visit the official website of Visual Studio Code from your favorite web browser and click on the click as marked in the screenshot below.
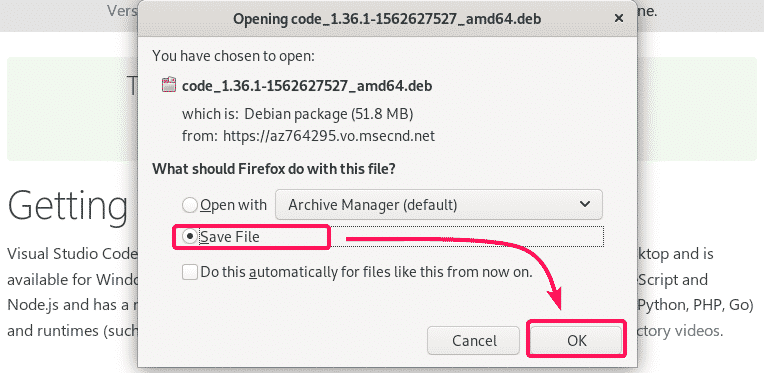
Your browser should prompt you to save the DEB package file of Visual Studio Code. Just select Save File and click on OK.
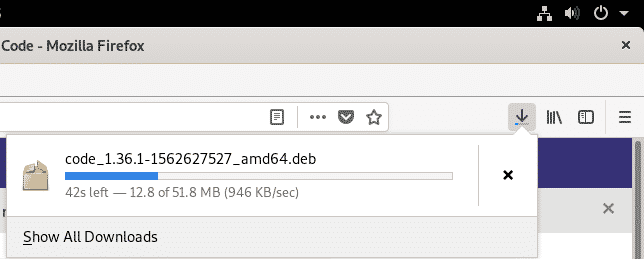
Your browser should start downloading the DEB package file of Visual Studio Code. It may take a while to complete the download.
Installing Visual Studio Code:
Once the download is complete, navigate to the ~/Downloads directory with the following command.

You should find the DEB package file of Visual Studio Code here as you can see in the screenshot below.

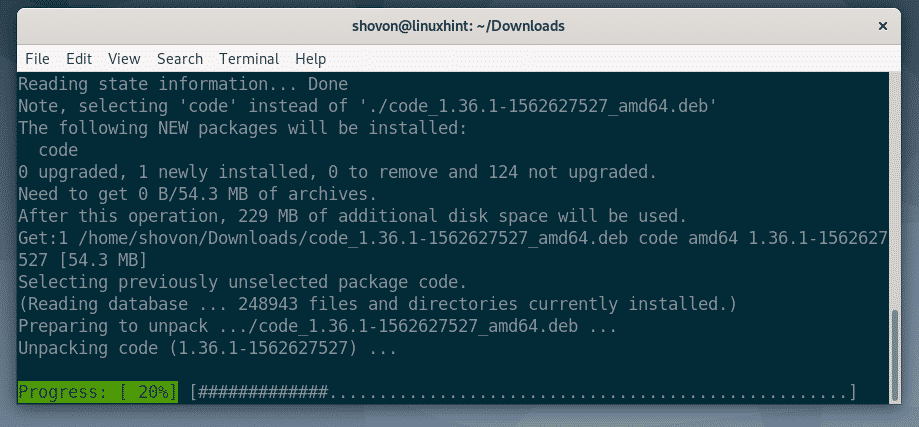
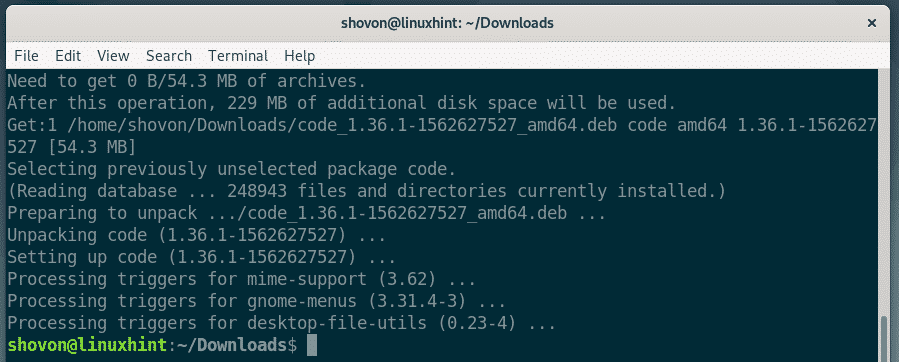
Now, to install the Visual Studio Code DEB package file, run the APT command as follows.

The APT package manager should start installing the DEB package file.
At this point, Visual Studio Code should be installed.
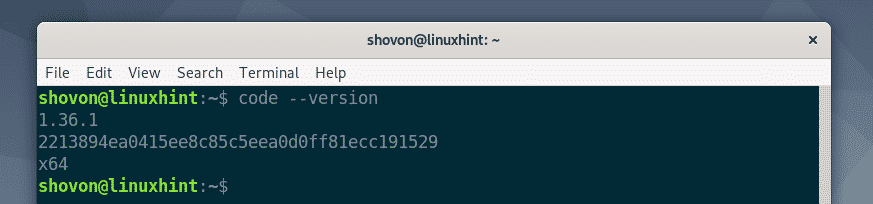
Now, check whether Visual Studio Code is installed correctly with the following command.
As you can see, I am running Visual Studio Code 1.36.1. This is the latest version of Visual Studio Code at the time of this writing. When you install Visual Studio Code, you may have a different version.
Now, you can find Visual Studio Code in the Application Menu of your Debian 10 OS. Click on the Visual Studio Code icon.

Visual Studio Code should be opened.

Opening a New Project:
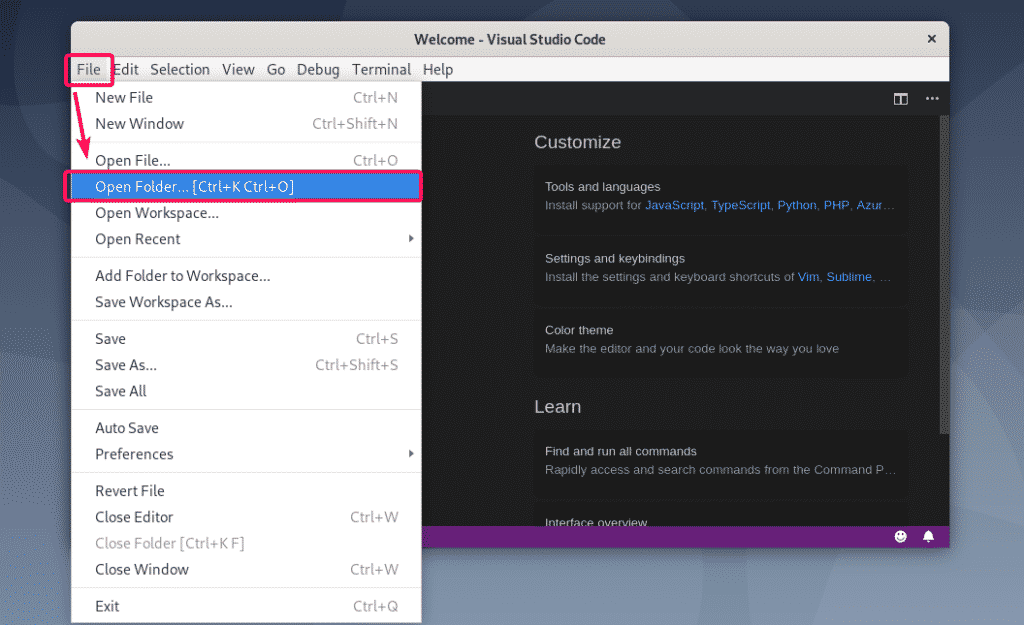
To open a new project with Visual Studio Code, go to File > Open Folder… or Press <Ctrl> + K followed by <Ctrl> + O.
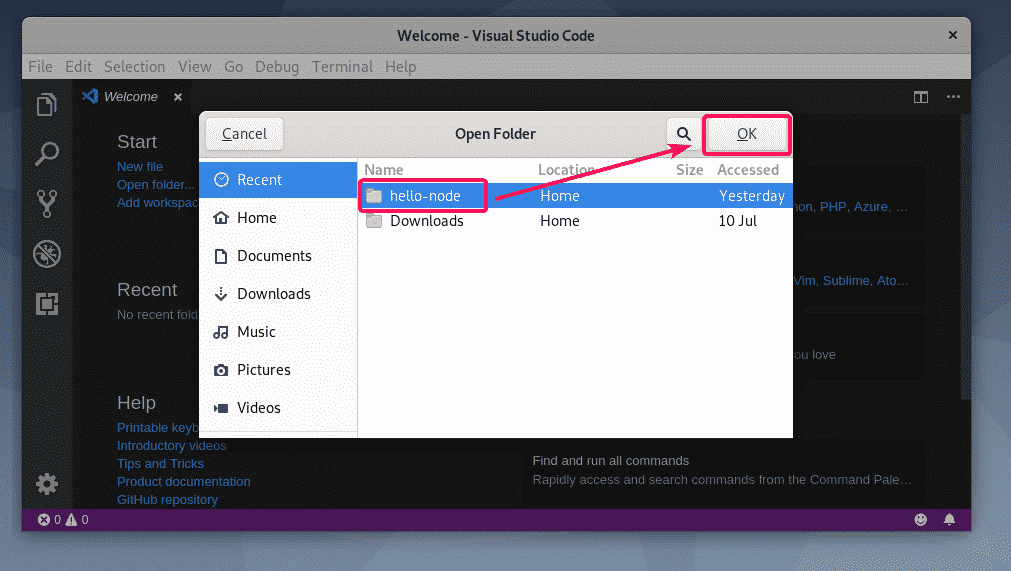
Now, select a folder/directory from the file browser and click on OK.
The project folder/directory should be opened. The files in the project folder/directory should be listed as well.
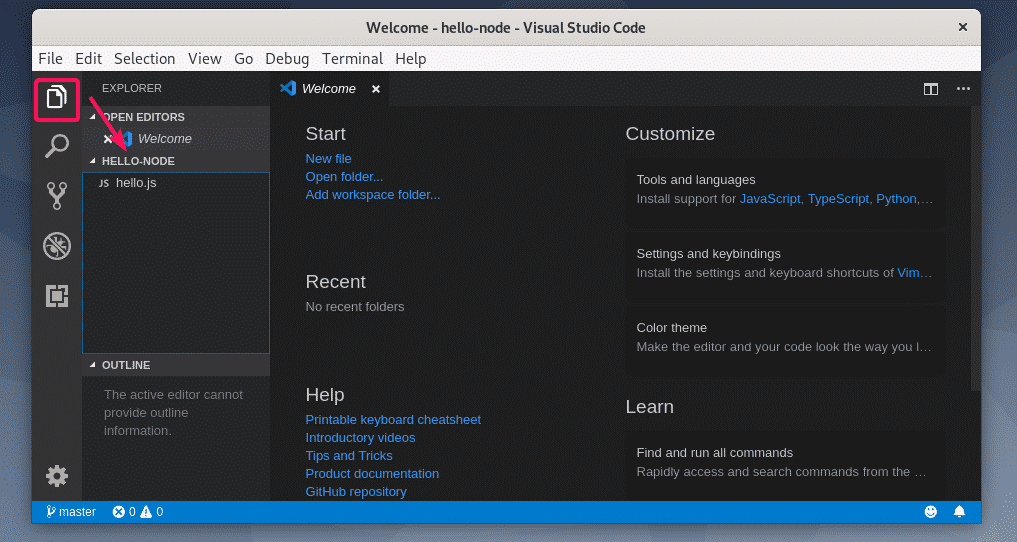
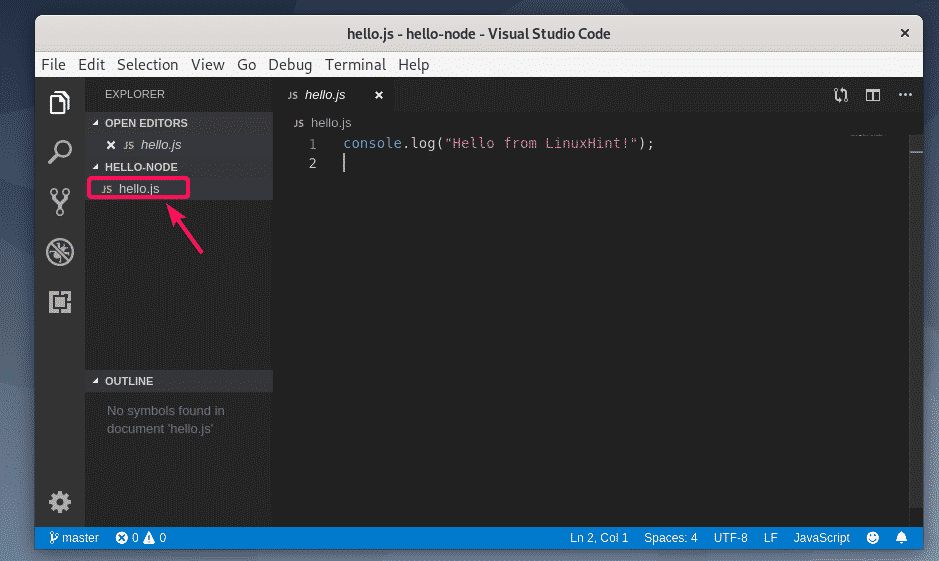
To open a file from the project directory, just click on the file from the list on the left side and the file should be opened as you can see in the screenshot below.
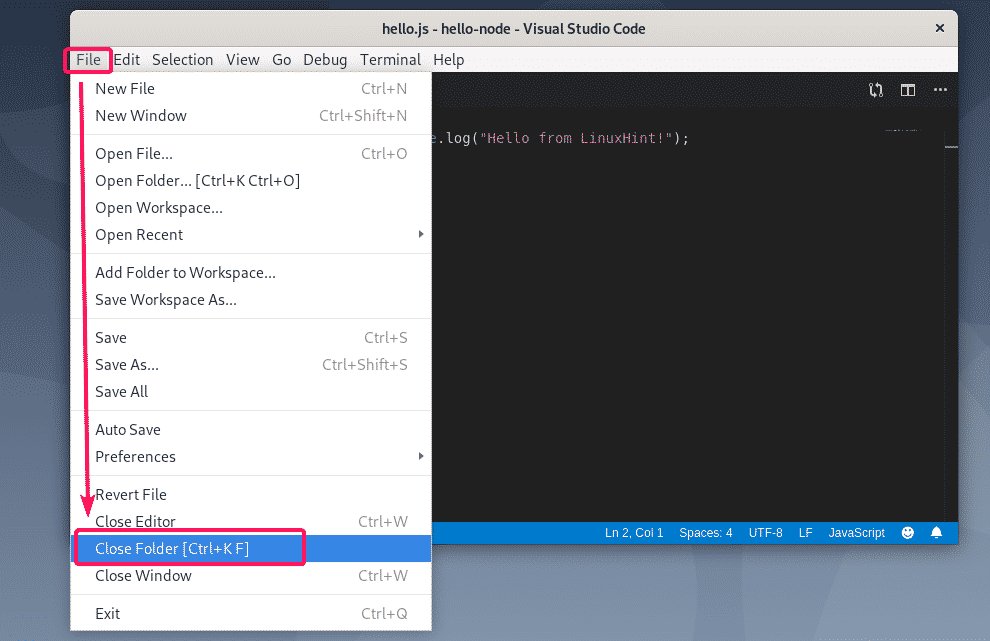
To close the project, go to File > Close Folder. You can also use the shortcut <Ctrl> + K followed by F.
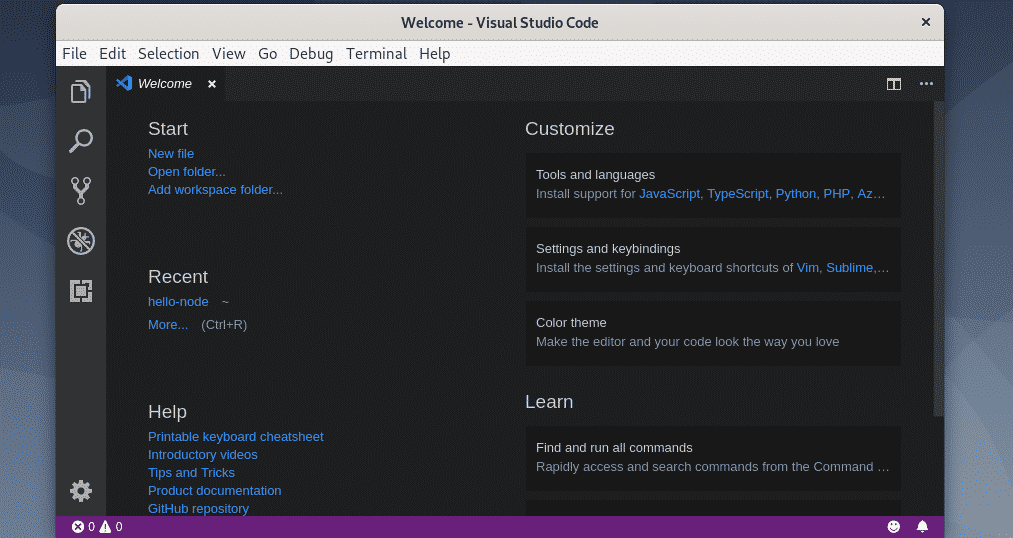
The project should be closed.
Opening a New Project from the Command Line:
You can also open a project folder/directory from the command line.
Let’s say, your project folder/directory is ~/hello-node. To open it as a project in Visual Studio Code from the command line, run the following command.

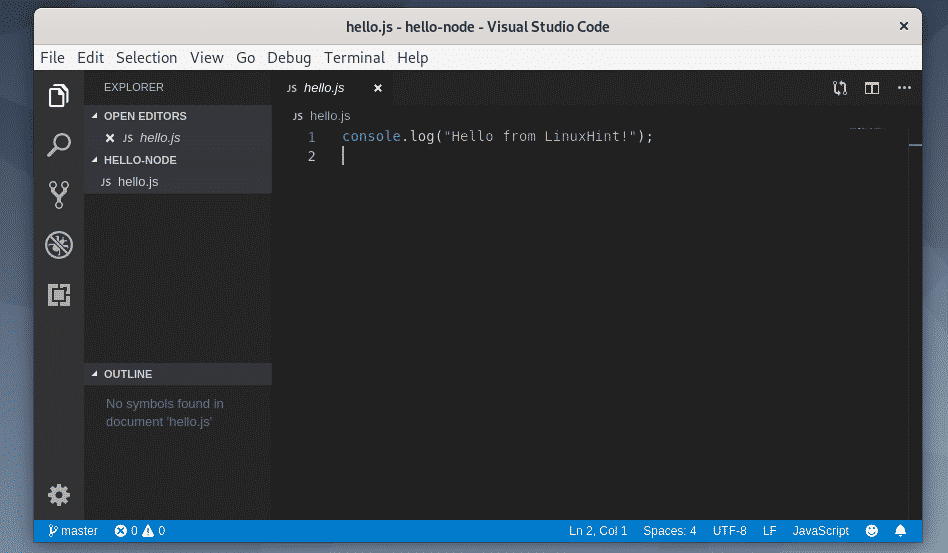
The folder/directory should be opened in Visual Studio Code as you can see in the screenshot below.
Search & Replace with Visual Studio Code:
To search for specific string or search and replace codes in your project, go to the Search tab. To search, just type in the search term in the Search textbox and press <Enter>. Here, as you can see I searched for the term Hello, and the file and the line that contains the search term is displayed.
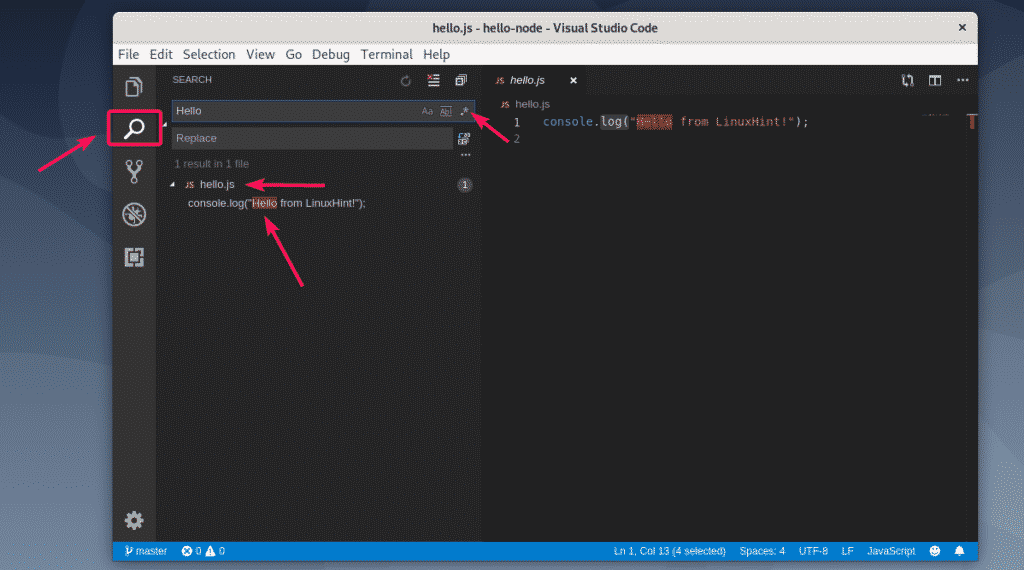
You can also click on one of the marked icons to do case sensitive search (), word search () and regular expression search ().
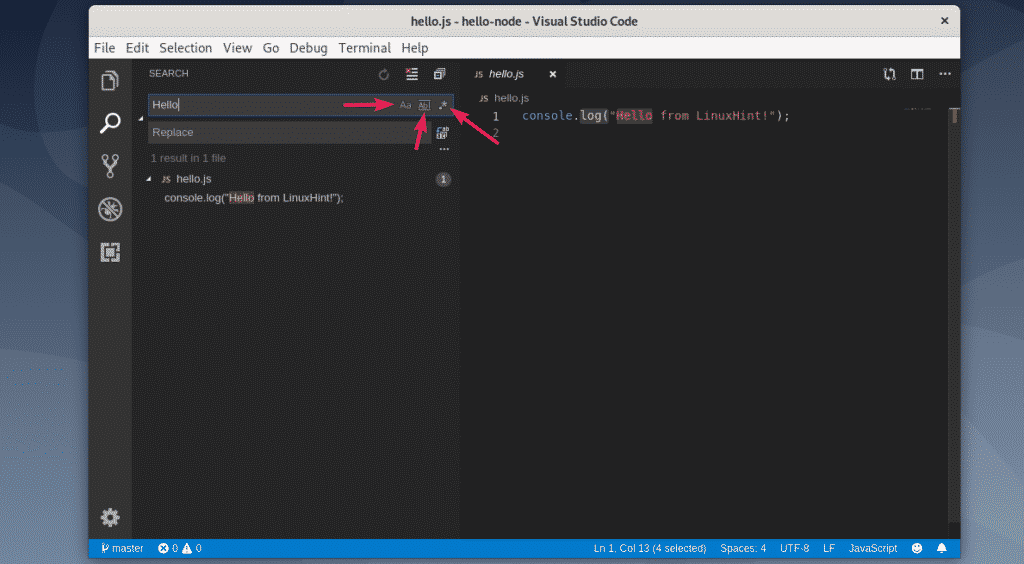
To replace a something, type in a search string and then type in a replacement string and click on the replace icon as marked in the screenshot below.

Now, click on Replace.
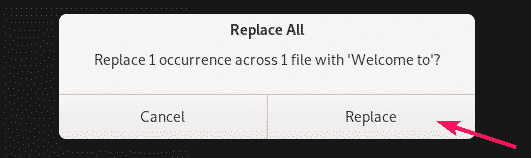
The search string should be replaced with the replace string.

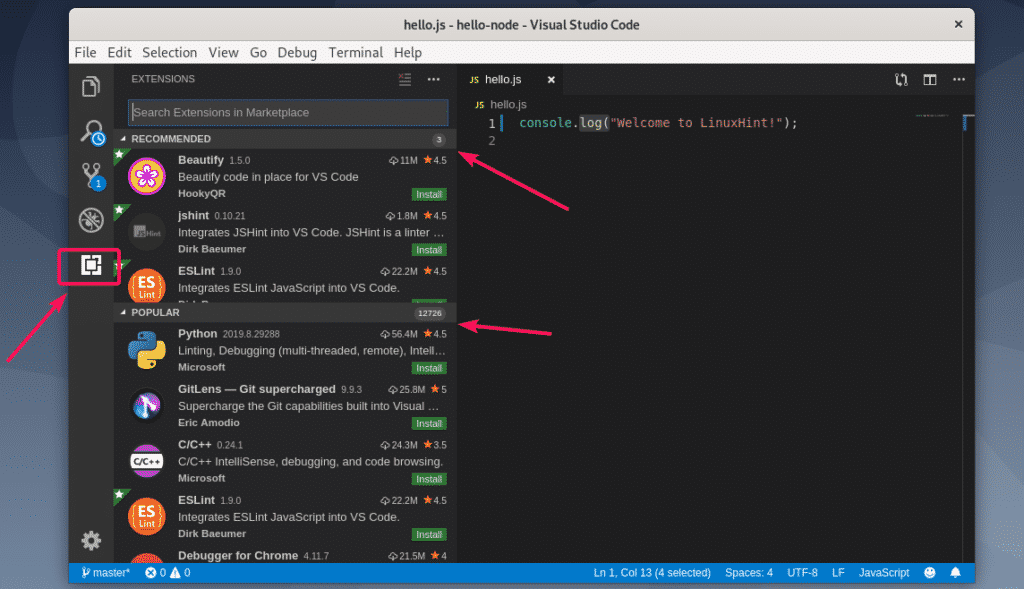
Installing Extensions:
Visual Studio Code has a lot of extensions in the repository which you can download and install depending on your need to extend the functionalities of Visual Studio Code.
To search for new extensions and install them, go to the Extensions tab as marked in the screenshot below. Visual Studio Code recommends some extensions depending on the projects you’ve already opened. Visual Studio Code also lists the most popular extensions (sorted by the most number of installs) from which you can look for your required extensions.
You can also search for an extension. Type in the search term in the search text box and press <Enter>. The matched extensions should be listed as you can see in the screenshot below.

If you like an extension and want to know more about it, then click on the extension. More information about it will be displayed on the right side. If you like the extension, then click on the Install button as marked in the screenshot to install the extension.
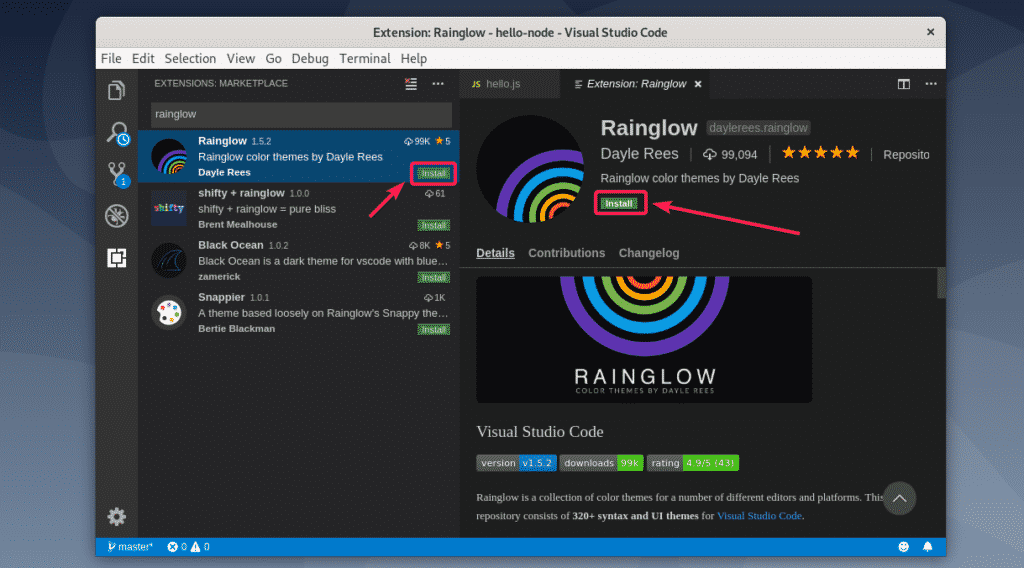
The extension should be installed. The same way you can search and uninstall already installed extensions.

Changing Color Schemes:
Visual Studio code has some wonderful color themes preinstalled. But, you can also install some color theme extensions to get new color themes. Rainglow is a great color theme extension which I’ve installed earlier.
To change the color theme, go to Settings > Color Theme.

All the installed color themes should be listed. Select a color theme from the list to activate it.
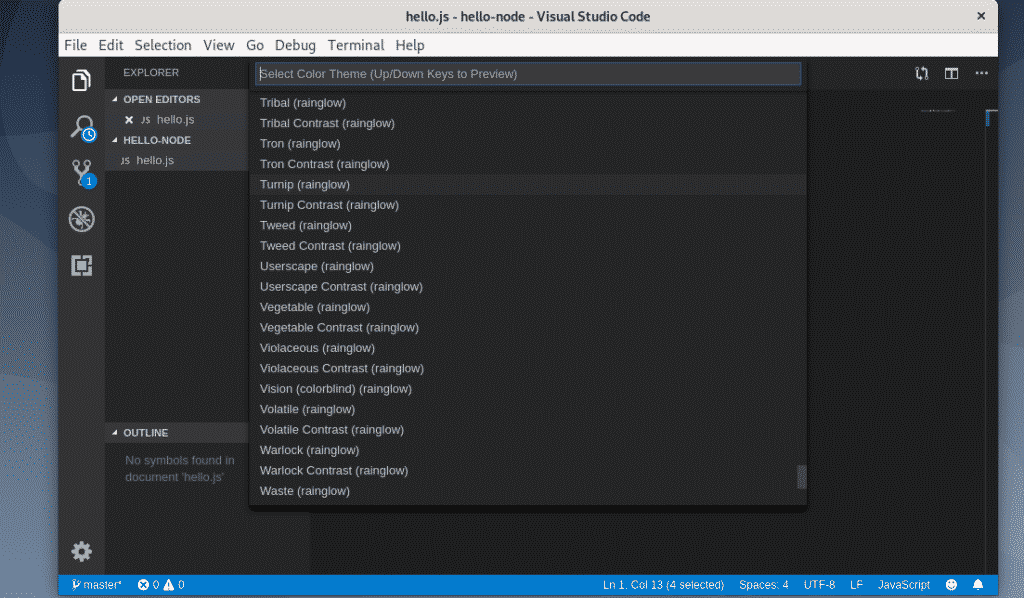
As you can see, I’ve changed the color theme to Turnip (rainglow) and it looks nice.

So, that’s how you install Visual Studio Code on Debian 10 and use it. Thanks for reading this article.