In the following short guide, we will look at SSH server installation and configuration on Arch Linux.
Part 1: Installation
Update the Arch Linux package repository
Fire up the command line interface and type in the following code to update the Arch Linux package repository:

As we can see in the screenshot above, the package repository is updated, and is now ready to install the SSH Server.
Install the SSH Server on Arch Linux
Next, download the Open SSH server from the official Arch Linux repository, which is going to install the Secure Shell for the Arch Linux system. Type in the following command:
Then, hit the y key on your keyboard and hit enter. The installation should be confirmed by the prompt.
Part 2: Open SSH offline
Fire up the Open SSH server
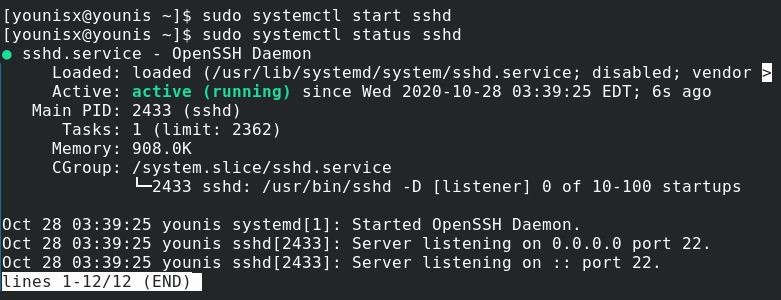
With the Open SSH server installed, we can now use the Secure Shell while Open SSH is running. First, make sure that Open SSH is running in the background by typing in:
If the Open SSH server isn’t running, the terminal should say “inactive”. If that’s the case, you may run Open SSH by entering the following command:
Then, make sure if it is running by typing in again the following:
If Open SSH is running, the prompt will say “active” in green.
If you want to terminate the SSH server, type in the following:
You will see that the Open SSH server has stopped running.
Automate SSH server startup upon system restart
To automatically start the SSH server upon system reboot, you can use enter the following code:
With the above command executed, the Open SSH server will be appended to the Arch Linux startup list. Alternatively, you can also remove Open SSH from the system startup with the following command:
Open SSH has been removed from the automatic system startup list.
Part 3: Joining servers
Obtain your IP address
With the Open SSH installed, we may proceed to connect it to the web. For this purpose, we will need the IP address of the corresponding machine Open SSH is installed in.
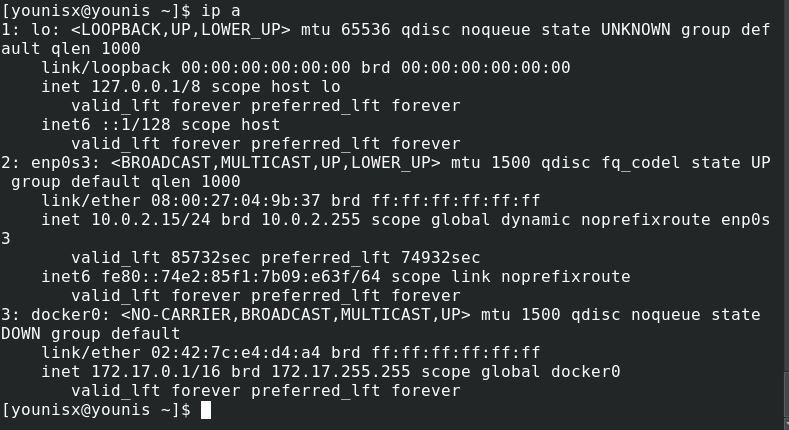
In case you don’t know your machine’s IP address, run the following command, and the IP address will be displayed:
Notice that the IP address of the Open SSH server we’re using is 10.0.2.15, which is going to be different for your machine. Just two lines below, there’s the IPv6, which is fe80::74e2:85f1:7b09:e63f/64 for our network.
Joining the SSH server to the web
Now that we know the IP address, we can join the Open SSH server with another machine in our network. We can also connect it to a machine with an internet routable address.
To establish a connection, type in the user credentials of the other machine and the IP address of your SSH server in the following command syntax:
Then, type “yes” and press enter.
Now, type in the user credentials for your Open SSH server and hit enter. Once done, your machine should finally be connected to another machine within the SSH security protocol.
Part 4: Configuration
Locate the server files
You can locate the Open SSH server files in the following location on your hard drive:
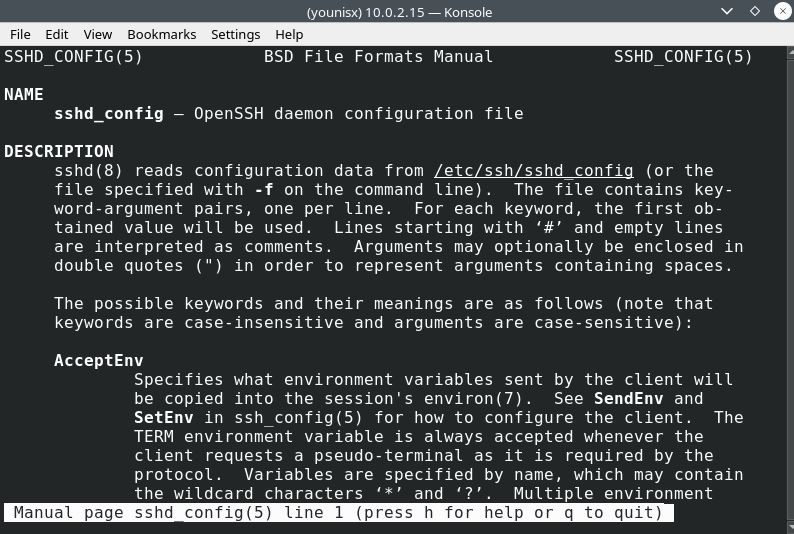
Here, we may toggle some of the available modes to configure our Open SSH server. To obtain a list of all the options available that we can configure, type in the following code:
Let’s talk about some of these options.
Toggle the default ports
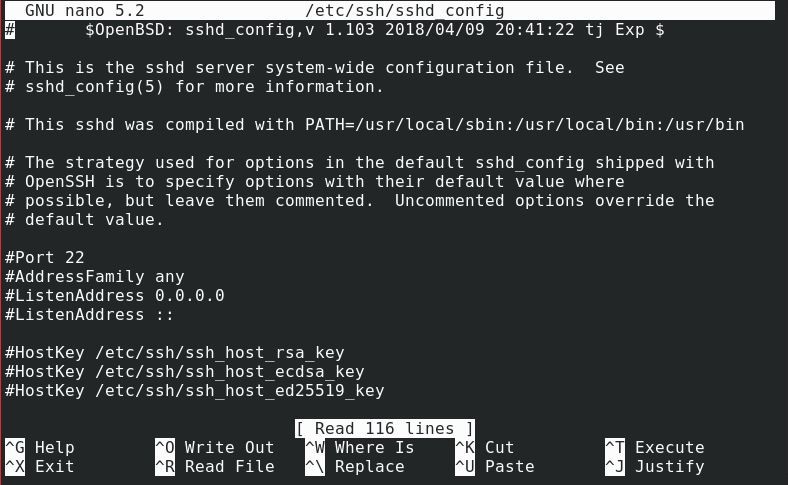
You can see that the default port SSH server listens to is port 22. Using this port optimizes the safety of the connection, and using other ports may have different benefits. We are also allowed to switch to any port of our choice.
To change the port, we first have to edit the sshd_config files using the following code:
You’ll be shown the following prompt:
Now, you may deselect the default and switch to a different port.
To keep the changes, press Ctrl+ x, hit the y button on your keyboard, then press the enter key.
Next, type in the following to reboot the Open SSH server:
Then, hook into the Open SSH by typing in the following line of code:
Enter your server’s password, then hit Enter.
Improve the server security
Changing some of the defaults can remarkably improve server security. For instance, you should immediately switch to a non-standard port from the default port 22 as it can give your server security an additional boost.
Similarly, you should restrict root privileges to admins only. Permit Root Login is set to yes by default, so you’d have to disable it by yourself.
Also, disable X11 forwarding to avoid having any X11 related problems in the future.
Wrapping up
In this tutorial, you’ve learned how to set up and configure an SSH server on Arch Linux. Secure Shell provides an additional layer of security and shields the traffic exchanged from data mining and other intruders. Setting up an SSH server is easy and a better alternative to password authentication, which is often susceptible to brute-forcing and many other attacks.


