In the Python world, pip is the de facto package management tool. The pip is utilized for installing and managing software packages of Python. When installing packages, pip first resolves dependencies, checks if they are already installed, and then installs them if they are not installed on your system. It makes it easier to install and manage Python software packages, such as those listed in the Python Package Index (PyPI). In this post, we will talk about how you can install pip on your Ubuntu system. So let’s start!
What is pip in Ubuntu
Pip is an abbreviation for “Pip Installs Packages“. It is a package management system that operates from the command line. Ubuntu users can easily install packages from the Python Package Index (PyPI) by utilizing pip. It also lets you install multiple Python modules and packages for your Python projects if you are a software developer.
How to install pip for python 3 on Ubuntu
To install pip for Python 3, firstly open up your terminal by pressing “CTRL+ALT+T”, or you can look for the “terminal” in the Application’s search bar:

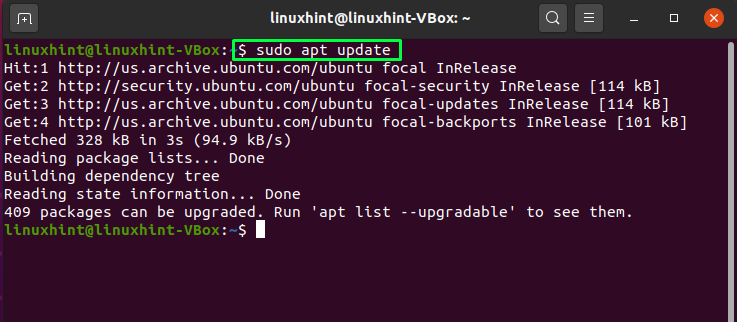
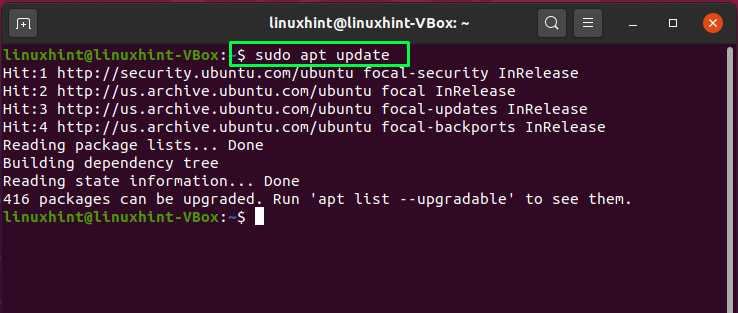
The next step is to update all repositories of your system:
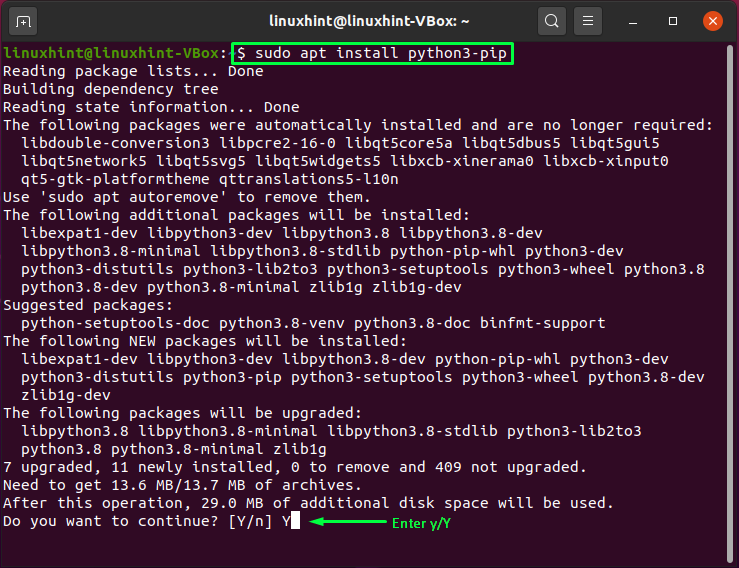
Now, write out the below-given command in your terminal for installing pip for Python 3:
Enter “y/Y” to permit the installation process to continue.
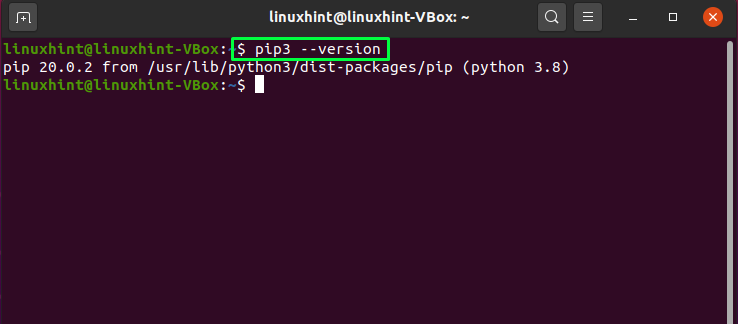
To verify execute this command in your Ubuntu terminal:
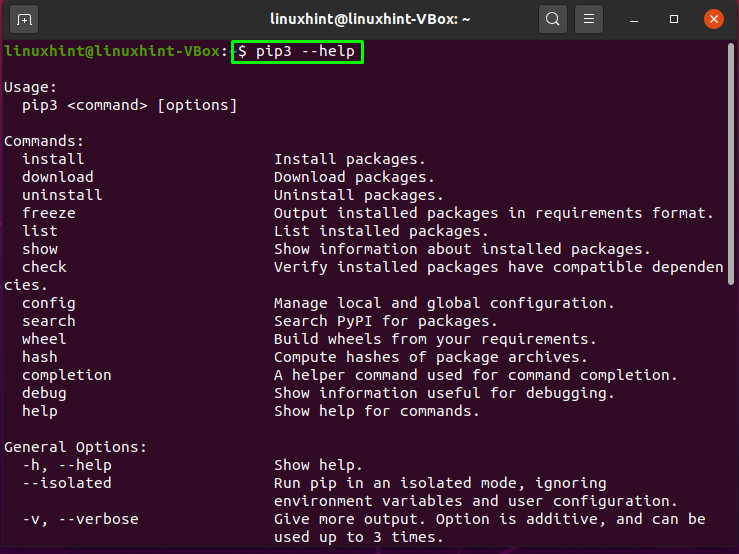
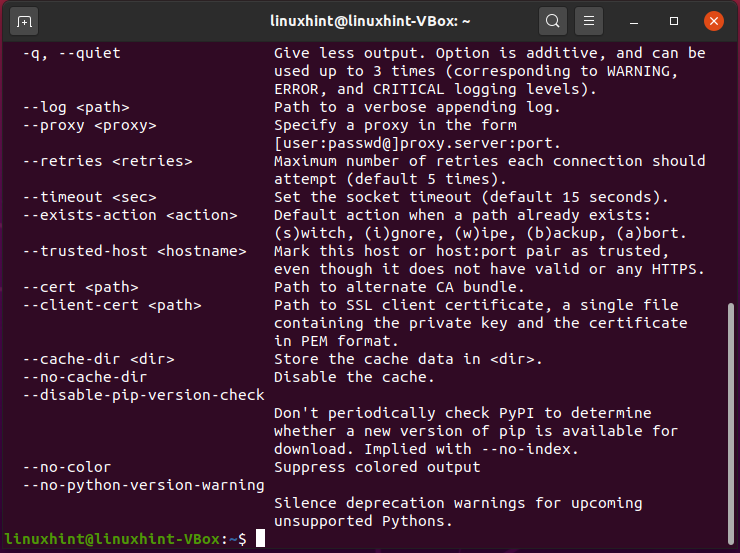
To know more about the pip3 syntax, commands, and available options, utilize the below-given command in your Ubuntu terminal:
How to install pip for python2 on Ubuntu
Some users prefer to install pip for python 2 on their system. However, for python 2, “pip” is not included in Ubuntu repositories. In this section, we will show you the procedure of installing pip for python 2 in Ubuntu. To do so, first of all, enable the “universe” repository:
Then, again update the system repositories:
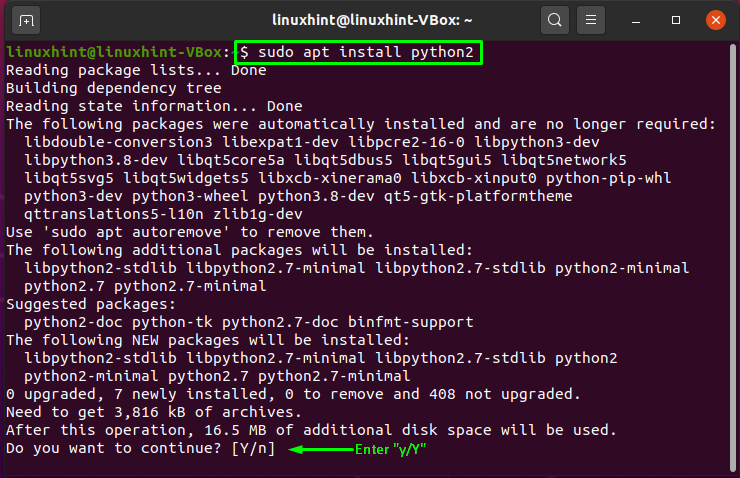
Now, utilize the below-given command for installing pip on your Ubuntu system:
Enter “y/Y” to permit the installation process to continue.
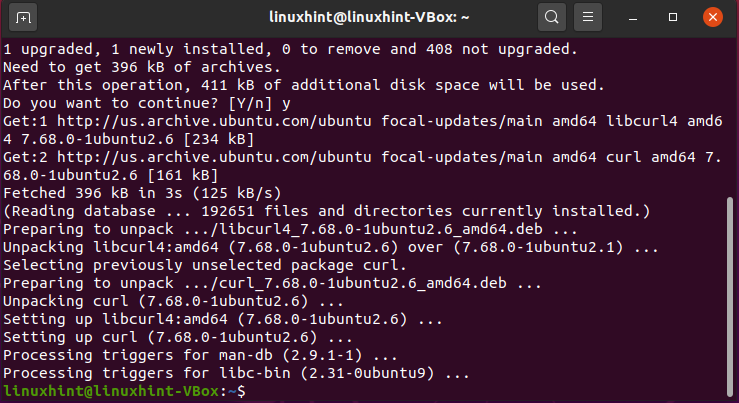
By using the “curl” command, we will download the “get-pip.py” package. Install curl if you do not have it already on your system:
Enter “y/Y” to permit the process to continue curl installation:
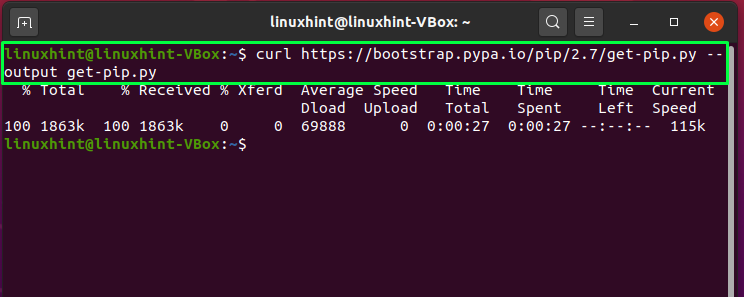
After the successful installation of the curl utility, we will use it to download the “get-pip.py” script:
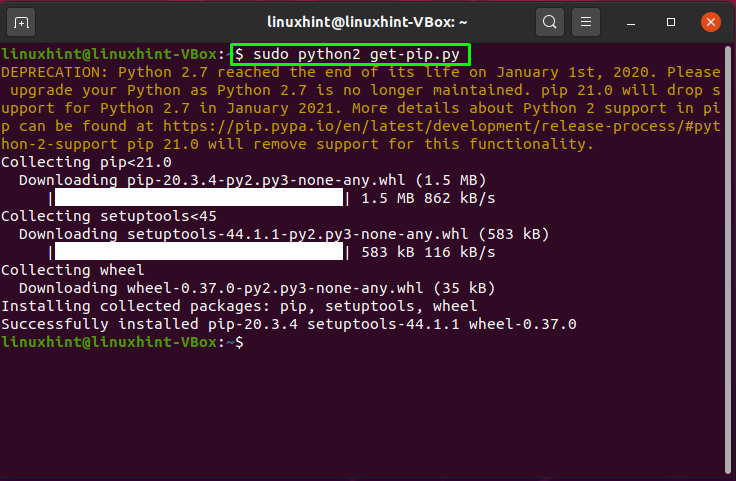
Now execute the “get-pip.py” script:
This script will also help you to install “setuptools” and “wheel” for pip:
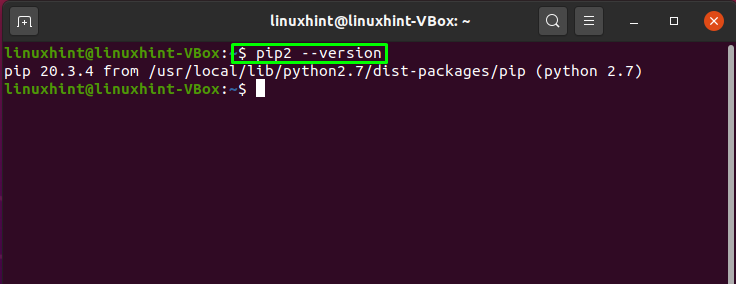
Now, check out the version of the installed pip on your system:
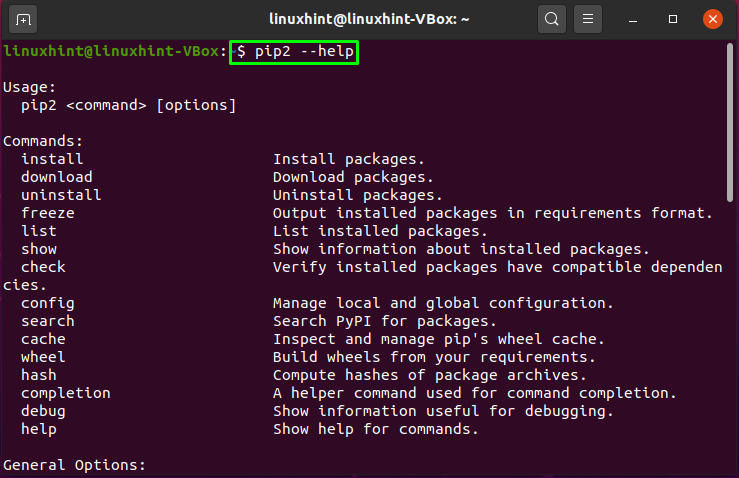
To know more about the pip syntax, commands, and available options, utilize the below-given command in your Ubuntu terminal:
How to install a package using pip3 on Ubuntu
You can use pip3 for installing the python packages on your system. Syntax of the pip3 command for installing any package is as follows:
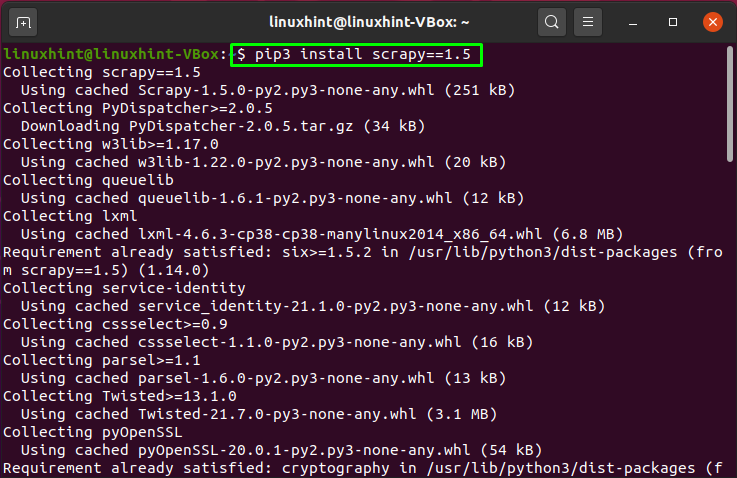
For instance, if you want to install “scrapy” with the “pip3” command, then you have to execute this command in your terminal:
For installing a package with a specific version, you have to mention its version in the pip3 command:
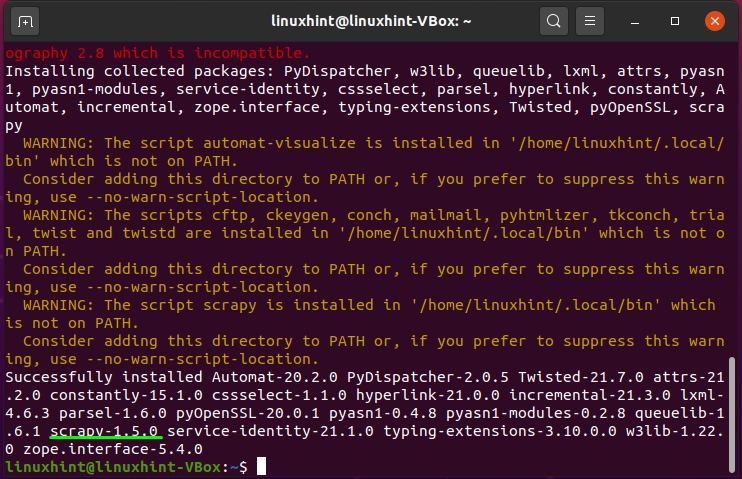
In the below-given, we will demonstrate to you the method of installing a package with a specific version number. For this purpose, we have selected “scrapy” version “1.5”:
All done!
How to list installed packages using pip3 command on Ubuntu
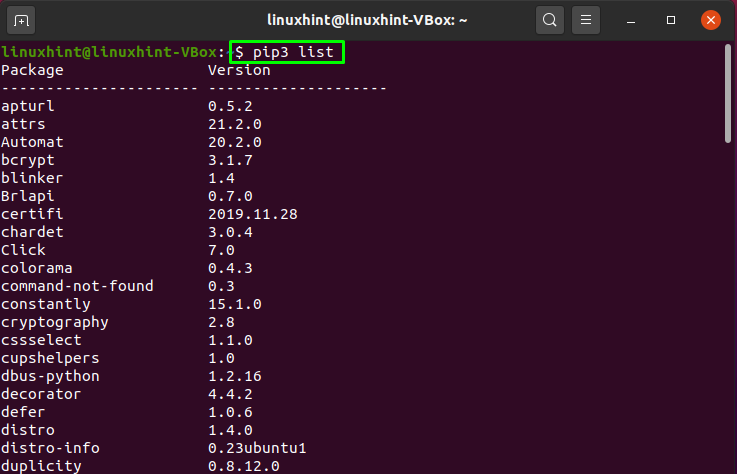
Pip3 command also provides you the facility to list all the packages installed on your Ubuntu system by using this command. Add the “list” option in the “pip3” command, and it will show you the list of packages with their versions:
How to upgrade a package using pip3 on Ubuntu
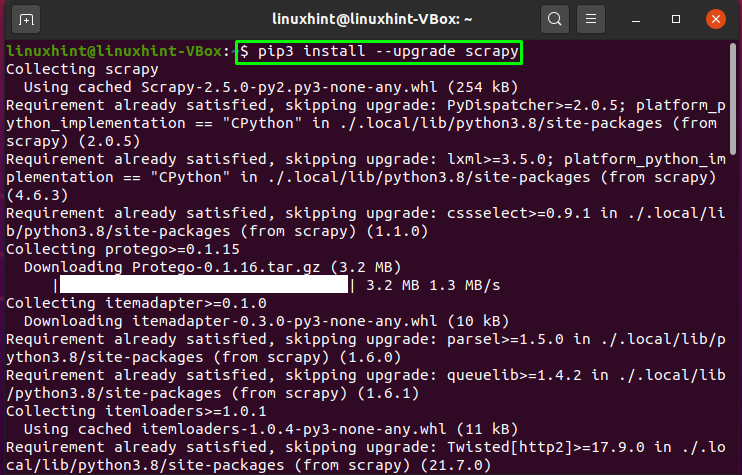
In the pip3 command, utilize the “–upgrade” option to upgrade an installed package. For instance, to upgrade our installed “scrapy” package, we will execute this command:
How to uninstall a package using pip3 on Ubuntu
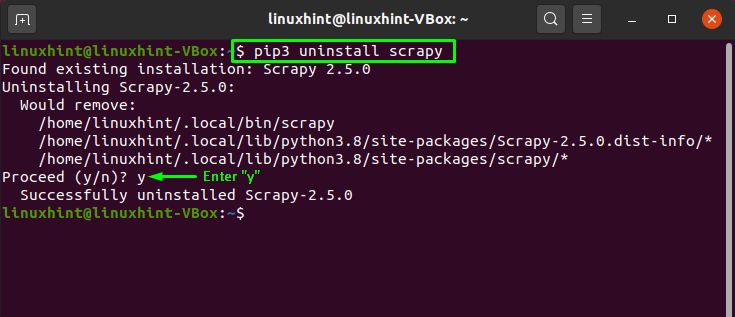
To uninstall a package with the help of pip3, you have to specify the package name with the “–uninstall” option as follows:
How to install a package using pip2 on Ubuntu
If you have installed pip2 instead of pip3, then no need to worry, you can perform all of the operations that pip3 does. First of all, we will see how you can install a python package using pip2. Here is the syntax for installing a package with the help of the pip2 command:
Now, we will install the “pandas” package that is utilized for data analysis in various machine learning techniques:
How to list installed packages using pip2 on Ubuntu
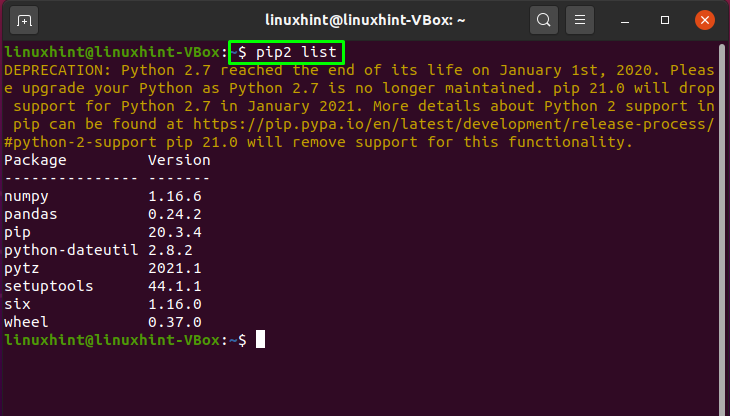
List out all the installed packages with pip2, write out the below-given command in your terminal:
You can see that the output is showing the package installed with pip2:
How to update a package using pip2 on Ubuntu
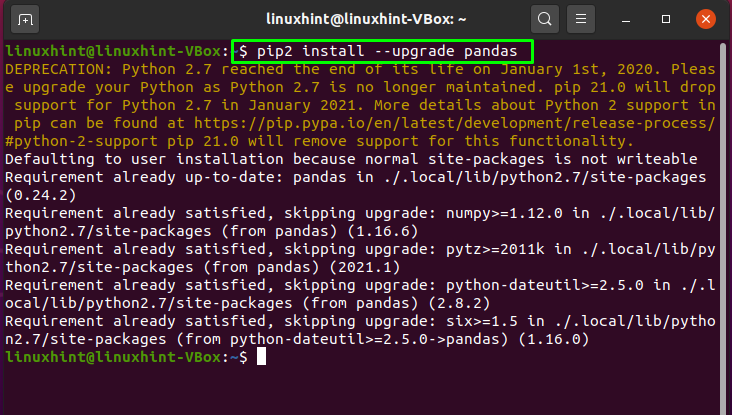
You can also upgrade an installed package by using the pip2 command. For instance, we will try to upgrade the “pandas” packages as follows:
How to uninstall a package using pip2 on Ubuntu
Utilize the “uninstall” option in the pip2 command if you want to uninstall a package from your Ubuntu system:
The below-given output shows that “pandas” is successfully uninstalled from our Ubuntu:
Conclusion
Pip is a package management system and you can utilize the “pip” to manage the Python packages found in Python Package Index (PyPI). Pip makes the process of installing and managing python packages simple. This article demonstrates how to install PIP on Ubuntu, the usage of various options such as installing PIP packages, updating and erasing packages from the system. Python has tons of modules and extensions which assist in enhancing the functionality of the language, PIP plays a crucial role in managing all these extensions and packages.

