For those running a server, Plex also acts as an organizational manager. Using this program, you may name files, make tweaks in the metadata so that the right cover art appears on these files, and even find new places to store your data.
With such a great application available, it would be a wasted opportunity not to learn how to use it. So, today, we will be looking at how to install and use Plex on Ubuntu.
Step 1: Which Version of Ubuntu Do You Have?
There are both 32-bit and 64-bit flavors of Plex available. Be sure to check which version of Ubuntu you are running. To check your Ubuntu version, open the Terminal through either Ubuntu Dash or the shortcut Ctrl+Alt+T. Once the Terminal is open, enter the following command:

The CPU op-mode(s) entry tells you which bit version of Ubuntu is currently running.
Step 2: Installing Plex
We will be looking at two ways of downloading and installing Plex.
a) Using the .deb File
First, go to the download page of Plex and select Linux as your platform.
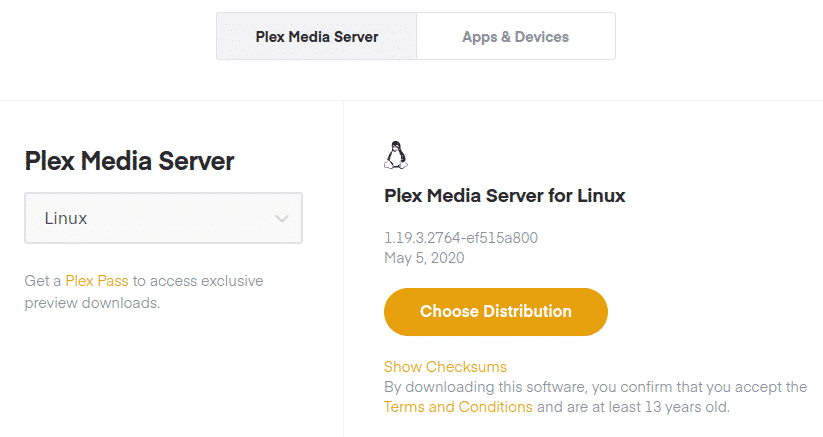
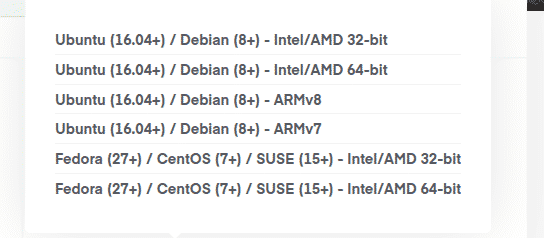
Next. choose the Distribution that you have installed on your version of Ubuntu to download the .deb file.
Scroll to the directory where Plex is downloaded and double click on the .deb file. This will take you to the Ubuntu software, where you will be asked to install the application.

For those using a headless Ubuntu server, simply copy the download link from the download page, as seen in the image below:

To download Plex onto your system, enter the following command:
In my case, this would be:
debian/plexmediaserver_1.19.3.2764-ef515a800_amd64.deb
Browse to the directory where Plex is downloaded. To install Plex, enter the following command in the terminal:
The term “filename” here refers to the name of the downloaded .deb plex file.
In my case, this would be:

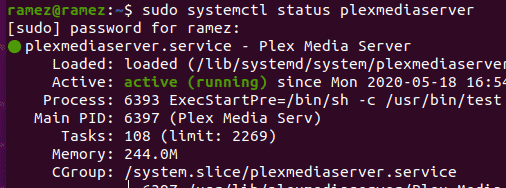
Once plex has been installed, you may check the program’s status with the following command:

This shows that the Plex Media Server has been installed on your system and that the server is currently active.
b) Using the Plex Repository
Another way of installing Plex is by using the program’s official repository. To do this, you will need to import the GPG key of the repository. This can be done by entering the following command into the terminal:
Next, you must add the GPG key to the system with the following command:
sudo tee /etc/apt/sources.list.d/plexmediaserver.list
Next, you will need to update your apt cache so that no issues will occur over time. This can be done with the following command:
Finally, install Plex by running the following command:
Once Plex is installed, you may check the server’s status by running the following command:
This clearly shows that the Plex Media Server has been installed on your system and is currently active.
Step 3: Configuring the Plex Media Server
After confirming that your Plex Server is running, you must first perform some configurations. The servers of Plex Media are listening on ports 32400 and 32401. To get started, open your browser and enter the following URL:
http://ipAddress:32400/web
Note: you may also use the local host instead of your IP Address, which would look something like this:
http://127.0.0.1:32400/web
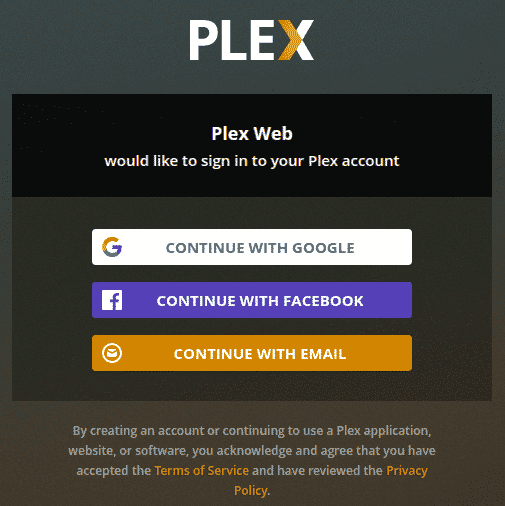
When you open the link, you will be greeted by a login page.
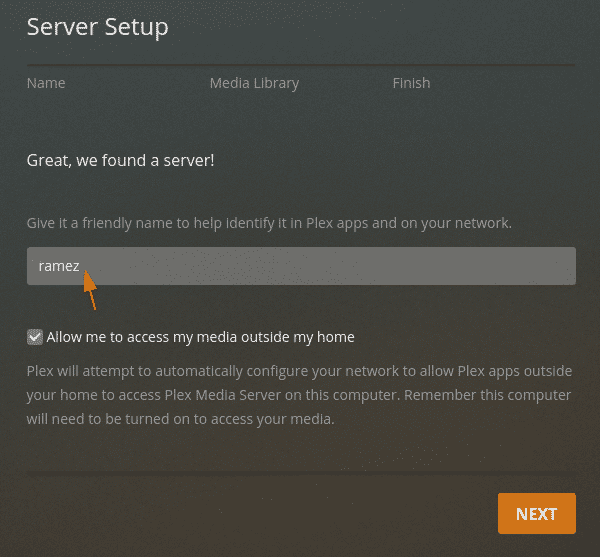
After logging in, you will be directed to the server setup screen. On this screen, you must choose a name for the server.
After clicking “Next,” you will need to add your Library into your server. To do this, click on the Add Library Button.

Next, select the type of the library you want to add.

You may also change the name of the library, and even the language.

After clicking “Next,” the server will ask you to add folders to your library. Click “Browse” to add folders.

When you are finished adding folders to your library, you may return to the list in your Organize your Media section.
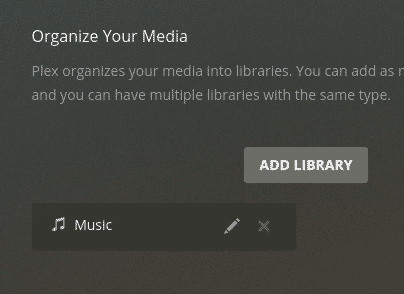
In this window, you may create multiple libraries, each of which can contain multiple folders that will store different media types.
Once you are done adding files to your library, Plex will ask you to customize your Menu. You may toggle on or off any media type that you are not interested in storing. When you are finished with everything, simply click on Finish Setup.

This will lead you to your Dashboard where you can access all of your chosen digital videos and audio files in Plex.
Conclusion
Plex is like your own digital library that allows you to access and store all the digital video and audio files you may desire. What is even more amazing is the fact that you can even stream these files to allow others access to your content. Plex has made this process extremely easy and has removed all the hassle of storing and sharing video and audio media.