Installing Osquery in Ubuntu
Osquery packages are not available in the default Ubuntu repository so before installing it we have to add the Osquery apt repository by running the following command in the terminal.
sudo tee /etc/apt/sources.list.d/osquery.list
Now we will import the signing key by running the following command in the terminal.
--recv-keys 1484120AC4E9F8A1A577AEEE97A80C63C9D8B80B
After importing the signing key, now update your system by running the following command in the terminal.
Now install Osquery by running the following command
After installing Osquery, now we have to check whether it has been installed correctly by running the following command
If it gives the following output then it is installed correctly
Using Osquery
Now after installing, we are set ready to use Osquery. Run the following command to go to interactive shell prompt
Getting Help
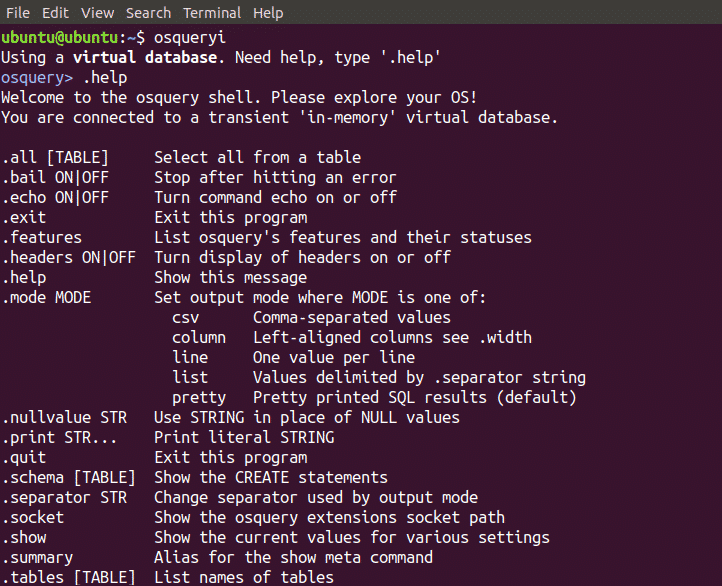
Now we can run SQL based queries to get data from the operating system. We can get help about Osquery by running the following command in the interactive shell.
Getting All the Tables
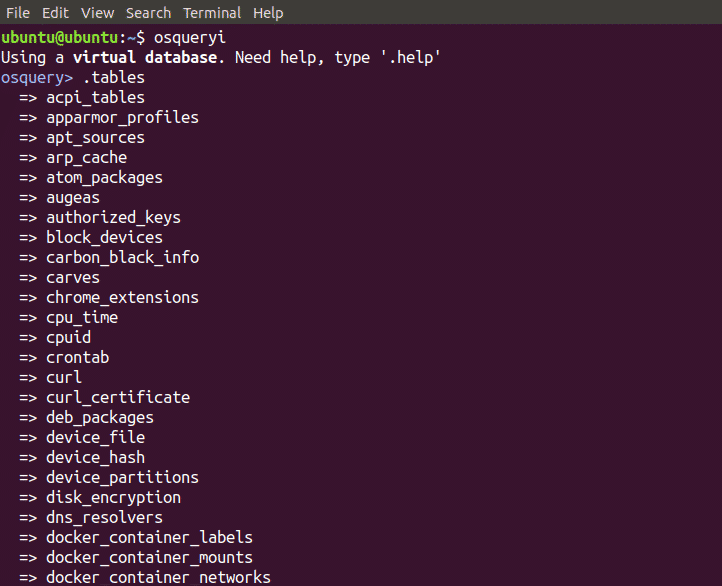
As mentioned earlier, Osquery exposes data from the operating system as a relational database so it has all the data in the form of tables. We can get all the tables by running the following command in the interactive shell
As we can see that by running the above command we can get a bunch of tables. Now we can get data from these tables by running SQL based queries.
Listing Information About all the Users
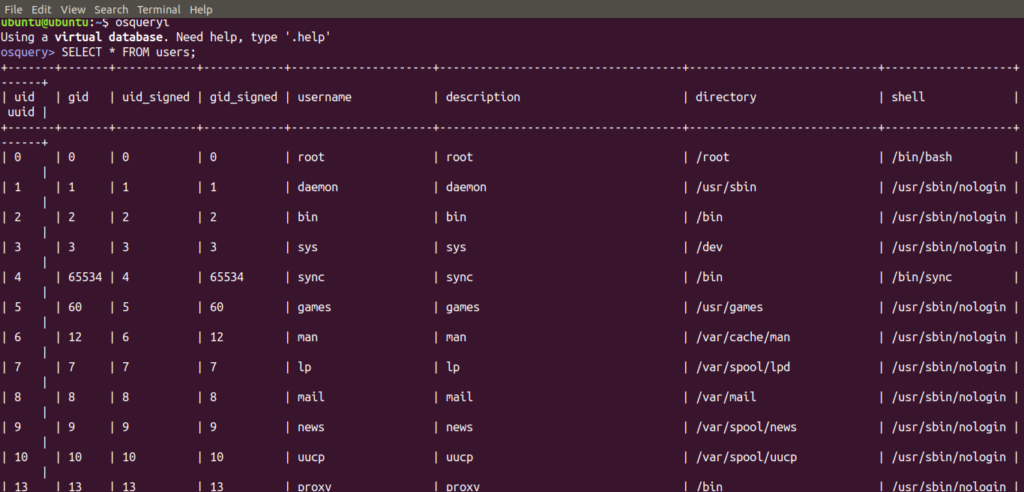
We can see all the information about users by running the following command in the interactive shell
The above command will display gid, uid, description etc. of all the users
We can also extract only the relevant data about users for example we want to see only the users and not other information about users. Run the following command in the interactive shell to get the user names
The above command will show all the users in your system
Similarly we can get usernames along with the directory in which the user exists by running the following command.
Similarly we can query as many fields as we want by running the similar commands.
We can also get all the data of specific users. For example we want to get all the information about the root user. We can get all the information about the root user by running the following command.
We can also get specific data from specific fields (columns). For example we want to get the group id and username of the root user. Run the following command to get this data.
In this way we can query anything we want from a table.
Listing all The Processes
We can list first five processes running in ubuntu by running the following command in the interactive shell
As there are many processes running in the system so we have displayed only five processes by using LIMIT keyword.
We can find the process id of a specific process for example we want to find the process id of mongodb so we will run the following command in the interactive shell
Finding Version of Ubuntu
We can find the version of our Ubuntu System by running the following command in the interactive shell
It will show us the version of our operating system
Checking Network Interfaces and IP Addresses
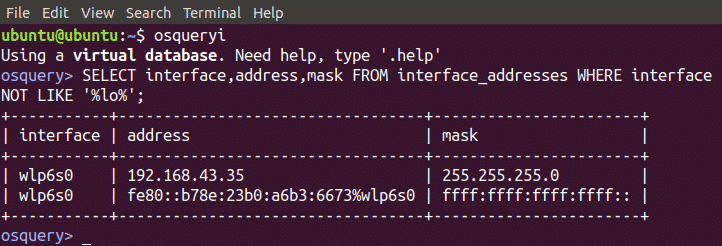
We can check the IP address, Subnet Mask of Network Interfaces by running the following query in the interactive shell.
WHERE interface NOT LIKE '%lo%';
Checking Logged in Users
We can also check logged in users on your system by querying data from the ‘logged_in_users’ table. Run the following command to find logged in users.
Checking System Memory
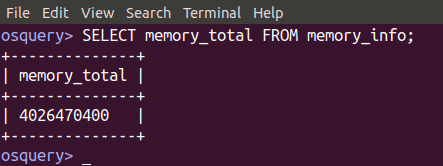
We can also check Total memory, free memory cached memory etc. by running some SQL based command in the interactive shell. To check total memory run the following command. This will give us total memory of the system in bytes.
To check free memory of your system run the following query in the interactive shell
When we run the above command, it will give us free memory available in our system
We can also check the cached memory of the system using memory_info table by running the following query.
Listing the Groups
We can find all the groups in your system by running the following query in the interactive shell
Displaying Listening Ports
We can display all the listening ports of our system by running the following command in the interactive shell
We can also check whether a port is listening or not by running the following command in the interactive shell
This will give us output as shown in the following figure
Conclusion
Osquery is a very useful software utility to find any kind of information about your system. If you are already aware of SQL based queries then it is very easy to use for you or if you are not aware of SQL based queries then I have tried my best to show you some major queries which are useful to find data. You can find any kind of data from any table by running similar queries.


