
Nagios also keep tabs on networking details(using TCP port, SMTP, POP3, HTTP, NNTP, PING, etc.)
The way it works can be described in the following manner: Nagios sets up security protocols on the different nodes in a network to detect any suspicious activity and notifies the users via an automatic SMS. These problematic activities include HTTP, SSH, FTP fails, other malfunction and critical errors, etc. And displays the web output using current statuses notifications and problem history log file etc. Let’s see how we are going to install Nagios on Ubuntu 20.04 LTS machine.
Some pre-requisites
We’re assuming that you’re at least familiar with the fundamentals of Linux OS, and have a basic know-how of its interactive shell works. Other than that, you should have pre-installed ubuntu 20.04 on your virtual machine or server before proceeding with the installation.
Also, we’re downloading and installing the Nagios package from the official depositories here.
We’ll be using the sudo access mode during the installation. If you’re using your root account, you should exclude ‘sudo’ before each of the commands we’ve used below.
Here’s how to go about installing Nagios on your Virtual machine or server.
Step 1: Check for the updates
First off, we’ll check the web for the latest packages available, download and install them. Use the command below to check for updates.

php-gd libgd-dev libapache2-mod-php libperl-dev libssl-dev daemon
wget apache2-utils unzip
Step 2: Create a user account
Before we install Nagios, we must create a user account parallel to that of the apache user. Type in the following commands to add a user:
$ sudo groupadd nagcmd
$ sudo usermod -a -G nagcmd nagios
$ sudo usermod -a -G nagcmd www-data

Step 3: Download Nagios from the official website
With the updates and user account took care of, we can download Nagios by visiting the official website.
Alternatively, you can use the following commands to download directly from the web:

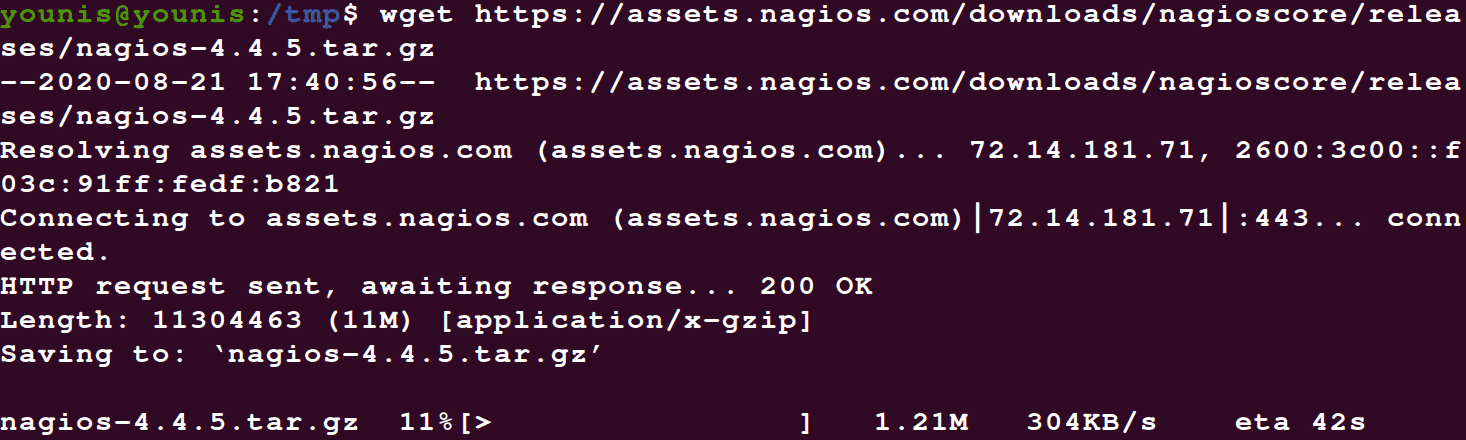
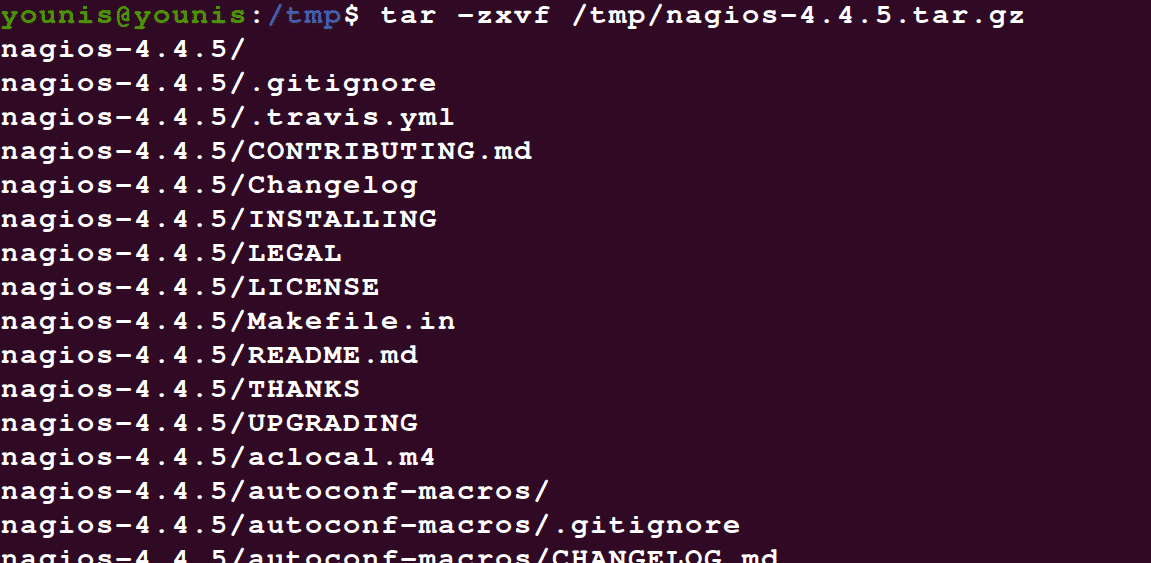
Then extract the files with the help of tar command, and move it to the location of your choice

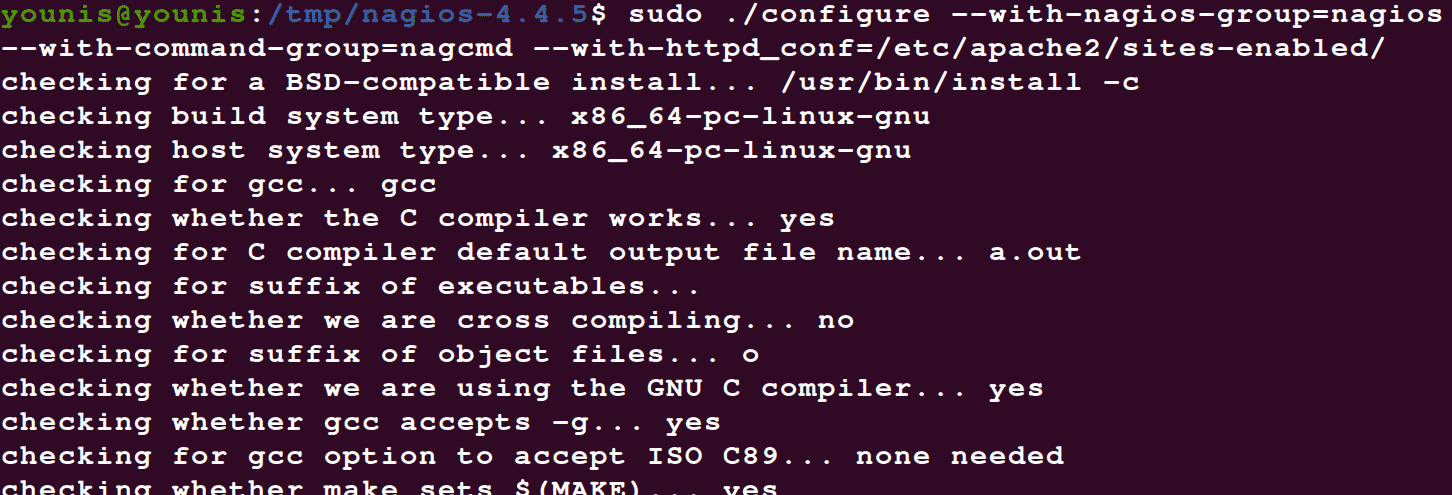
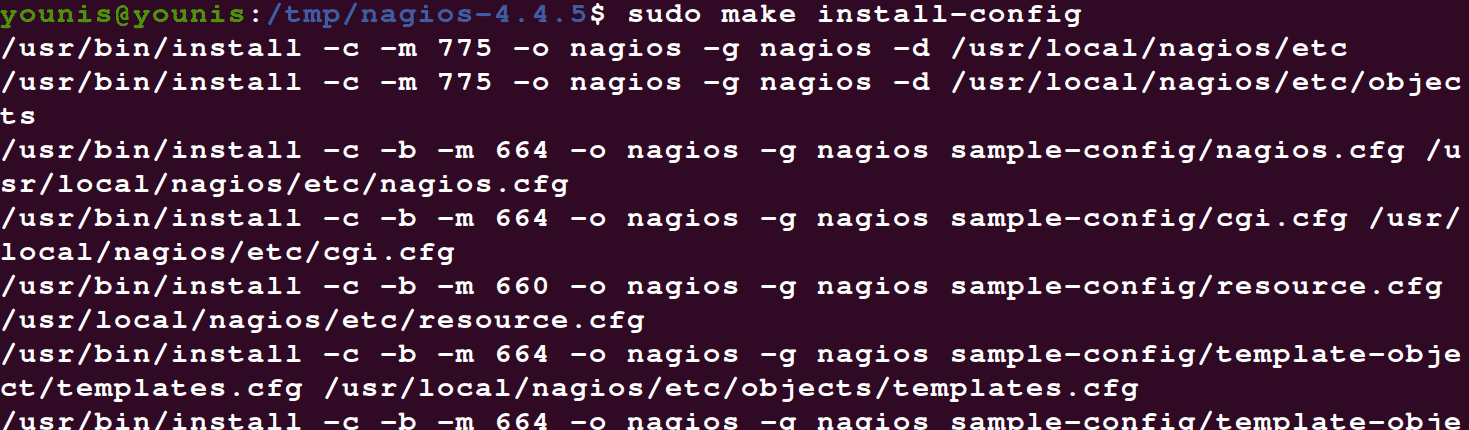
Step 4: Compile Nagios with Ubuntu 20.04
Type in the following commands:
--with-command-group=nagcmd --with-httpd_conf=/etc/apache2/sites-enabled/


Step 5: Update your email address
Type in the following command:


What this command does is that it edits the file (contacts.cfg) located in the directory usr/local/nagios/etc/objects, to include the email address where we want to receive notifications.
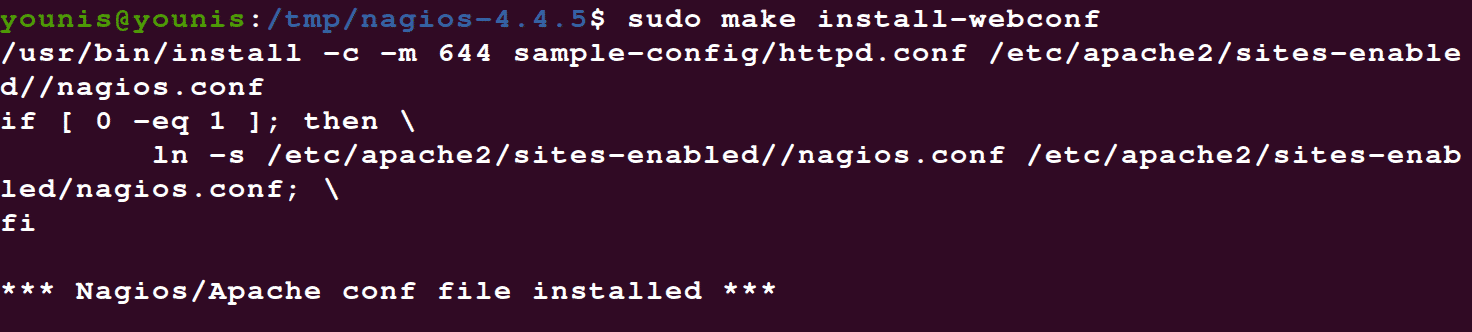
Step 6: Fire up the web interface installer
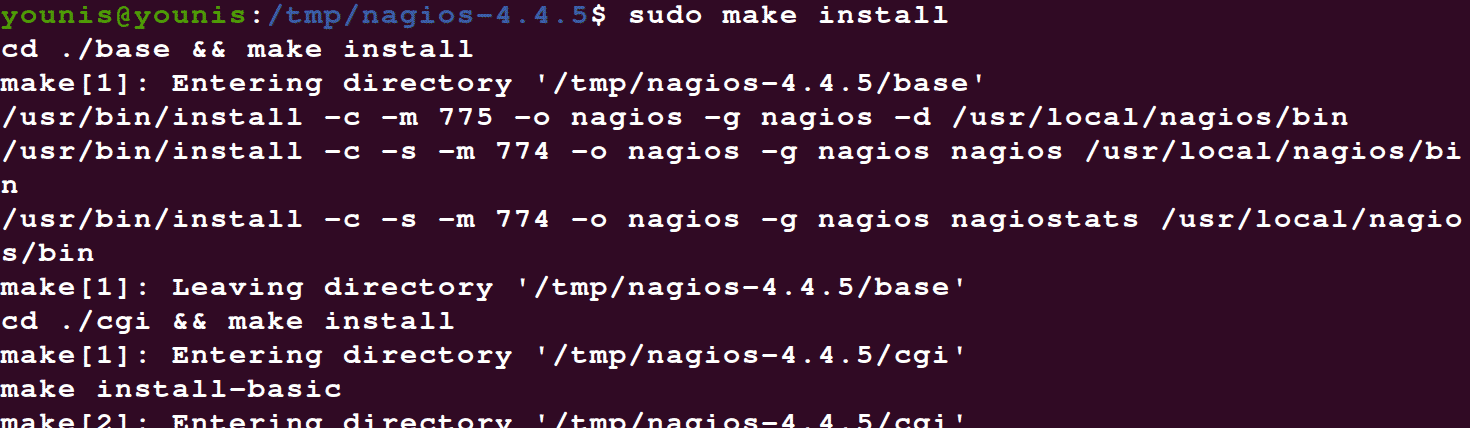
With all of the above input into their places, we can finally move on to the installation of Nagios web interface. Use the following codes, to begin with, the installation.
You’ll need a user account to start using the Nagios web interface, so naturally, you must create a user account first.
Type the following in the interactive shell to create a user account.


Finally, you can restart the Apache Servers.

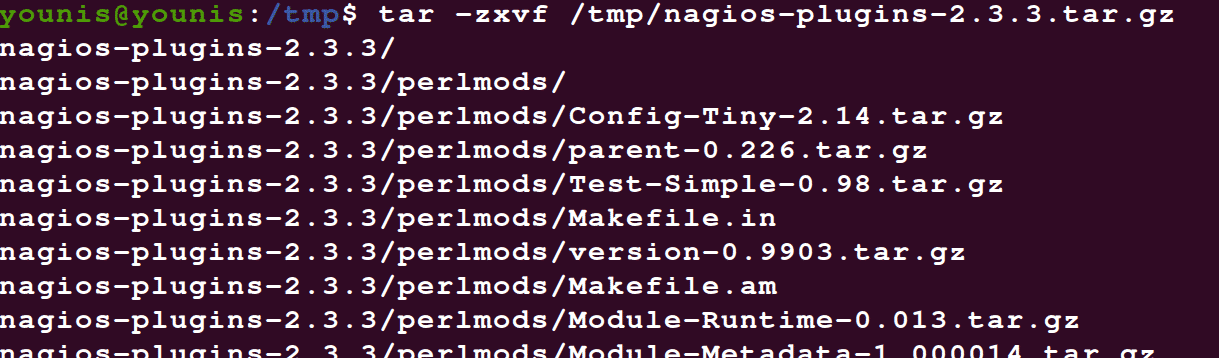
Step 7: Install Nagios Plugins
If it is not already on /tmp, you can switch directories using:

And then use the following command to start the download.

Next, you must extract the file and place it in the resultant directory:

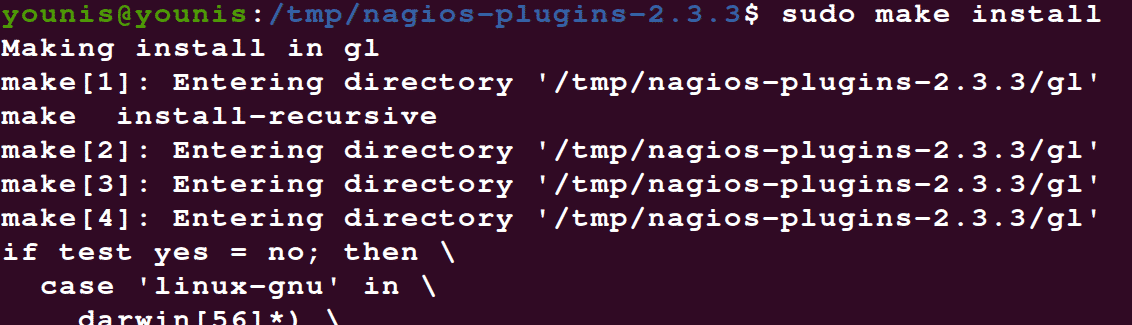
Once you’ve switched the directories, compile the plugins using the following command:


Step 8: Using Nagios on Ubuntu
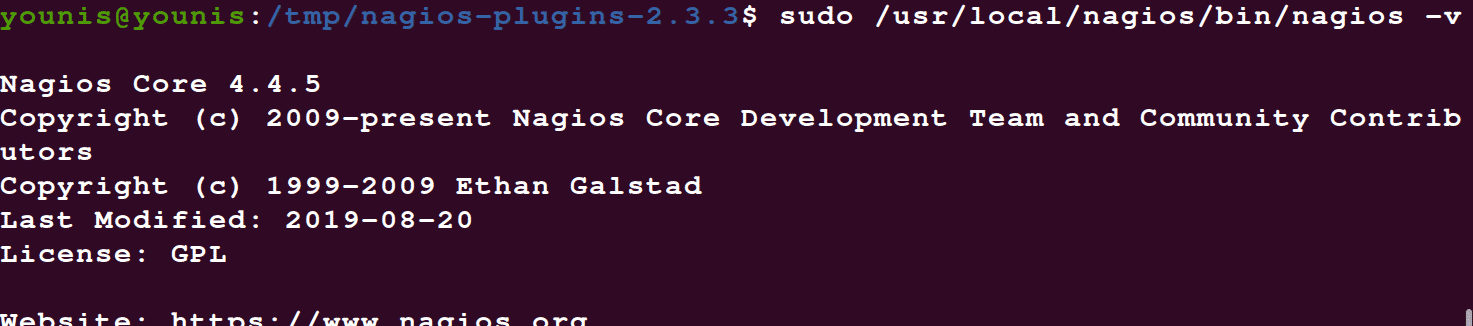
To make sure the configuration was properly seen through, use the following command:
![]()
Turn on the Nagios service to automatically start it every time you boot your VM by using:

Start the services.

Step 9: Get to know the web interface
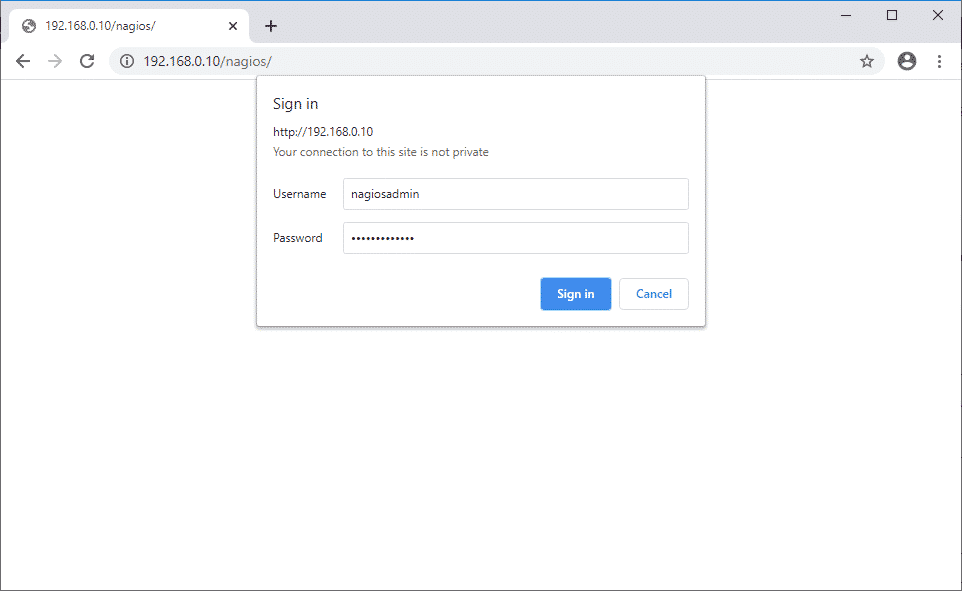
Go to http://ip-add/nagios/ and have a crack at the web interface. You’ll be asked the user credentials before you log in.
Upon logging in, you should be seeing the member dashboard:
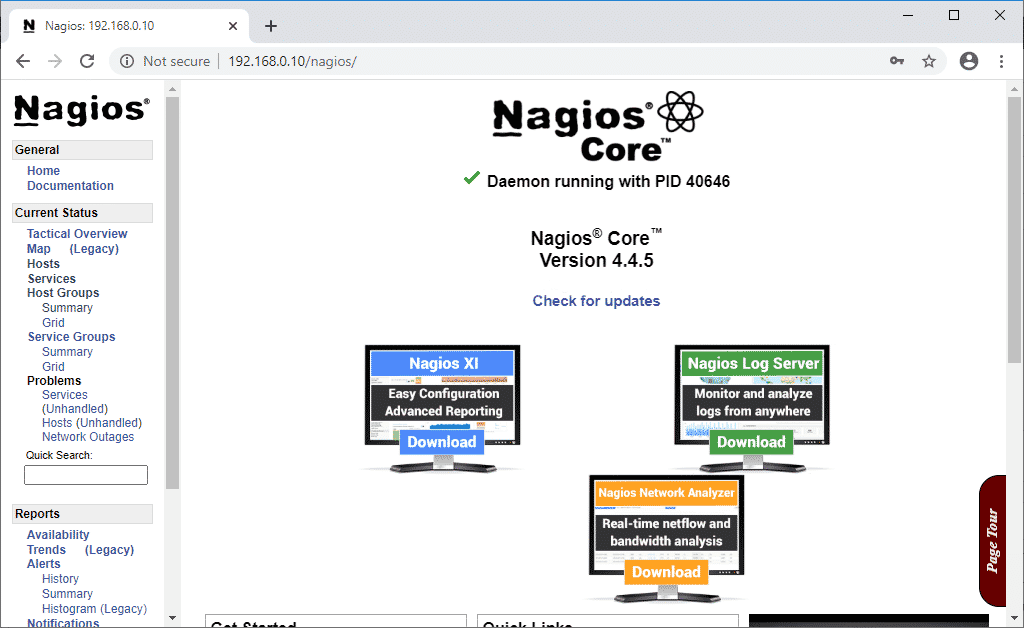
Notice the variety of options on the far left of the interface. Hover over them to find out more.
Wrapping things up
In this tutorial, we’ve seen how to install Nagios on Ubuntu 20.04. We went through and detailed all the steps that need be followed and explained what function each step serves overall. It is much easier to install Nagios from their official repositories than to install it from its source code. But sometimes, it so happens that the repositories fail to deliver the latest versions of Nagios. This, of course, is never the case when you use source code to install Nagios.