
In this article, we will go through the process of installing MySQL on Ubuntu 20.04 LTS server. After completing the installation of MySQL, we will host it using the terminal.

You must have one non-root administrative user on your Ubuntu 20.04 server. Launch terminal application using Ctrl + Alt + t. You can also open it using the application search bar.
To install MySQL, you need to perform the following steps on Ubuntu 20.04 LTS:
Step 1: Installing MySQL server on Ubuntu 20.04 LTS
To host a MySQL database on your Ubuntu 20.04 system, you will install the MySQL Server package. You will install MySQL using the Apt package repository of Ubuntu 20.04. At the time of writing this tutorial, My SQL version 8.0.19 is available in the Ubuntu repository.
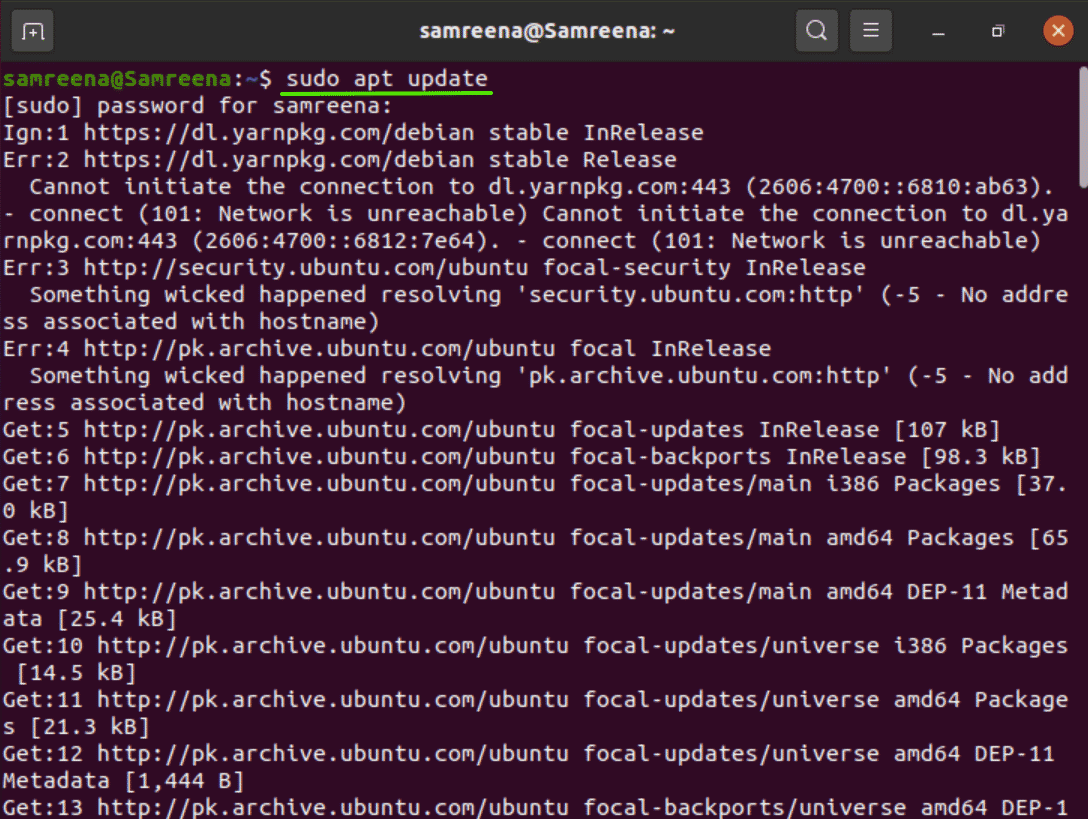
It is an ethical practice to update the Apt package manager on your server before going on with the process. So, use the following command to update packages:
After that, you will install the package of ‘mysql-server’. For this purpose, you need to execute the following command:
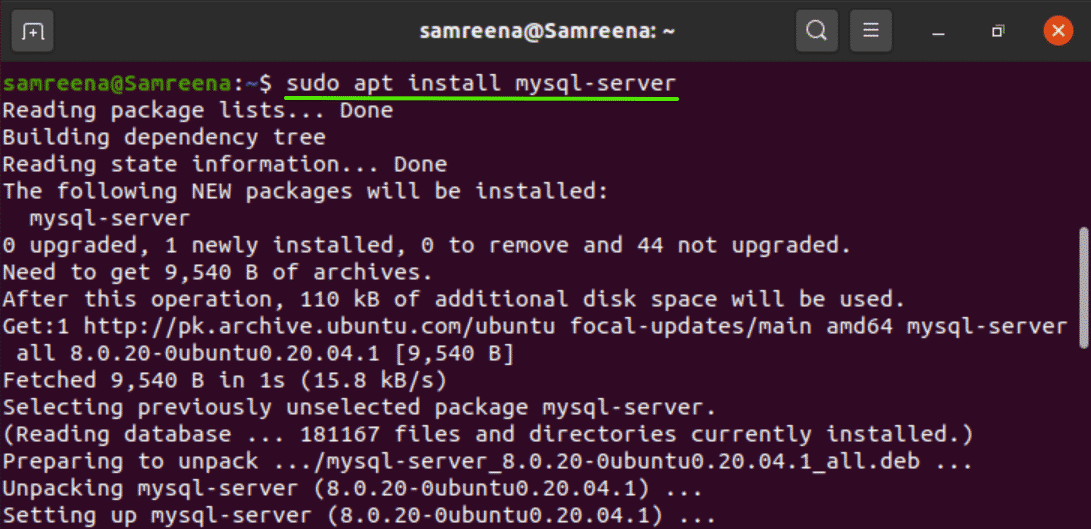
The above-mentioned command will install MySQL on Ubuntu 20.04. However, the level of security of this command is demanding. Therefore, we will make the installation secure in the next stage of the process.
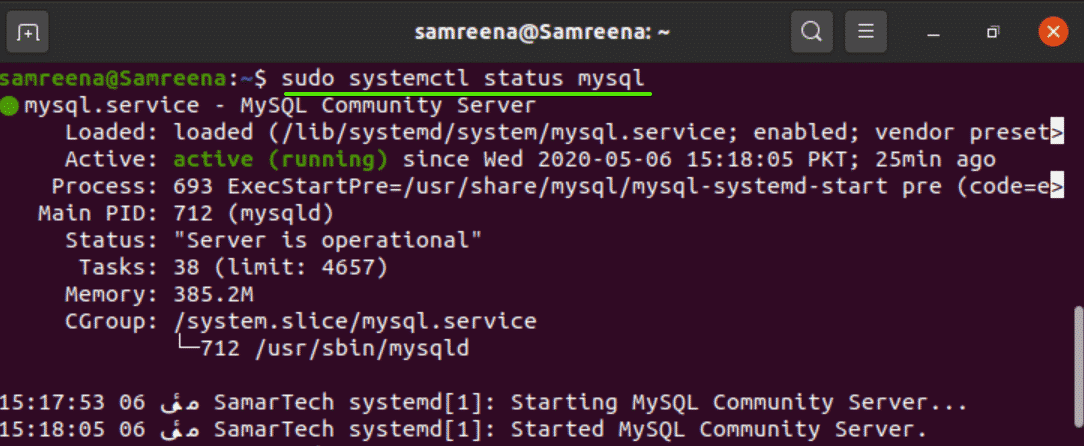
Step 2: Verify MySQL service status
Once the installation of MySQL server is completed, the service of MySQL starts automatically. You can also verify the status of MySQL service by using the following command:
Step 3: Secure Configuration of MySQL
In this step, you will run the security script to make the installation secure. When this script runs on your terminal, it changes some less secure features such as remote root logins. Use the following command for secure configurations:
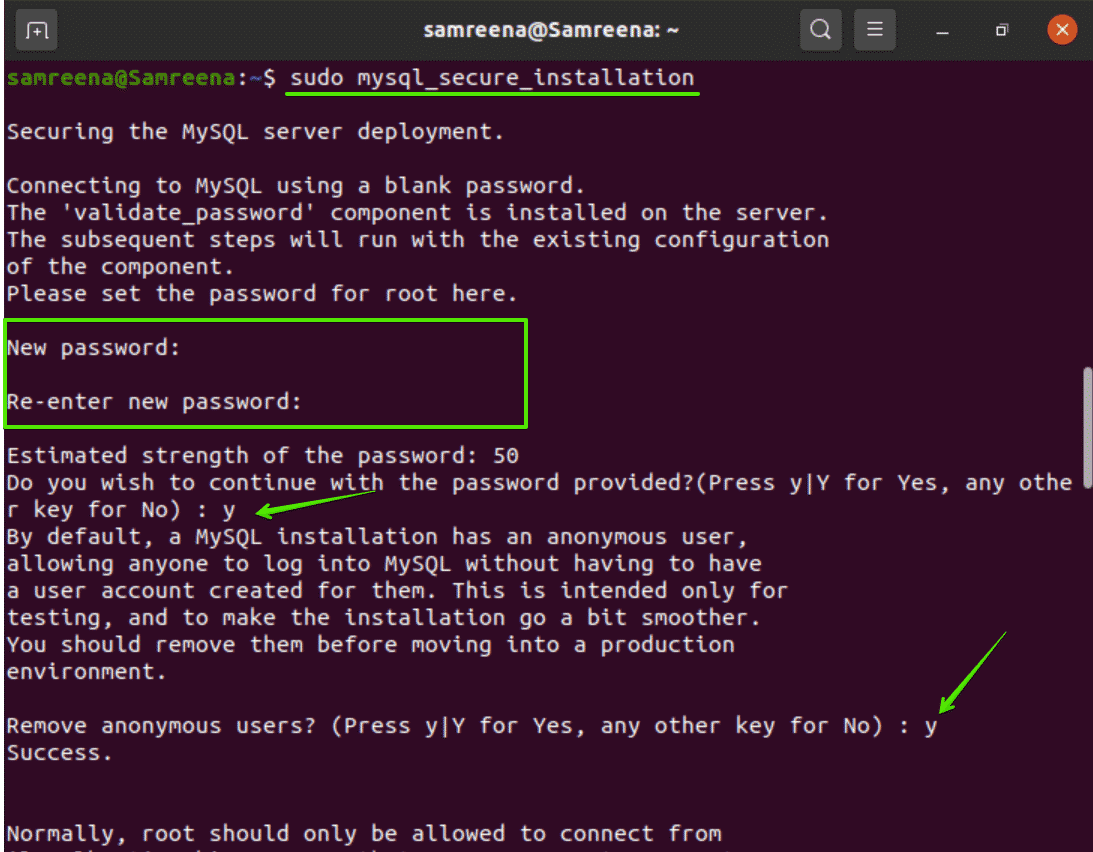
You will press ‘y’ to allow the installation of the ‘validate password plugin’. The plugin for validating passwords will be configured, which is basically used to not only test the password strength of MySQL users but also improve the security as well.
There are three different levels of the password validation policy which are low, medium, and strong. You will select option ‘2’ for the strong password. On the next user prompt, you will set the password of the MySQL server for the root users.

If you already set up the plugin for password validation, then the script will display the new password strength. Type ‘y’ to confirm the new password.
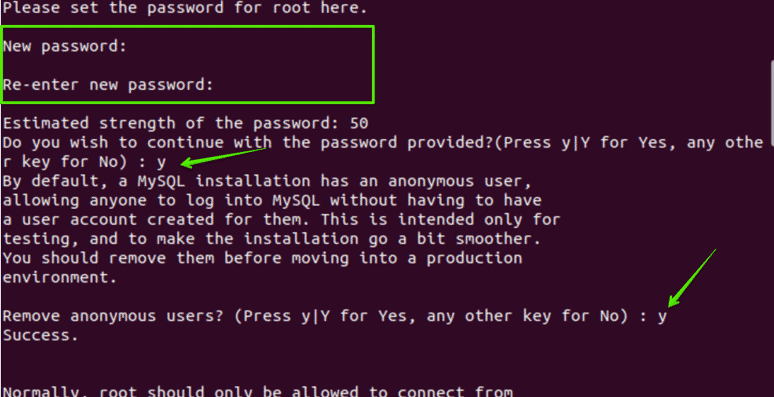
In the next user prompts, you need to confirm the following questions:
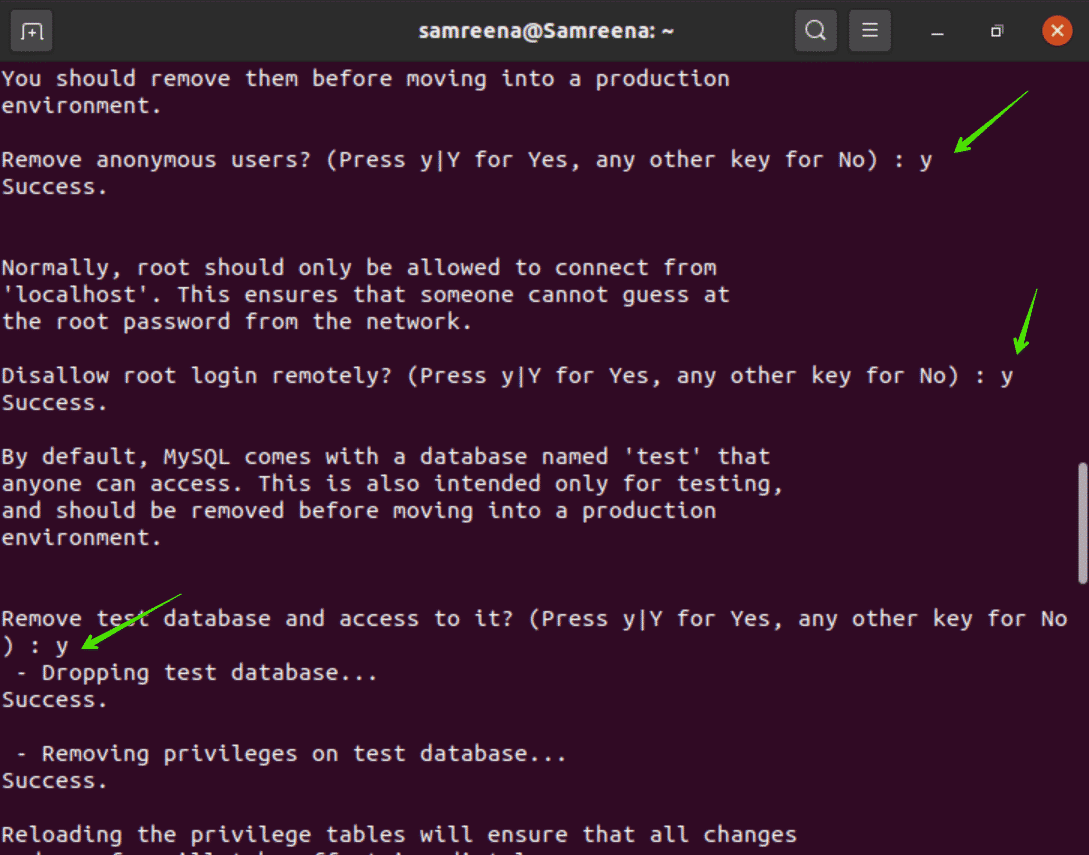
- Do you want to remove the anonymous user?
- Restrict root user access to the local machine?
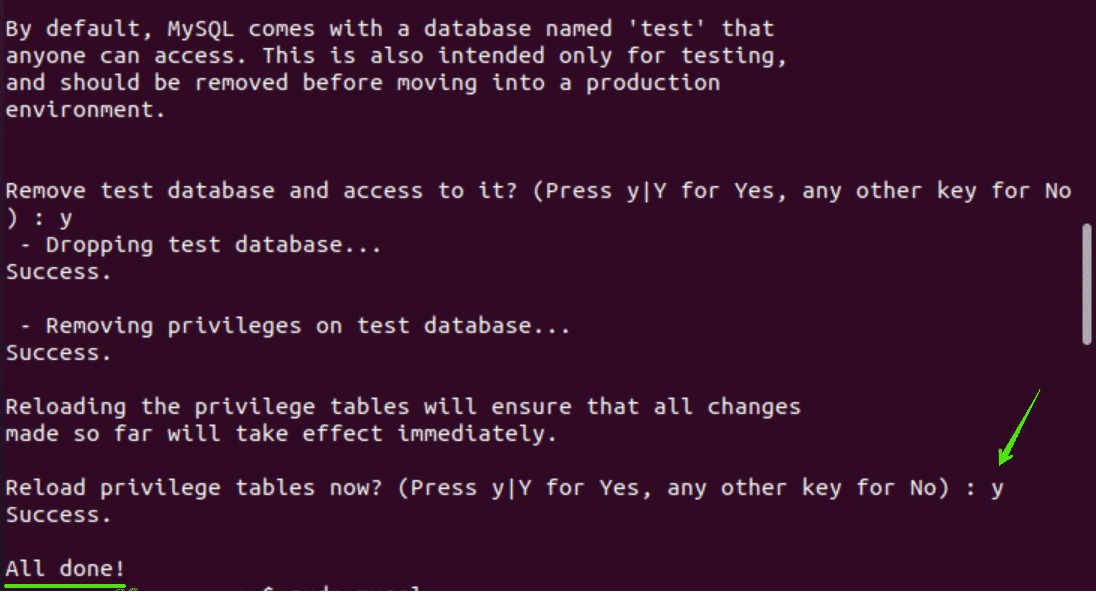
- Remove the test database?
- Reload privilege tables?
You should type ‘y’ to answer all questions and proceed further.
Step 4: Login root to MySQL
MySQL client utility is used to interact with MySQL server using the command line. This client utility installed as a dependency of the MySQL server package.
On Ubuntu 20.04, the root user of MySQL server 8.0 is authenticated by the default plugin auth_socket. This plugin is used to authenticate the users that connect the localhost through the file Unix socket. Now, you need to open MySQL and execute the following command to log in as root user type on MySQL server:

Now, we will go through the basic SQL command syntax that will help you to start working on it. To Create a new database use the following command:

In the above-mentioned command, the name of the database is ‘SAMREENA_DB’. You can change the name of the database as per your requirements.
Next, you will check which authentication method each of your MySQL users accounts by using the following command:

You can create a new user account that will have certain privileges to the database. The syntax is as follows:
Now, execute FLUSH PRIVILEGES command which acknowledges the server to reload the grant tables and make new changes:
To exit from the MySQL shell, you need to execute the following command:
In this article, you have learned how to install the MySQL server on Ubuntu 20.04 LTS. Moreover, you also learned various SQL commands for database and user creation. In the next step, you can explore how to manage MySQL databases and user accounts using the command line. If you have any queries related to this article then you can give your feedback via comments.