
This write-up will discuss the procedure to install and set up the MySQL database on Ubuntu 22.04. So, let’s start!
How to install MySQL database on Ubuntu 22.04
To install MySQL database on Ubuntu 22.04, you must follow the below-given step-by-step instructions.
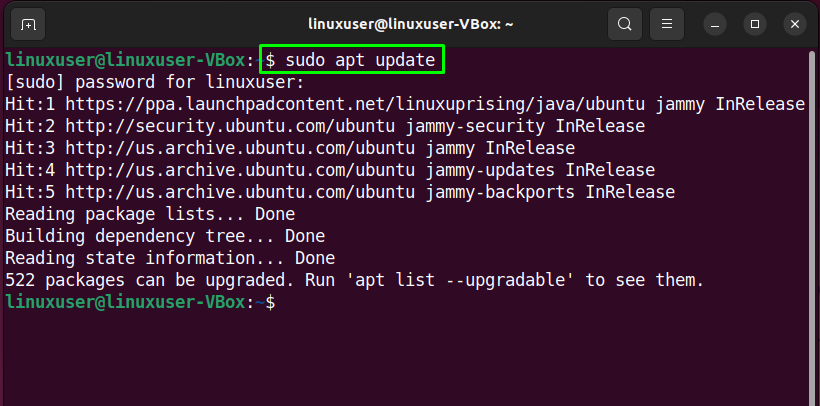
Step 1: Update system repositories
Press “CTRL+ALT+T” to open the terminal of the Ubuntu 22.04 and run the below-given command to update system repositories:
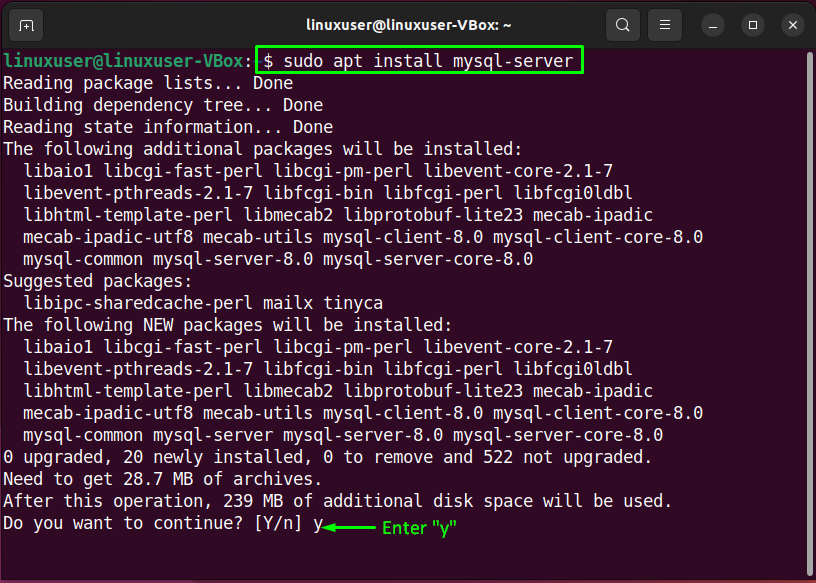
Step 2: Install MySQL database on Ubuntu 22.04
In the next step, install MySQL database on your system with the help of the following command:
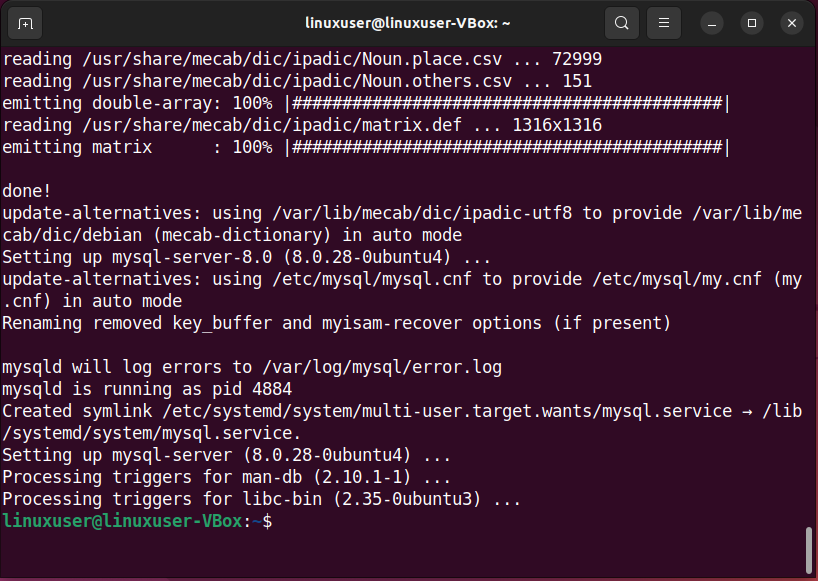
Wait for a few minutes as the installation of the MySQL database management system will take some time to complete:
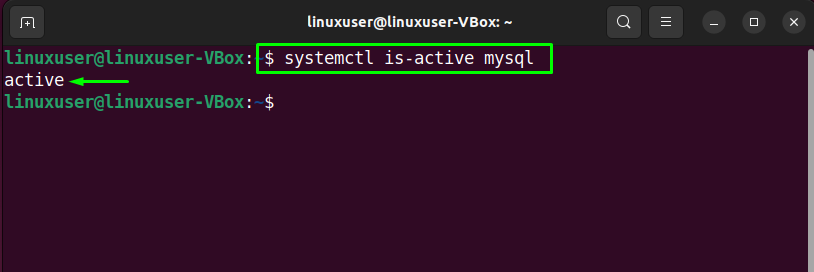
Step 3: Verify MySQL service status
Then, check the status of the “mysql” service:
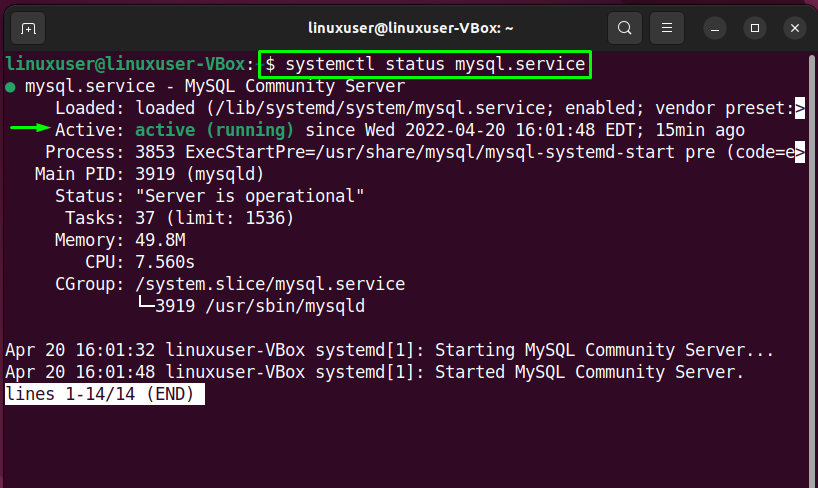
The given output signifies that “mysql” service is currently active and running on our Ubuntu 22.04 system:
Step 4: Configure MySQL server
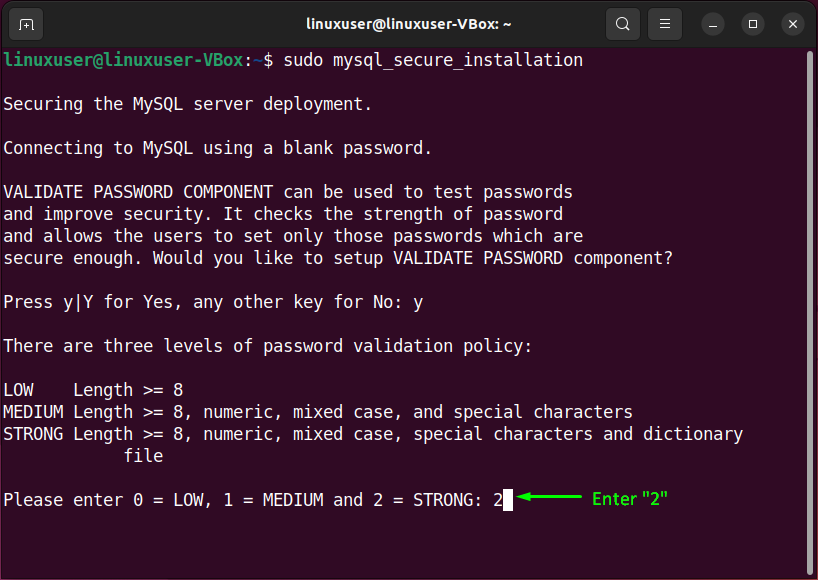
Now, write out the below-given command for performing an initial and interactive configuration of the MySQL server:
In the configuration manual, you will be first asked to set the level for the password validation policy. Input a number from the given menu according to your password validation requirements:
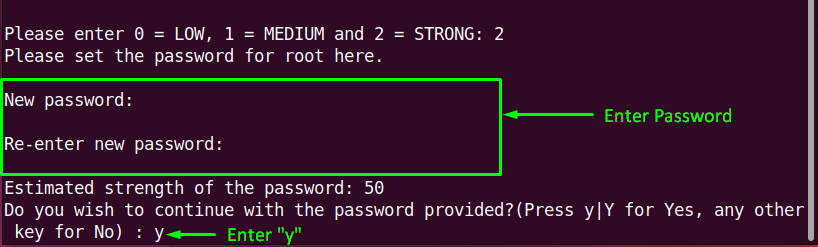
After doing so, type out the new password for “root” and enter “y” to continue with the provided password:
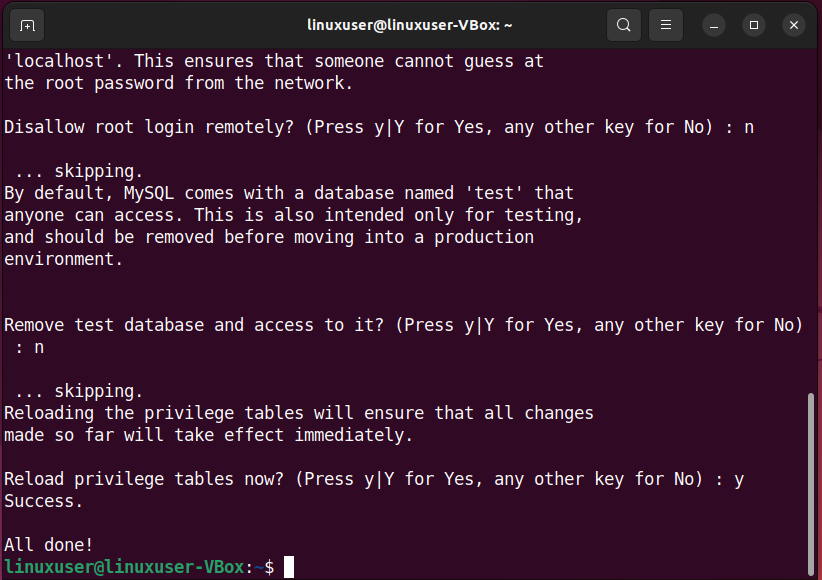
Also, set the other configuration options accordingly:
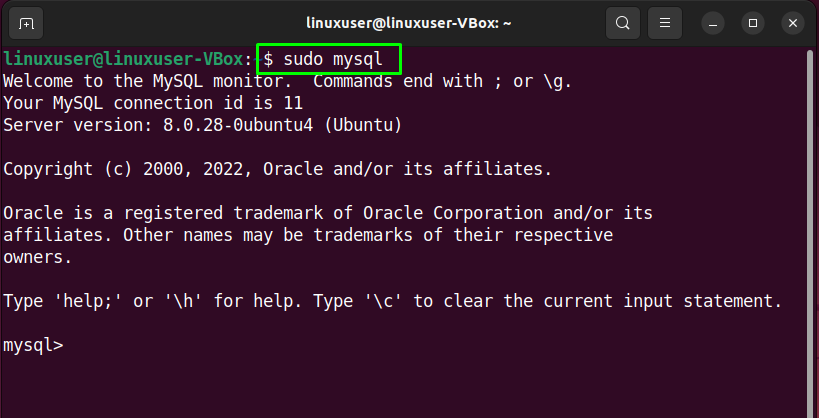
Step 5: Log in to MySQL server
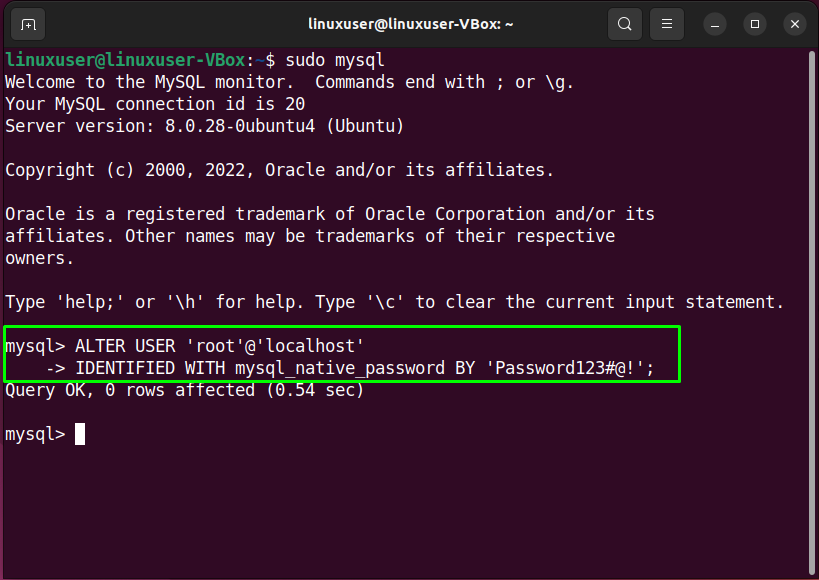
Next, log in to the MySQL server for setting the default authentication method to “mysql_native_password” and specify a native password for the root:
As you can see, the following query will set the root password to “Password123#@!” and the authentication method to “mysql_native_password”:
IDENTIFIED WITH mysql_native_password BY 'Password123#@!';
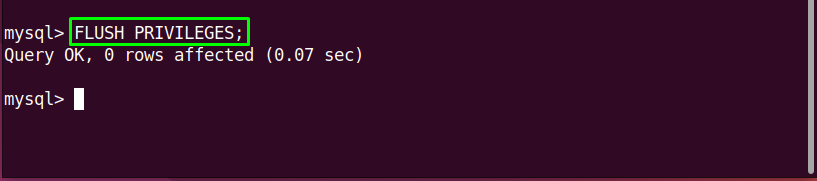
Reload the grant tables in the MySQL database so that the changes can be applied without restarting the “mysql” service:
Again try to login into the MySQL database with the password you have set previously:
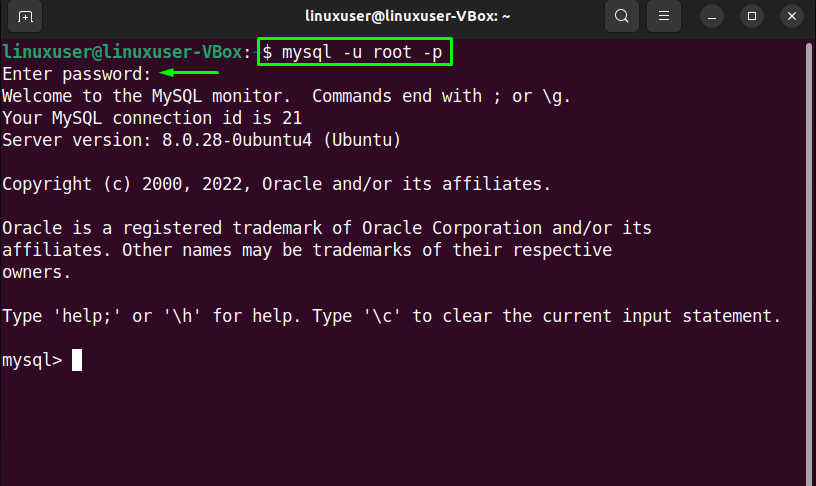
The above-given error-free output signifies that we have successfully installed MySQL database on our Ubuntu 22.04 system.
Lastly, to assure that MySQL service is active, execute the following command:
Now, move ahead and try to set up a MySQL database on your Ubuntu system.
How to set up MySQL Database on Ubuntu 22.04
To set up MySQL database on Ubuntu 22.04, firstly login to the MySQL server using the following command:

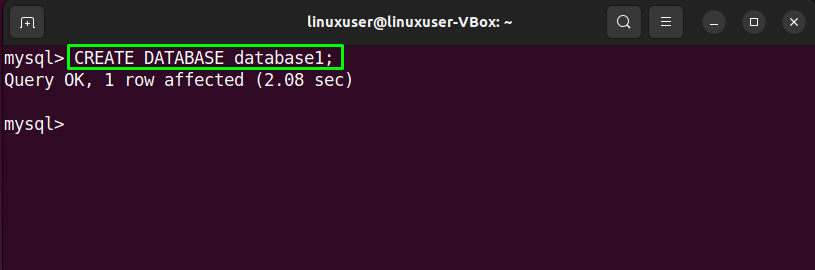
Then, we will create a new database named “database1”:
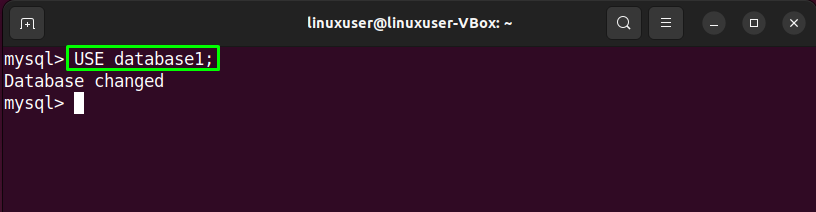
To utilize the created MySQL “database1”, we will write-out the following command:
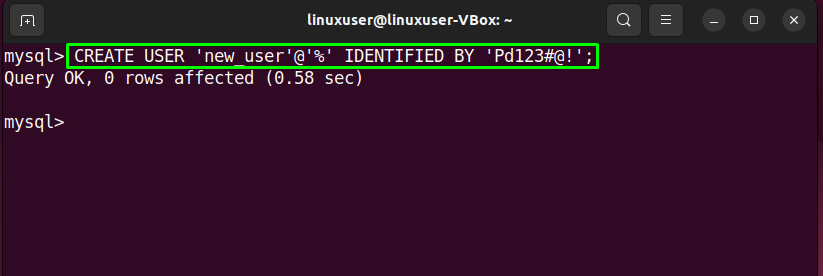
You can create a new user account and assign the required privileges to it. In our case, we are creating a user “new_user” with the password “Pd123#@!”. Also adding the “%” permits us to remotely access the database from anywhere:
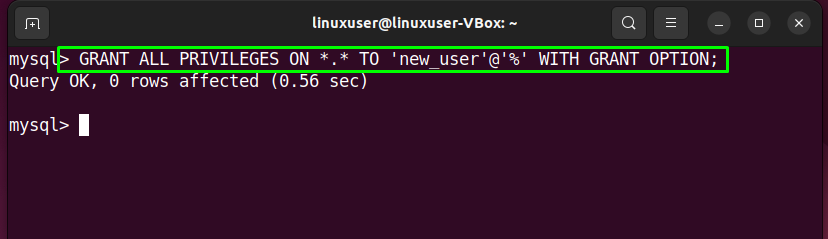
In the next step, grant permission to the “new_user” account for viewing and modifying the “database1”:
Lastly, save all of the added changes and exit from the MySQL window:
> EXIT

We have compiled the method to install and set up the MySQL database on Ubuntu 22.04. Give it a try and work on this fantastic database management system.
Conclusion
To install a MySQL database on Ubuntu 22.04, first, execute the system repositories and then execute the “$ sudo apt-get install mysql-server” command. After that, log in to the MySQL server using “$ sudo mysql” and create a database user, assign privileges to it, and save all of the added changes. This write-up discussed the method to install and set up MySQL databases on Ubuntu 22.04.