
Installing Mysql 8 on Debian 10 Buster
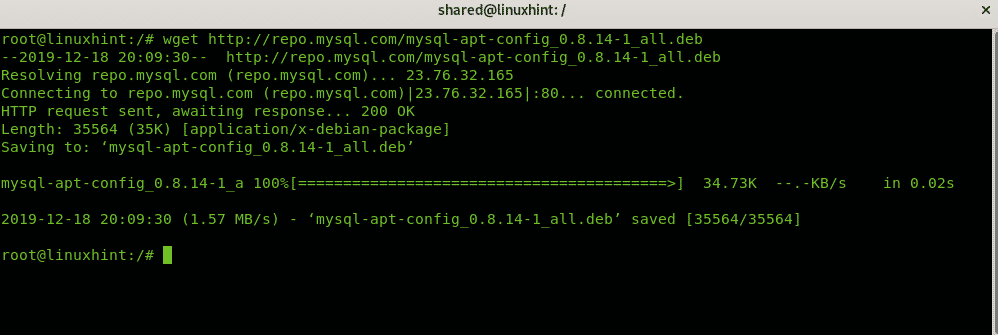
Before installing Mysql there is need to setup the repository you can get by running the following wget command:
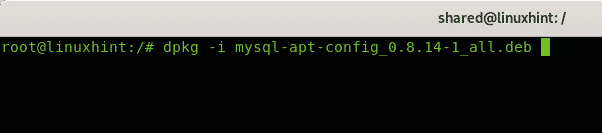
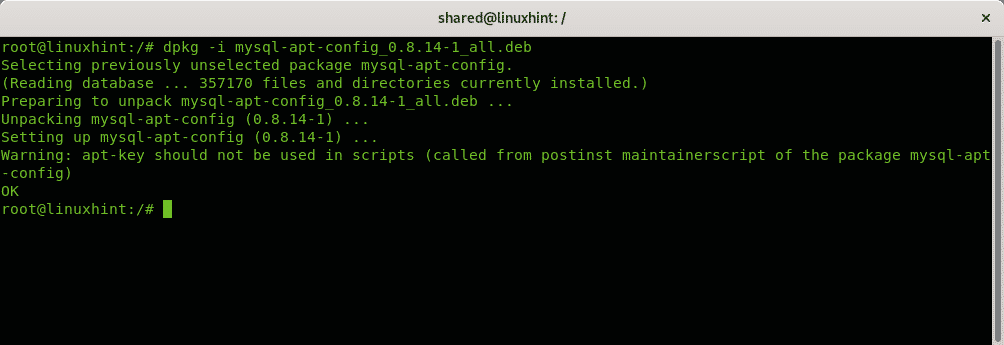
Install the apt repository by running:
Note: for a tutorial on the dpkg command you can access All about the debian package managers: dpkg, apt and aptitude explained tutorial.
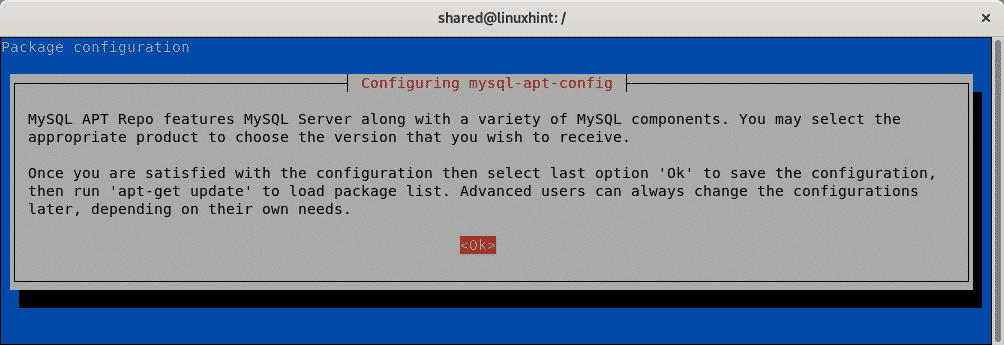
Press ENTER on OK to continue.
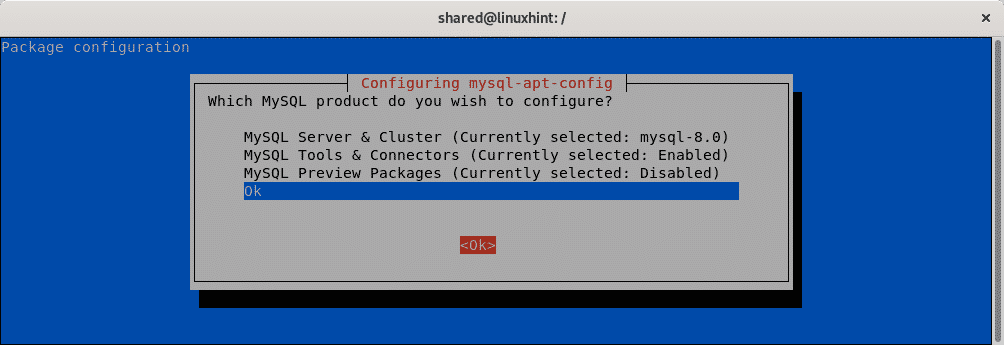
Select the OK option and browse using the TAB key to press OK and continue.
The installation will end showing a similar output than the image below:
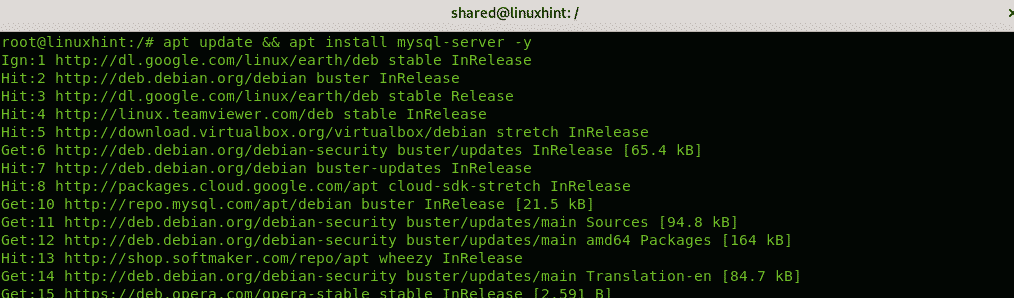
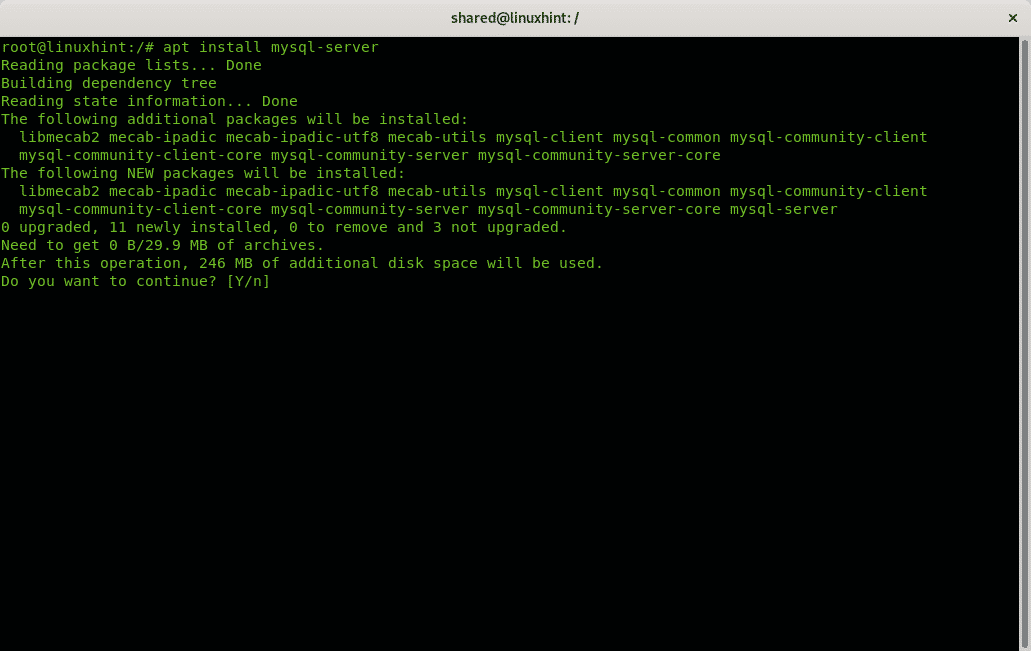
Now to install Mysql 8 run:
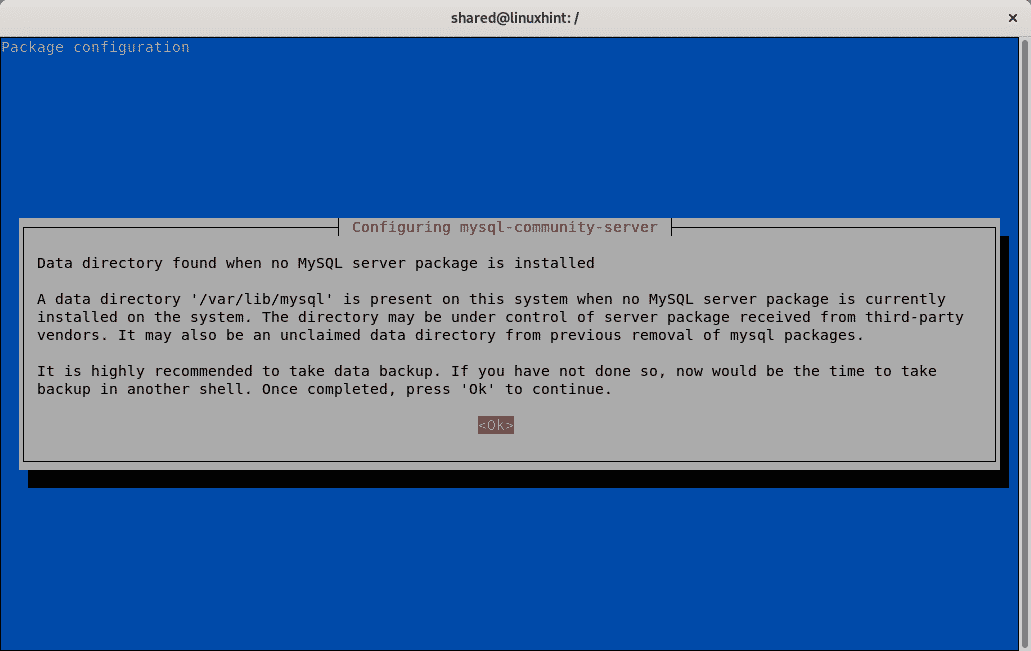
The following warning screen should not prompt to users who had not Mysql installed previously, if you had a working mysql installation you can backup all files before continuing, otherwise you can ignore it and press OK to continue. If you need to backup files then do it on an alternative terminal and then press OK.
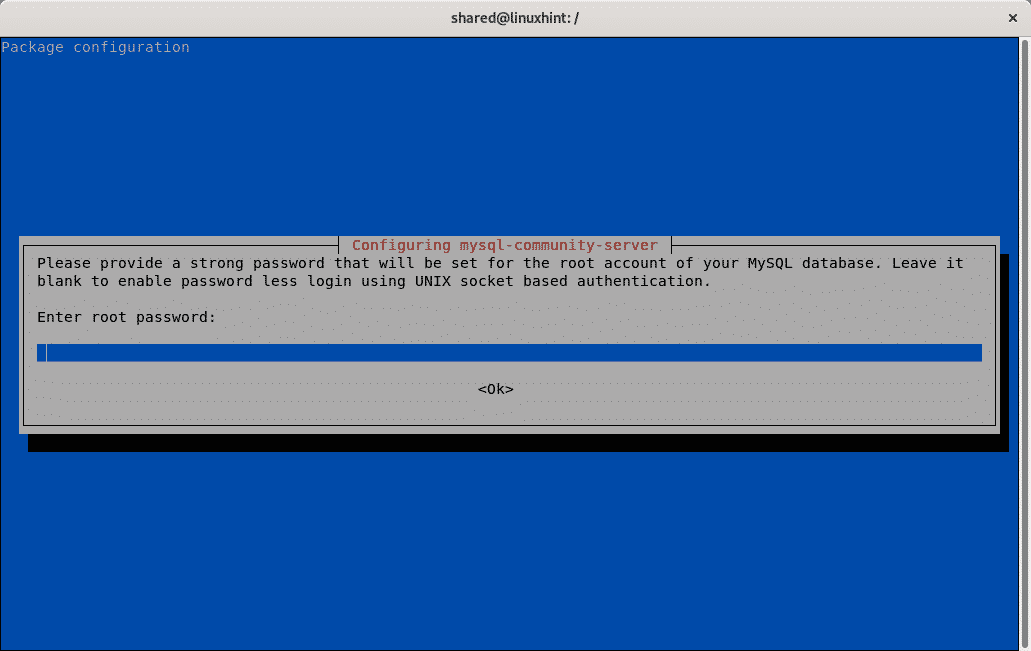
The next screen will request a password.
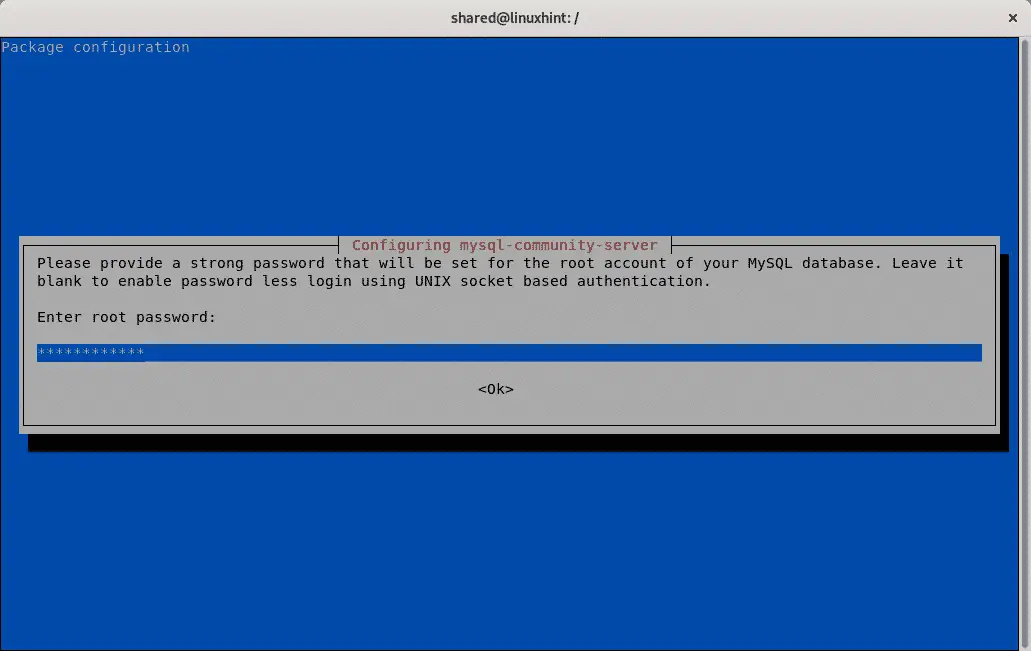
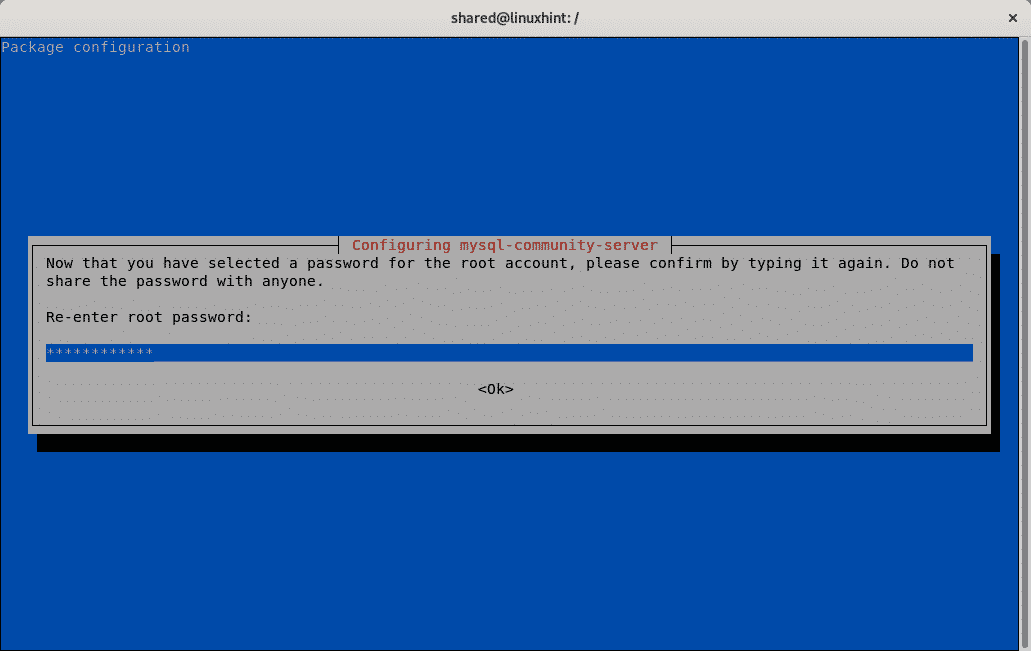
Then you’ll need to confirm the password:
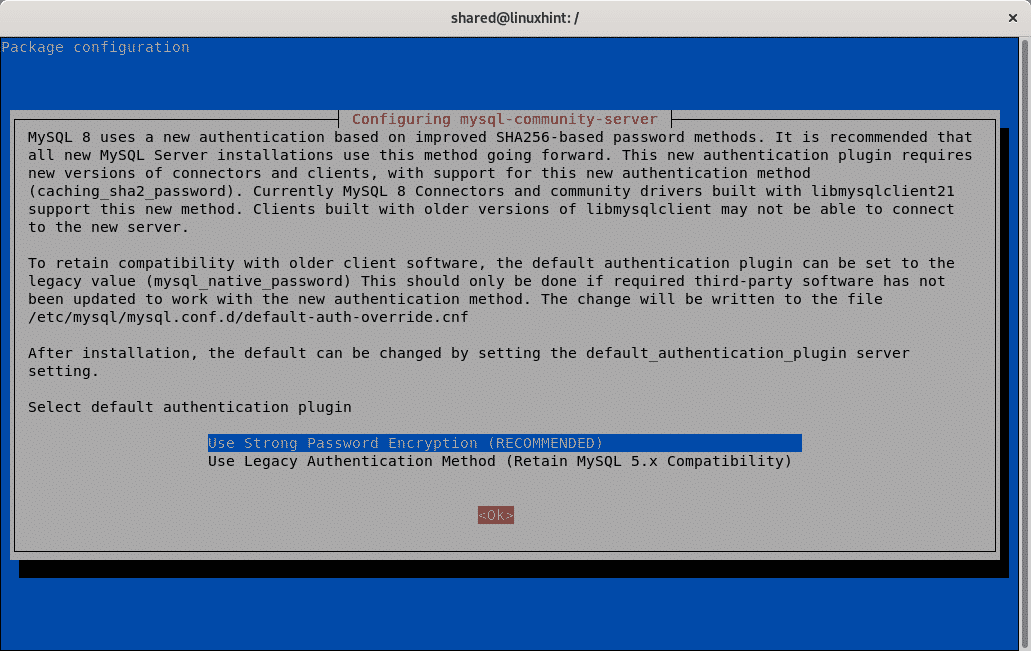
Depending on your needs Mysql 8 will offer you to increase security by replacing the authentication method, don’t use this option if you have older Mysql clients who need to connect to your server, otherwise accept and go ahead by using the strong password encryption, press TAB and OK to continue.

The installation will start:
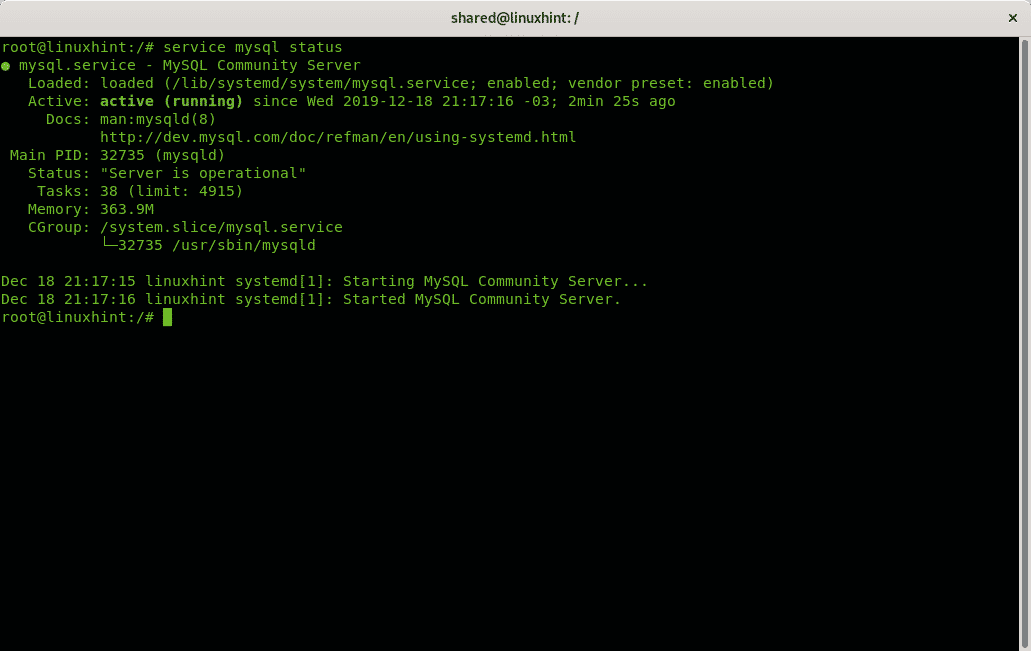
Once finished you can check your Mysql server by executing:
Note: you can access the Stop, start and restart services on Debian tutorial to learn managing services.
Mysql installation troubleshooting
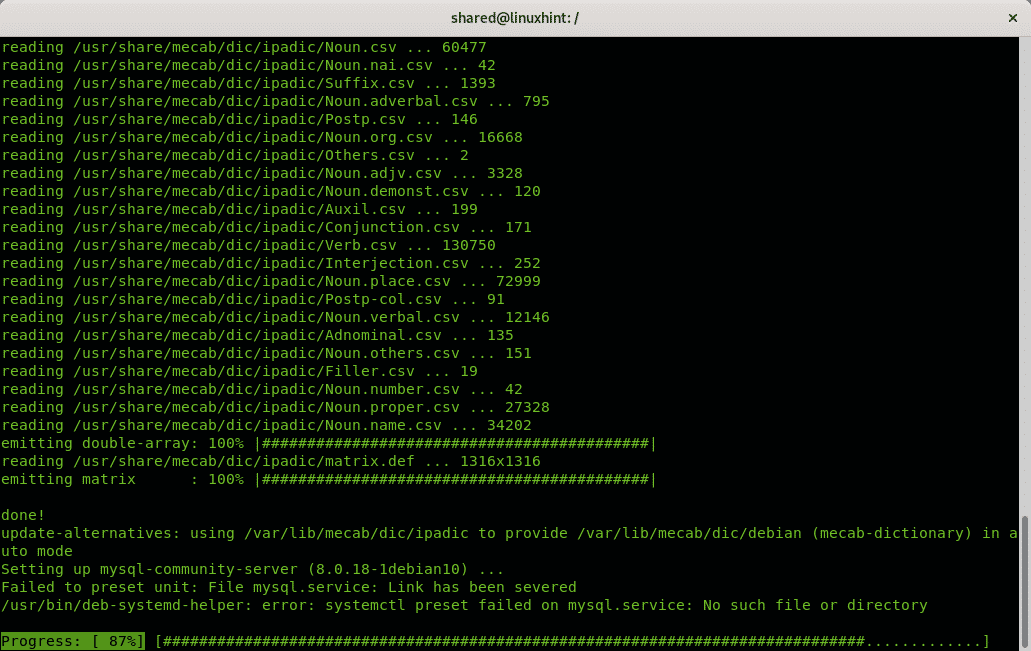
In my particular case the installation didn’t go successful at the first attempt due to problems with an old installation I didn’t remove prior to Mysql 8 installation.
Additionally to screenshots I paste the errors content to make it easy for users sharing the same problem to find my solution.
When installing Mysql 8 on Debian 10 Buster I met the following error:
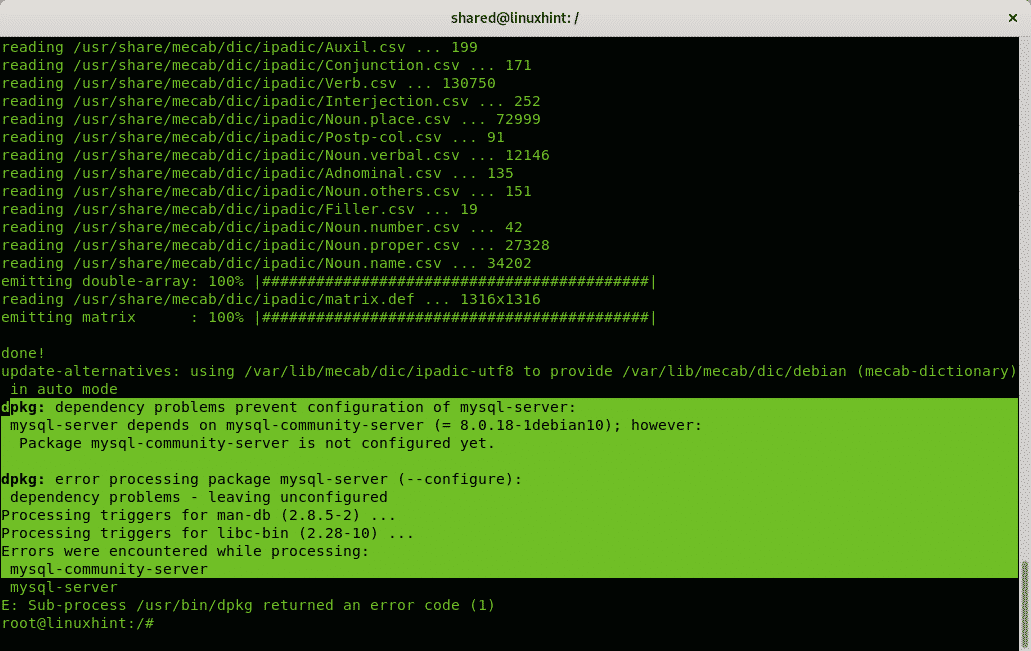
mysql-server depends on mysql-community-server (= 8.0.18-1debian10); however:
Package mysql-community-server is not configured yet.
dpkg: error processing package mysql-server (--configure):
dependency problems - leaving unconfigured
Running the following command didn’t solve the problem:
/usr/bin/deb-systemd-helper: error: systemctl preset failed on mysql.service:
No such file or directory
Failed to get unit file state for mysql.service: Link has been severed
mysql.service is a disabled or a static unit, not starting it.
Job for mysql.service failed because the control process exited with error code.
See "systemctl status mysql.service" and "journalctl -xe" for details.
invoke-rc.d: initscript mysql, action "start" failed.
mysql.service - MySQL Community Server
Loaded: loaded (/lib/systemd/system/mysql.service; bad; vendor preset: enabled)
Active: failed (Result: exit-code) since Wed 2019-12-18 20:54:55 -03; 18ms ago
Docs: man:mysqld(8)
http://dev.mysql.com/doc/refman/en/using-systemd.html
Process: 27022 ExecStartPre=/usr/share/mysql-8.0/mysql-systemd-start pre
(code=exited, status=0/SUCCESS)
Process: 27057 ExecStart=/usr/sbin/mysqld (code=exited, status=1/FAILURE)
Main PID: 27057 (code=exited, status=1/FAILURE)
Status: "Data Dictionary upgrade from MySQL 5.7 in progress"
Dec 18 20:54:54 linuxhint systemd[1]: Starting MySQL Community Server...
Dec 18 20:54:55 linuxhint systemd[1]: mysql.service: Main process exited,
code=exited, status=1/FAILURE
Dec 18 20:54:55 linuxhint systemd[1]: mysql.service: Failed with result 'exit-code'.
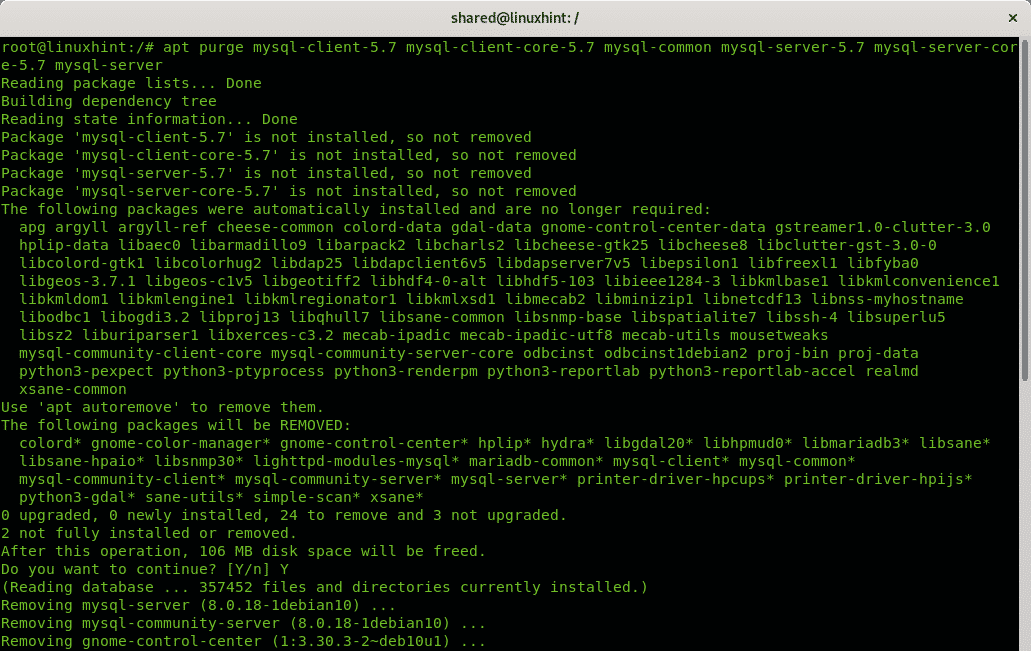
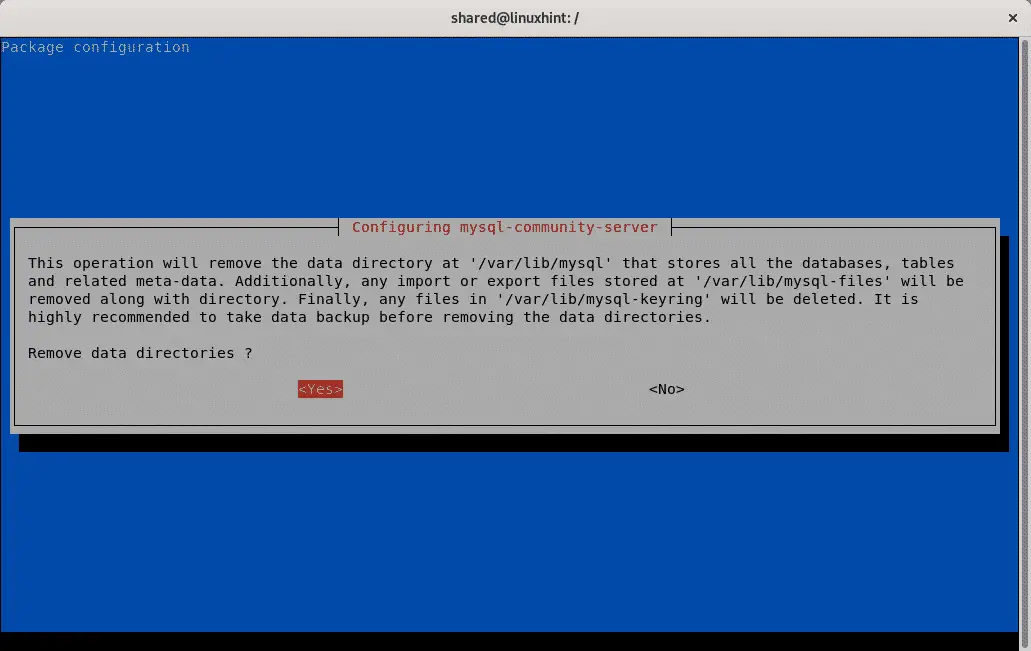
The first step to solve this issue is to purge all previous Mysql related files:
mysql-server-5.7 mysql-server-core-5.7 mysql-server
When asked confirmation use the TAB key to move to YES and press ENTER.
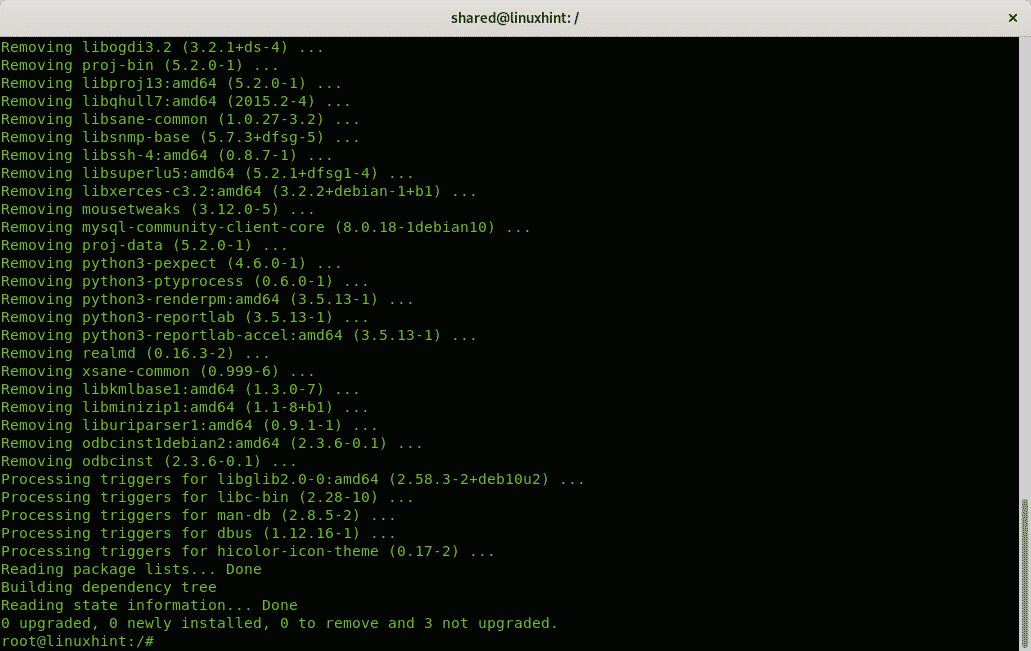
Then update, remove unnecessary left packages and resolve dependencies if needed by running:
When asked type Y and press ENTER to continue.
Once finished you can proceed with the Mysql installation again by running:
Press Y and ENTER when asked to confirm the installation.
The installation will offer you to set a password again:
If you use a password confirm it again:

Decide if you want to increase Mysql encryption to leave it compatible with old Mysql client versions and proceed, if you don’t need compatibility with old Mysql versions leave the default option and select OK to continue.
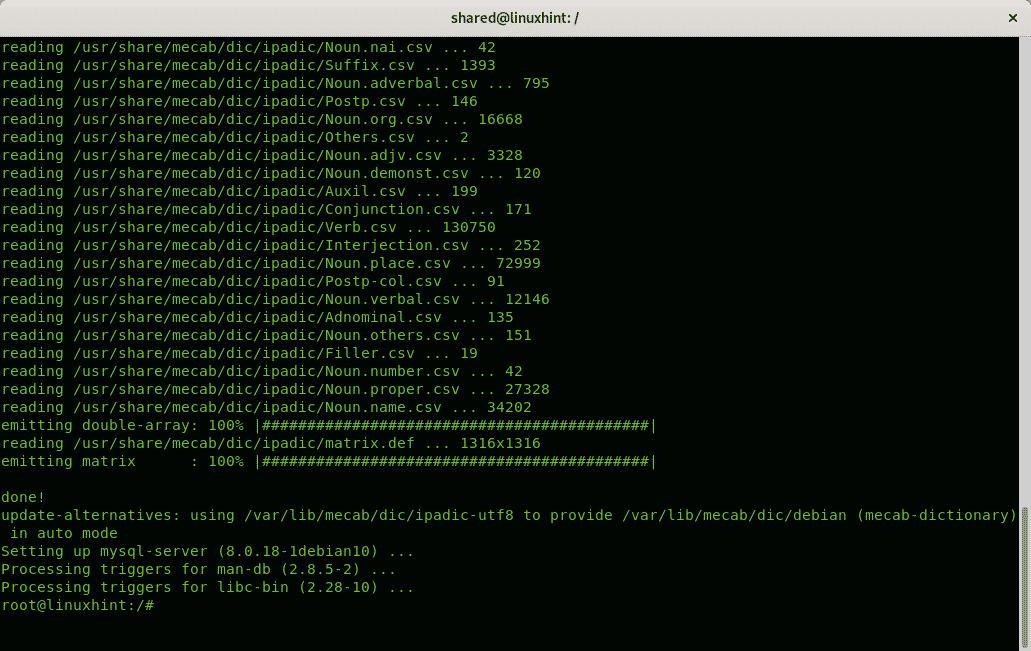
The installation should take place successfully:

Related articles
- How to install MySql on Ubuntu
- Best MySQL Clients for Ubuntu
- Installing phpMyAdmin on Debian 10
- Expose MySQL and MariaDB Database Server to the Internet
- How to Change MySQL/MariaDB Data Directory on Ubuntu
- Using Mytop to Monitor MySQL Performance
- Deploying MySQL using Docker-Compose
- How To Change MySQL User Password