MATE desktop is available on all the major Linux distros (including Ubuntu). In this article, we’ll be checking out how to install the MATE desktop on Ubuntu 20.04.
MATE Desktop on Ubuntu 20.04
Ubuntu comes with the GNOME desktop by default. However, you’re free to rock whatever desktop environment you like. MATE desktop can exist alongside GNOME. You can play between them without any problem.
The potential problem with having multiple desktop environments is stability. In some situations, having multiple desktop environments may break certain system-critical files, causing all sorts of glitches and issues that may hinder your experience significantly. However, it’s a rare thing these days.
In the case of Ubuntu, there are two ways you can enjoy the MATE desktop. First, by performing a fresh install of Ubuntu MATE. Second, grabbing the MATE desktop from the package server.
Ready? Let’s jump right into it!
Install Ubuntu MATE
This will perform a clean install of Ubuntu MATE. If you need to do so, then proceed with this method. Otherwise, I strongly recommend NOT to follow this one as it will cost a lot. You have to spend time to re-configure the entire system. So, make sure that the effort is worth your time.
Installing Ubuntu MATE is nothing different than installing the basic Ubuntu. The only difference is, instead of GNOME, it uses the MATE desktop. The installation steps are, more or less, identical to classic Ubuntu installation. Let’s get started.
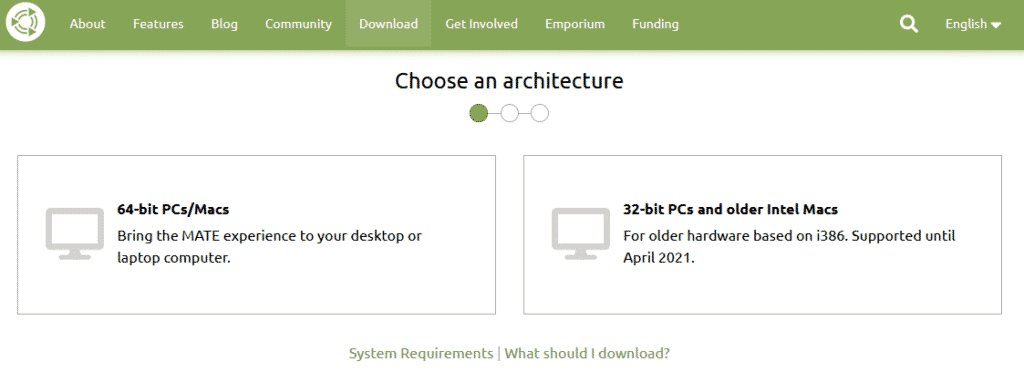
Take the latest Ubuntu MATE ISO.
Make a bootable media from the ISO and boot into it.
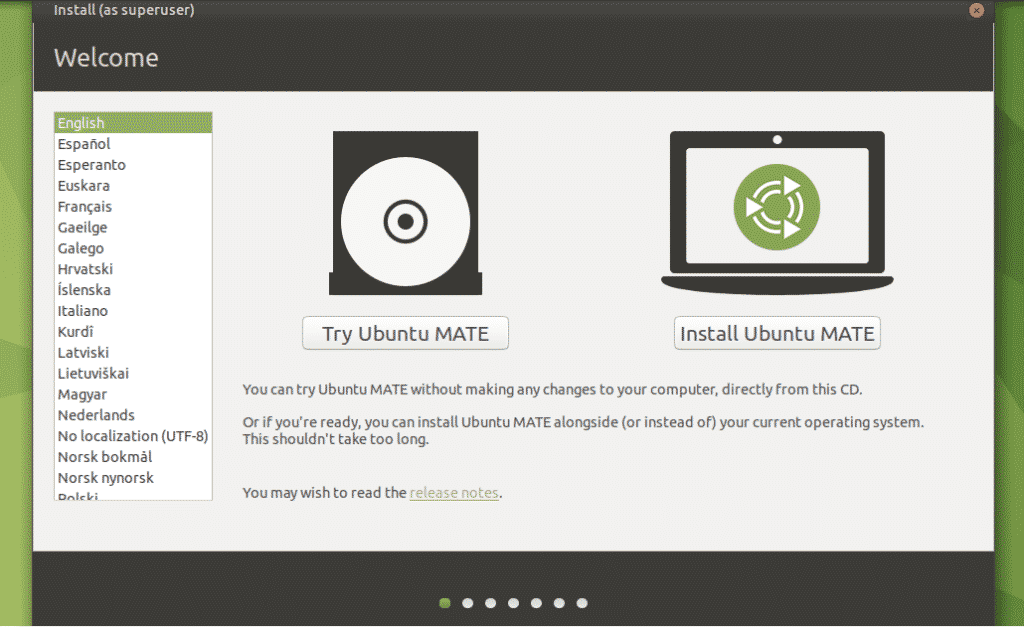
Click “Install Ubuntu MATE”.
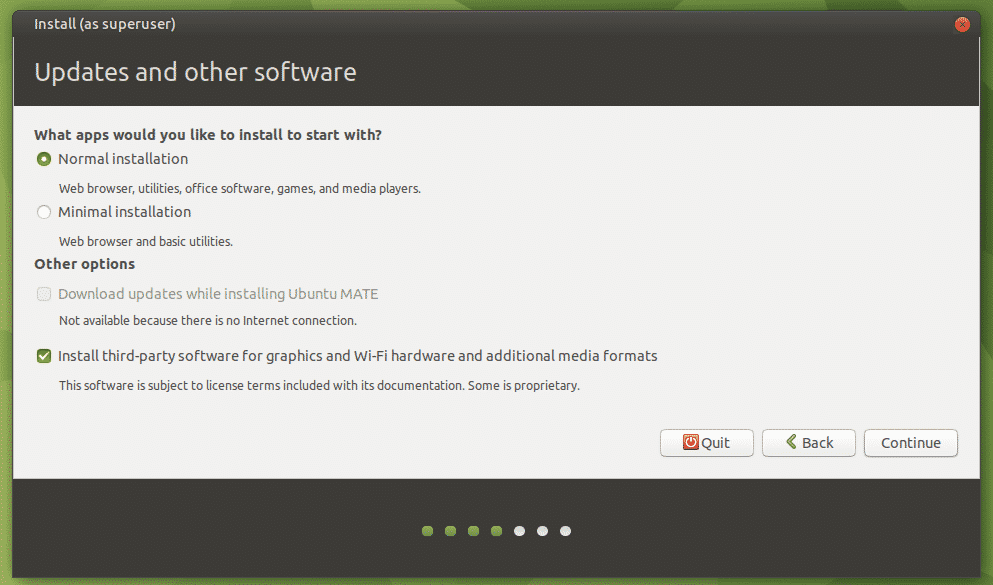
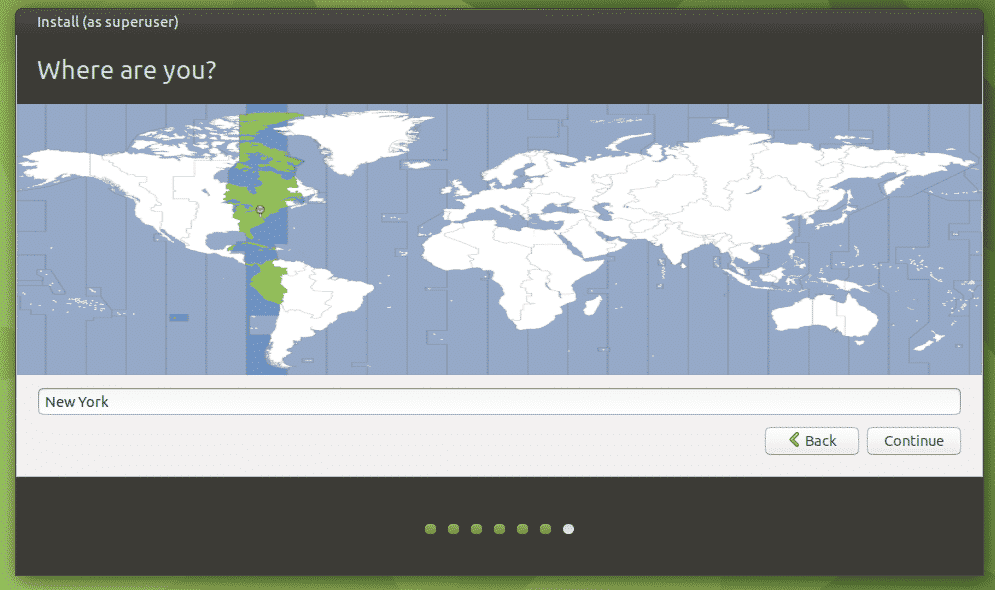
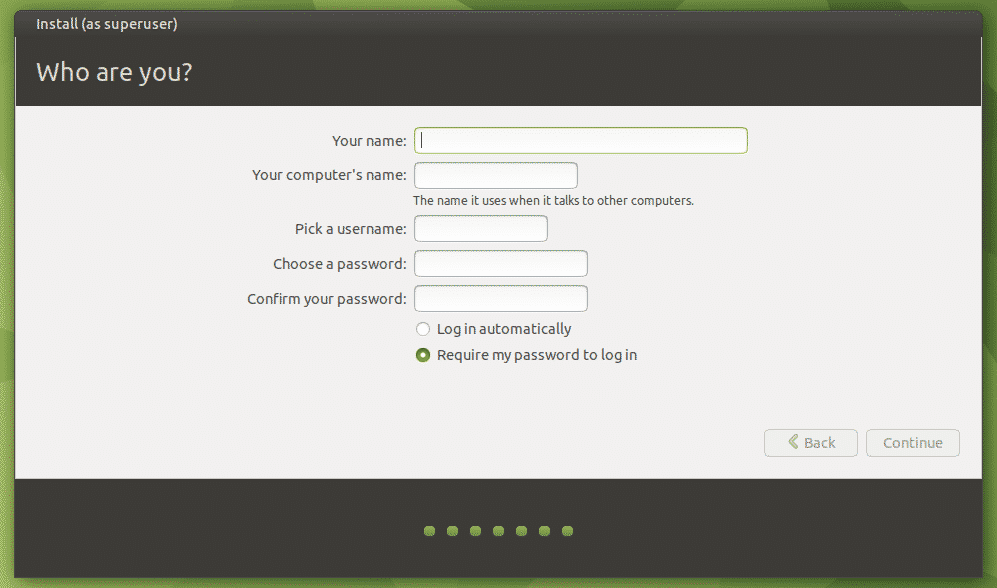
Let’s get through the rest of the installation steps. All of them are self-explanatory, so I don’t think there’s any explanation necessary.
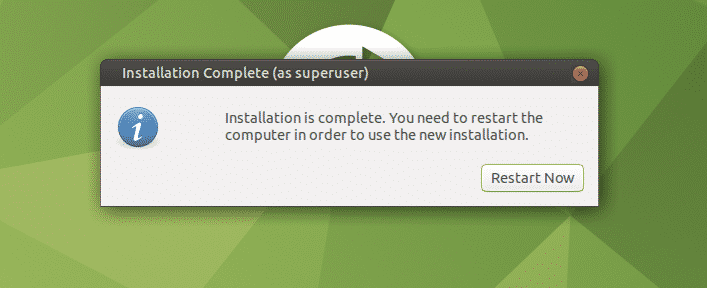
Once the installation is complete, reboot your system, fire up the terminal and run the following command.
Voila! Ubuntu MATE is ready to enjoy!
Install MATE desktop on Ubuntu
This method will work on not only the vanilla Ubuntu but also all the flavors of Ubuntu (Xubuntu, Lubuntu, Kubuntu, and Ubuntu Budgie, etc.). The MATE desktop is directly available from the package server. All you need is run a few APT commands.
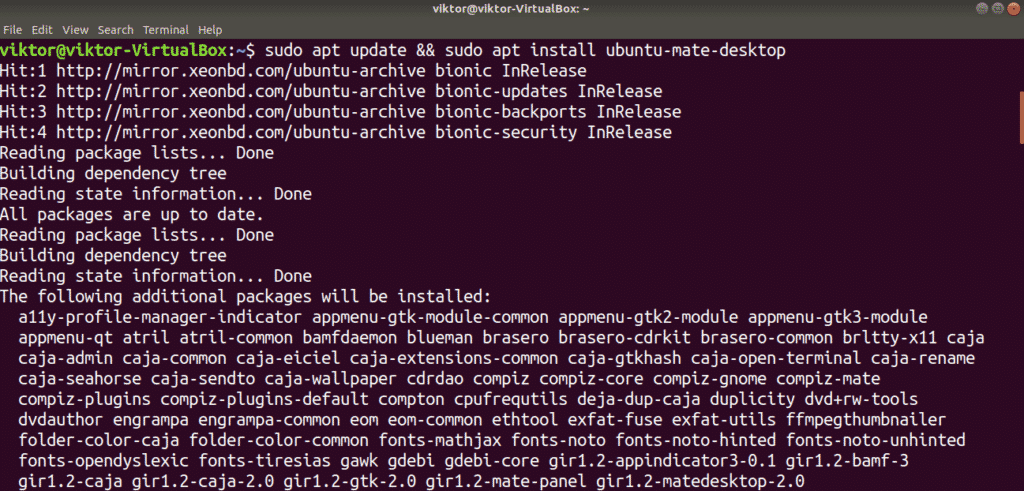
Fire up the terminal and tell APT to install the MATE desktop.
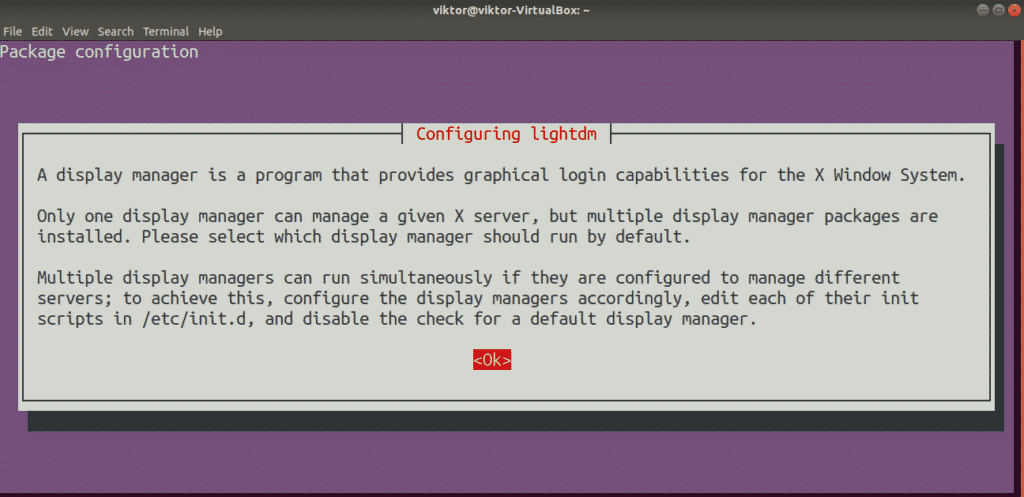
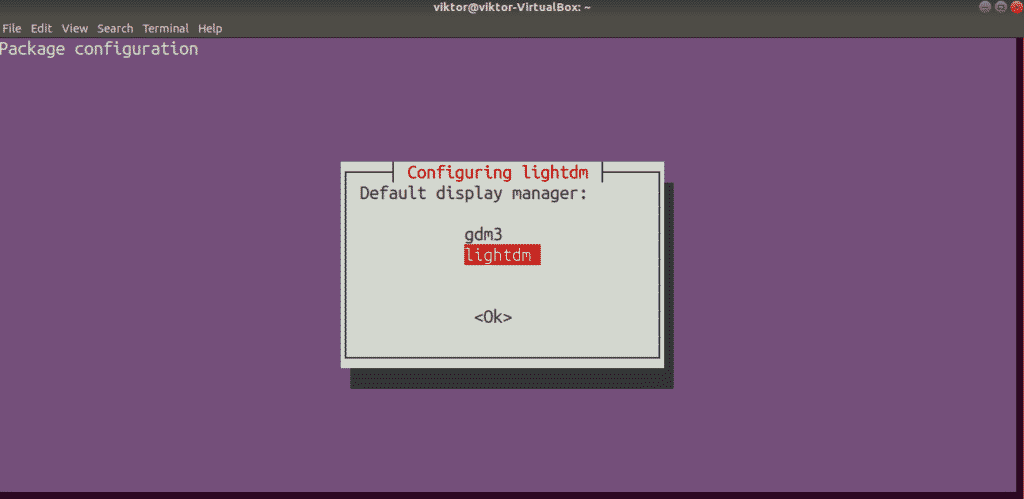
In the middle of the installation, the lightdm configuration will pop up. The MATE desktop uses lightdm as the display manager, so I recommend using it to get the full experience. Hit “Enter” to continue.
Select lightdm as the default display manager.
The installation will continue. It will take some time to complete the process.
Restart the system after the completion of installation. You could get away by logging out of the current session but rebooting, in my opinion, is just better.
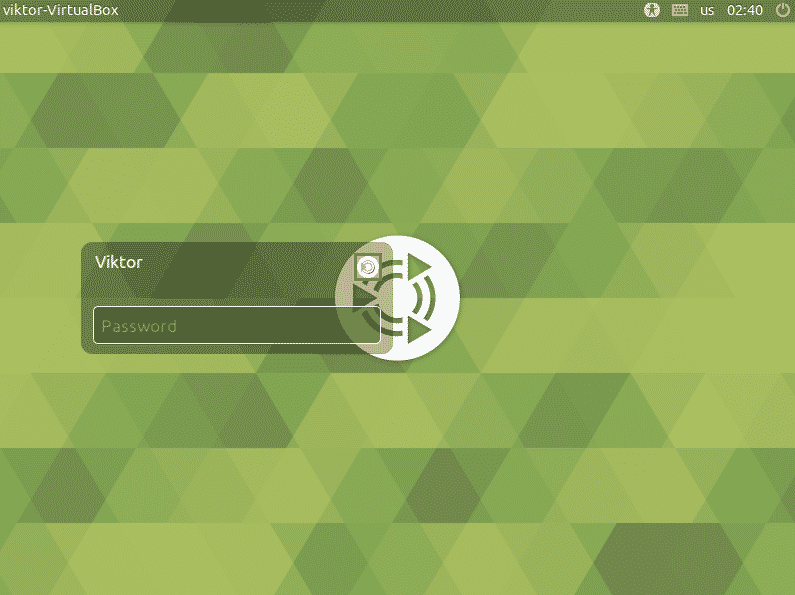
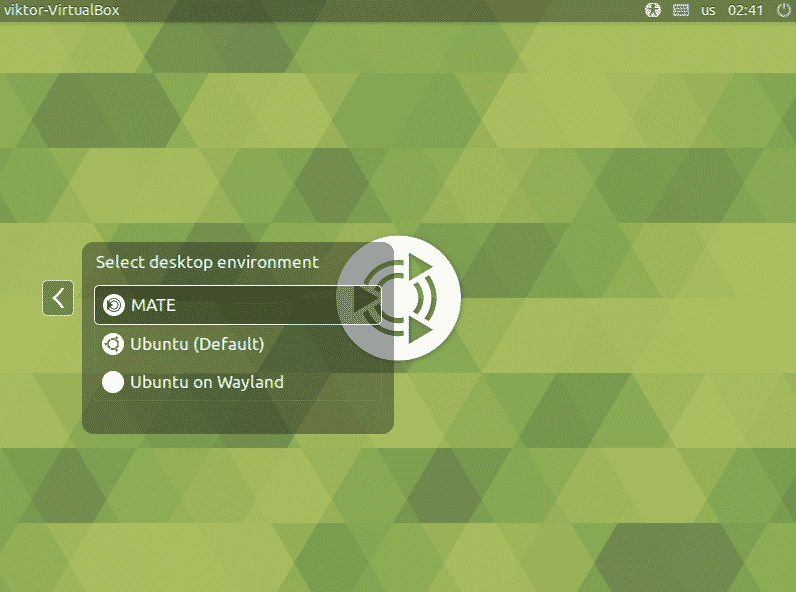
Voila! We’ve successfully installed the MATE desktop! To make sure, click the little MATE icon after the user account and make sure that MATE is selected.
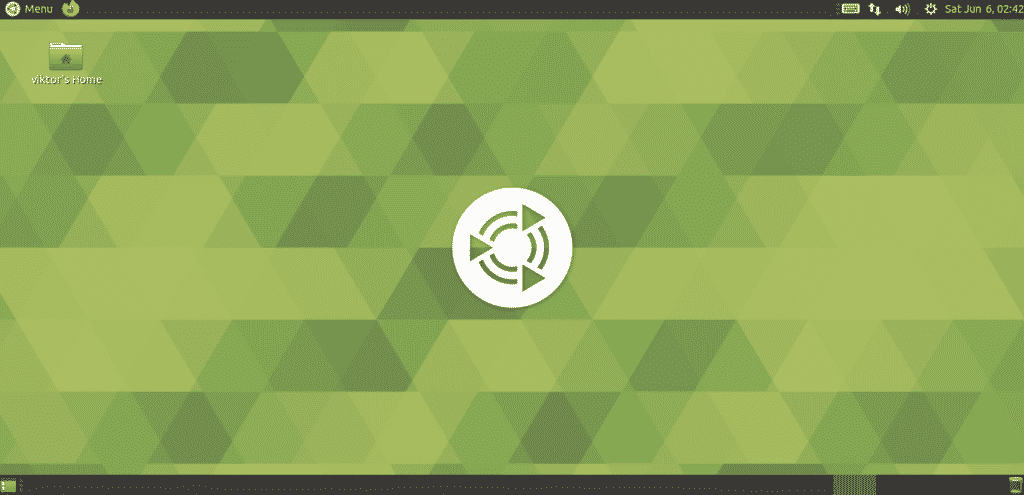
The MATE desktop is ready to go!
Customize MATE desktop
While the default MATE desktop is fine, you can spice it up with various tweaks. MATE is a highly customizable desktop, just like any other modern desktop environment. There are some really powerful tools for easier customization. Let’s check them out!
MATE Control Center
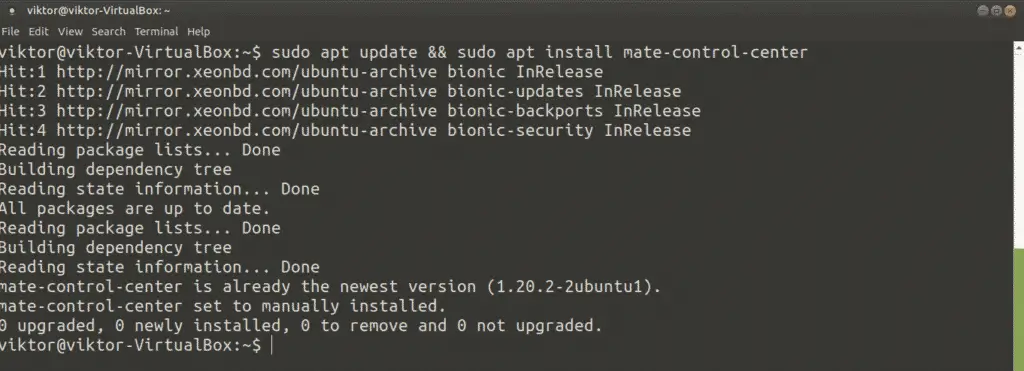
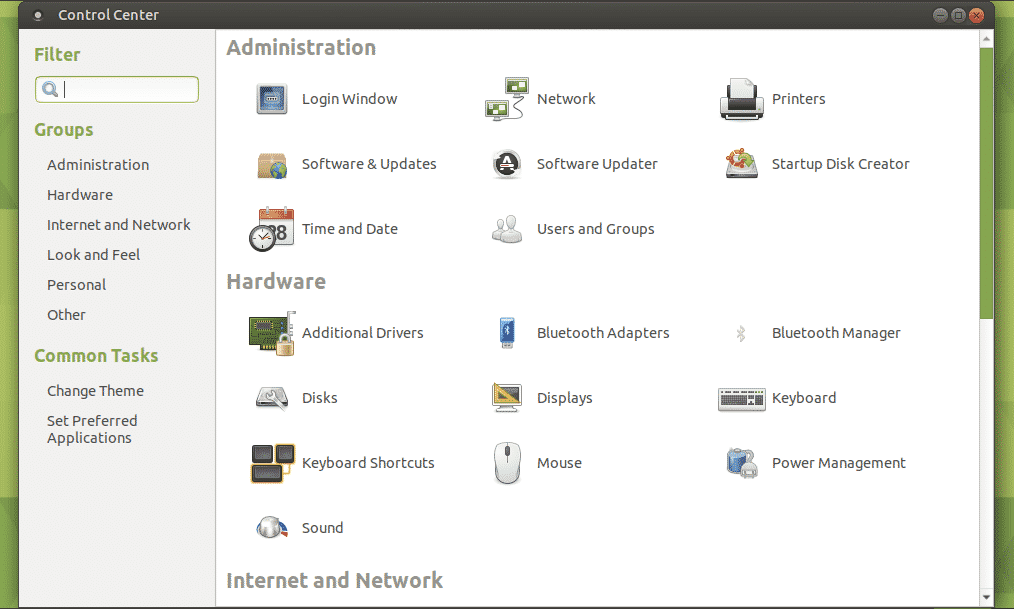
MATE Control Center is a centralized place for controlling almost all aspects of the system. It comes with the MATE desktop by default. However, you can separately install it from the package server.
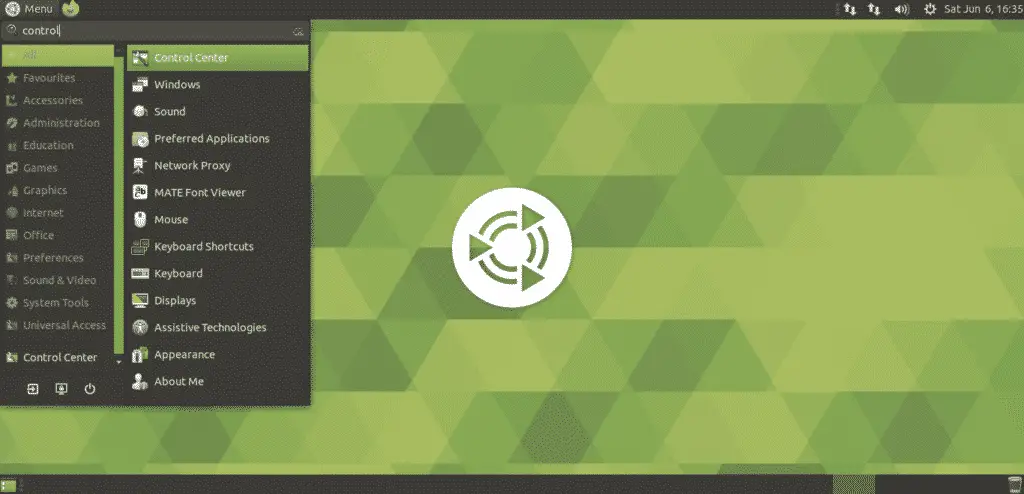
To launch it, search for “Control Center” in the menu.
MATE Tweak Tool
Similar to GNOME Tweaks, it is a small utility that offers fine control of the MATE environment. Using MATE Tweak Tool, you can configure desktop icons and various interface tweaks (context menu, toolbar, icons, and others).
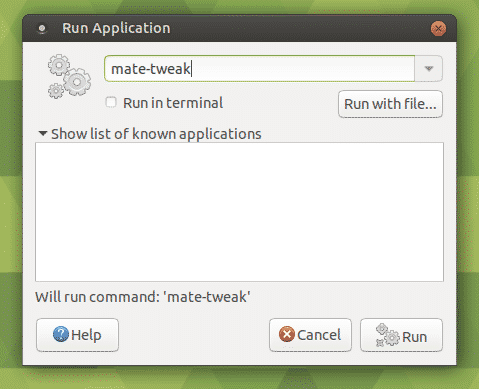
MATE Tweak Tool also comes with MATE desktop by default. To launch it, run the following command.
If you want to perform a quick launch, press “Alt + F2” and enter the command.
Final thoughts
Installing the MATE desktop on Ubuntu is a simple job. You can try both of them.
Have you ever been to Raspberry Pi? The tiny machine is quite versatile. You can even install Linux on Raspberry Pi and use it as a portable computer! Have a look at how to install Ubuntu MATE on Raspberry Pi.
Enjoy!

