
If you’re looking for a simple IDE for programming, you should give Komodo IDE a try.
Komodo IDE is not free. But you can buy it from ActiveState. If you like Komodo IDE but you don’t want to pay for it, then you can use Komodo Edit. Komodo Edit is also from ActiveState, but it’s open source and free. Komodo Edit has many features of Komodo Edit.
In this article, I am going to show you how to install Komodo IDE and Komodo Edit on Ubuntu. So, let’s get started.
Installing Dependency Packages:
Komodo IDE and Komodo Edit both depends on libgtk2.0. It may not be installed on your Ubuntu machine. But, it is available in the official package repository of Ubuntu. So, it’s easy to install.
First, update the APT package repository cache with the following command:

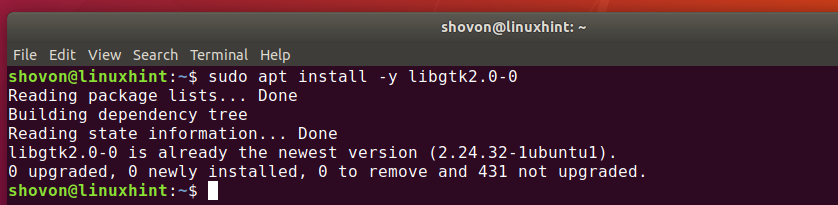
Now, install libgtk2.0 with the following command:

libgtk2.0 should be installed. In my case, it’s already installed.
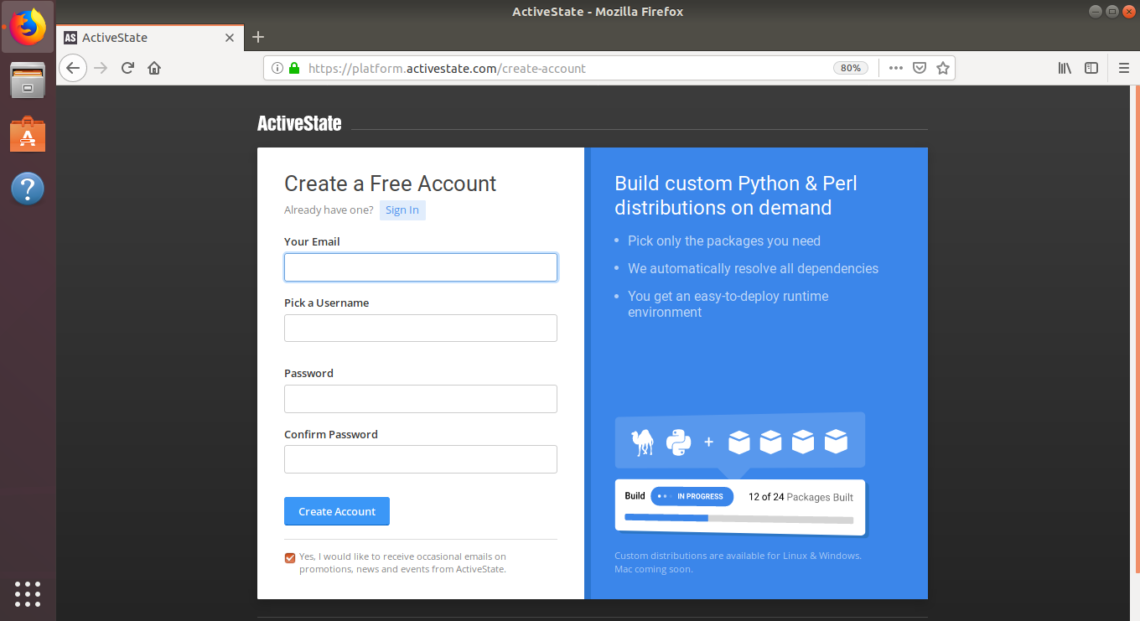
Creating an ActiveState Account:
In order to use Komodo IDE, you need to have an ActiveState account. You can create it for free from the official website of ActiveState.
Installing Komodo IDE:
To download Komodo IDE installer, visit the official Komodo IDE download page from your favorite browser.
Now, click on the 64-bit link as marked in the screenshot below.

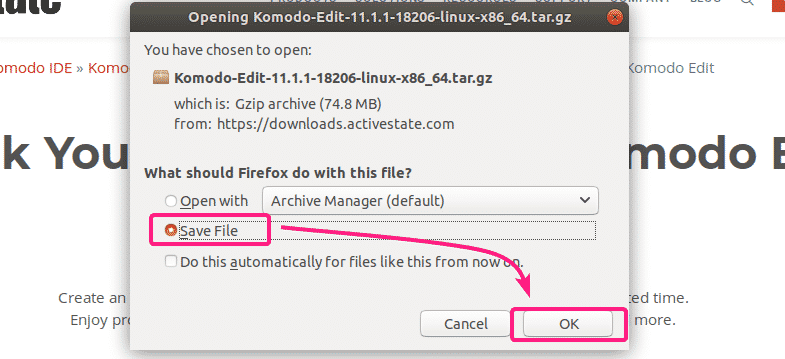
Now, select Save File and click on OK.
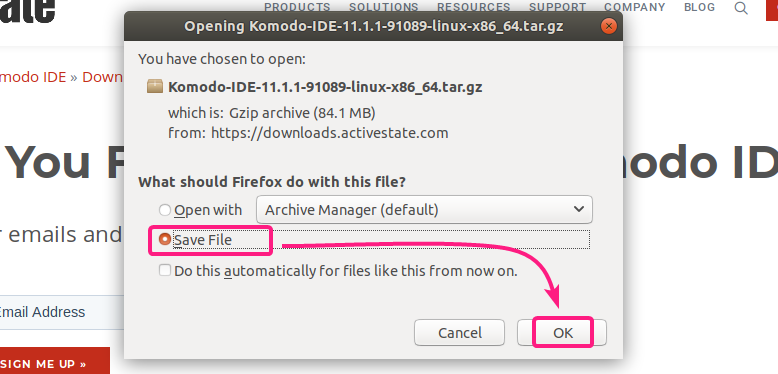
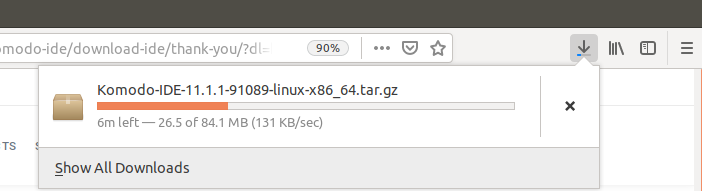
Your browser should start downloading Komodo IDE installer archive.
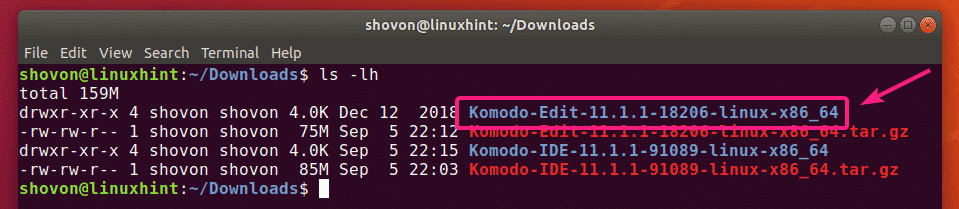
Once the download is complete, navigate to the ~/Downloads directory as follows:

The Komodo IDE archive should be there.

Now, extract the Komodo IDE archive with the following command:

Once the Komodo IDE archive is extracted, a new directory should be created.

Now, navigate to the cd Komodo-IDE-11.1.1-91089-linux-x86_64/ directory as follows:

Now, run the Komodo IDE installer as follows:

Now, type in the directory path where you want to install Komodo IDE and press <Enter>.

I am going to install Komodo IDE on ~/.opt/Komodo-IDE-11

Komodo IDE should be installed.

Now, you can find Komodo IDE in the Application Menu of Ubuntu. Click on the Komodo IDE 11 launcher to start Komodo IDE.

As you’re running Komodo IDE for the first time, you will need to configure it.
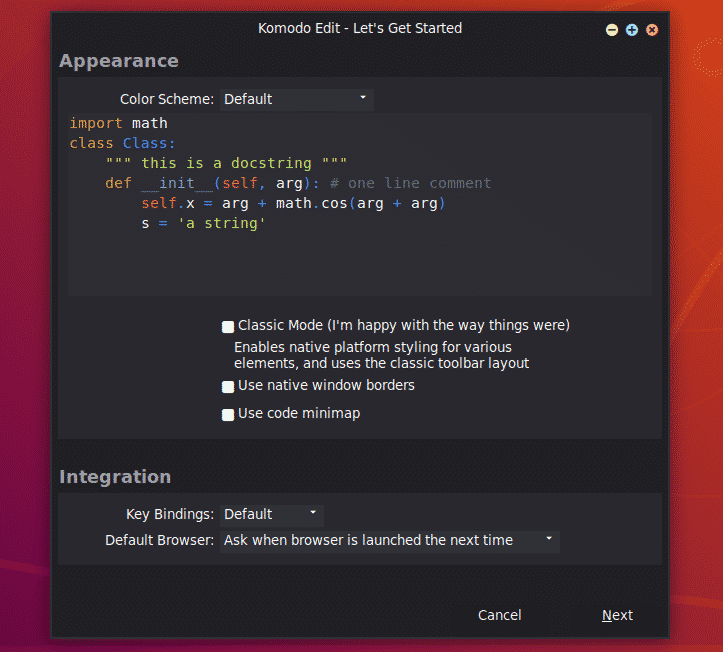
Configure Appearance and Integration settings from here and click on Next.

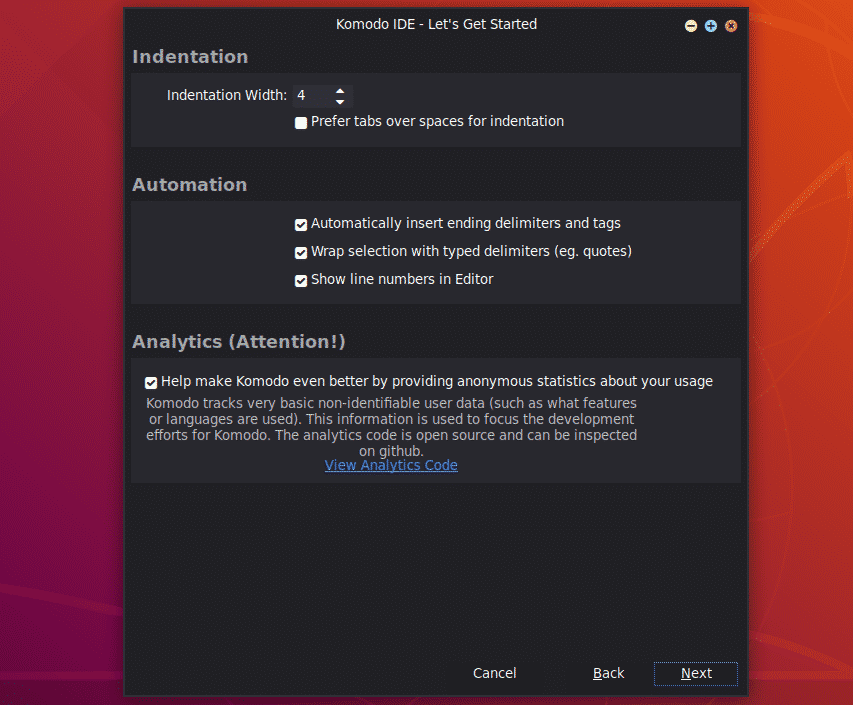
Configure Indentation and Automation settings from here and click on Next.
Now, Komodo IDE will detect the languages and libraries that are installed on your computer and configure itself accordingly. Click on Next.

Now, click on Finish.

You will be asked to sign in. Type in your ActiveState account credentials and click on Sign In.

Once you’re logged in, you can use Komodo IDE. If you didn’t purchase ActiveState licenses, you can still use Komodo IDE in trial mode.

Installing Komodo Edit:
Komodo Edit is a free alternative of Komodo IDE.
To download Komodo Edit, go to the official Komodo Edit download page from your favorite we browser.
Now, click on the 64-bit download link as marked in the screenshot below.

Now, select Save File and click on OK.
Your browser should start downloading Komodo Edit installer archive.

Once the download is complete, navigate to the ~/Downloads directory with the following command:

The Komodo Edit installer archive should be there.

Now, extract the Komodo Edit archive with the following command:

Once the Komodo Edit installer archive is extracted, a new directory should be created.
Now, navigate to the Komodo-Edit-11.1.1-18206-linux-x86_64/ directory as follows:

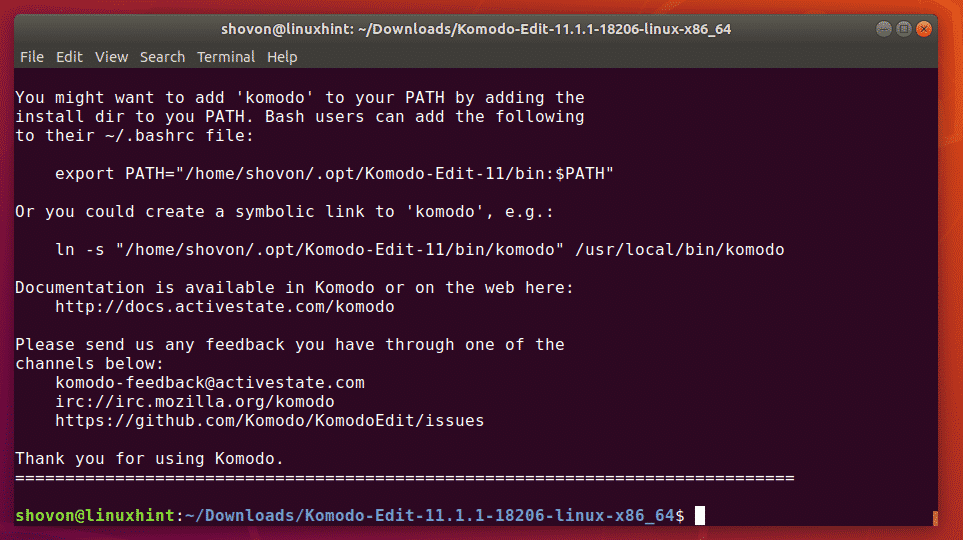
Now, run the Komodo Edit installer as follows:

Now, type in the path where you want to install Komodo Edit and press <Enter>.

I am going to install it in the path ~/.opt/Komodo-Edit-11

Komdo Edit should be installed.
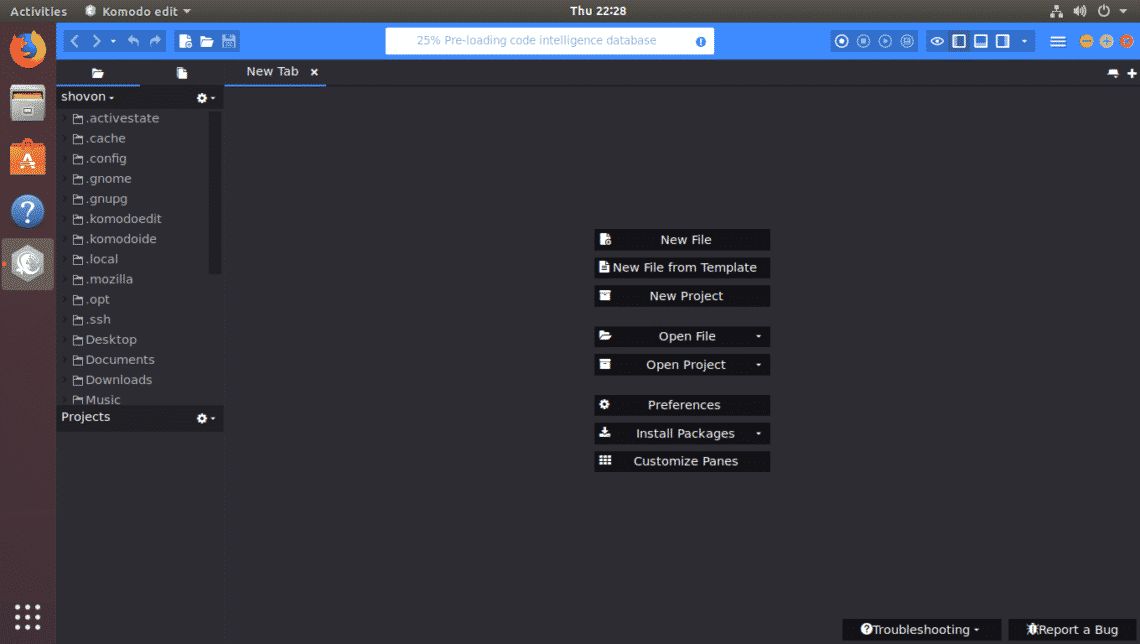
Now, you should be able to find Komodo Edit in the Application Menu of Ubuntu. Click on the Komodo Edit launcher to start it.

As you’re running Komodo Edit for the first time, you will have to configure Komodo Edit.
Configure Appearance and Integration settings from here and click on Next.
Now, configure Indentation and Automation settings from here and click on Next.

Now, click on Finish.

Komodo Edit should start. Now, you can start developing your project with Komodo Edit.
So, that’s how you install Komodo IDE and Komodo Edit on Ubuntu. Thanks for reading this article.